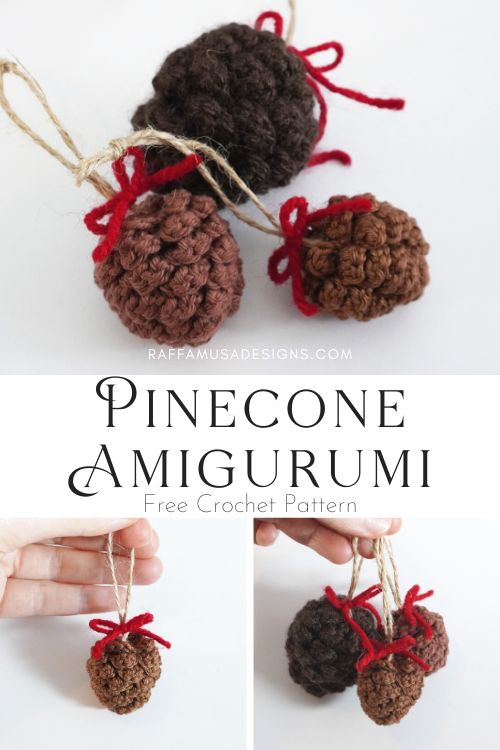
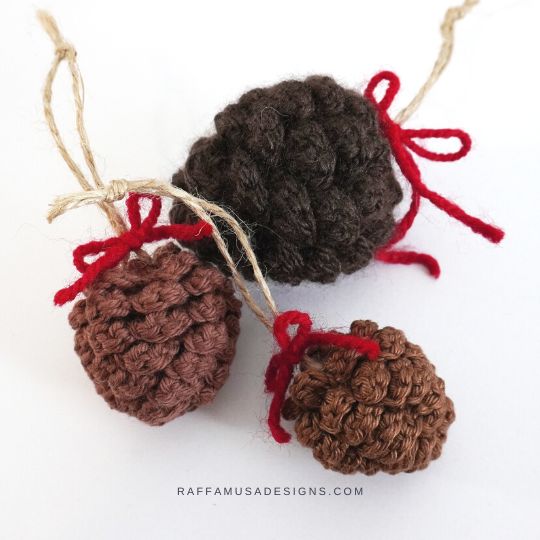
Pine cones always come in handy to decorate your home for Christmas or Fall. But what if you cannot find any cones around where you live? Well, as a crocheter, I say let’s crochet a pinecone Amigurumi!
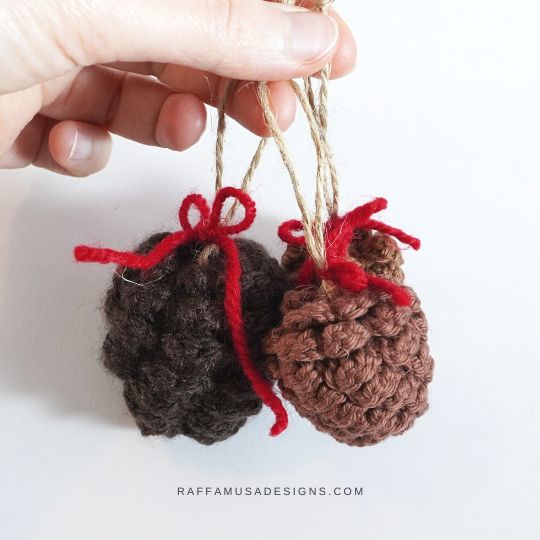
In a forest, pinecones are essential because they carry and spread pine seeds so that more trees can grow. Besides helping the forest stay healthy, pinecones are a source of food for small animals, such as squirrels.
Throughout history, pinecones carried much symbolism for humans. Most importantly, since they carry tree seeds, cones are associated with the generation of new life, possibly making them so popular as Christmas decorations.
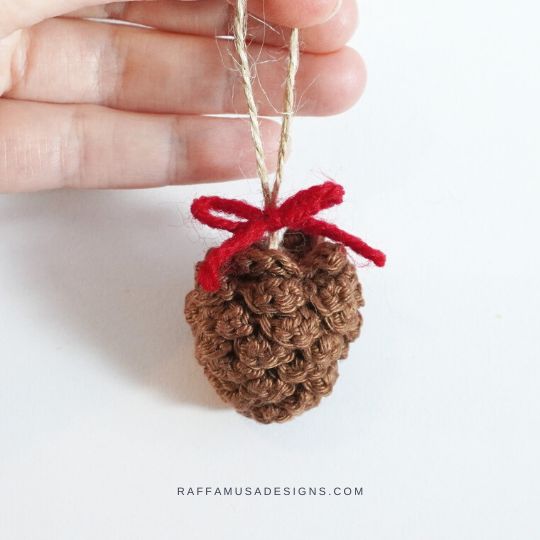
So, if you also love pinecones but prefer to leave the real ones in the forest, join me and crochet a pinecone amigurumi with my free pattern!
You can use your crocheted pinecone as a Christmas tree ornament but you could also add it to a decorative Christmas or Fall wreath.
Find more Amigurumi patterns here on the blog…
Add this pattern to your Ravelry queue HERE and favorite it (– thank you!). Or save it for later by pinning it to your favorite crochet board on Pinterest using this pin!
Note: this post contains affiliate links. If you purchase something through the links on my blog, I might earn a commission. This will not have any effect on the price you pay. For more info, please, see my Privacy Policy.
AD-FREE PRINTABLE PATTERN
The Pinecone Amigurumi ad-free, printable pattern is available on Ravelry, LoveCrafts, or Etsy!
Materials
- Any Yarn
- Appropriate Hook Size
- Tapestry Needle
- Stitch Marker
- Stuffing
Yarn & Yardage
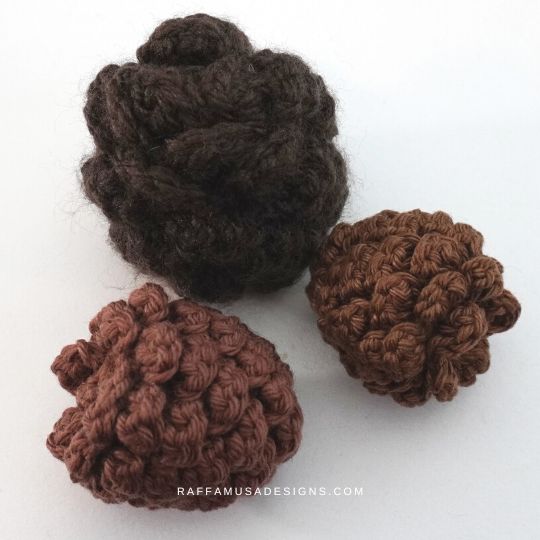
For the pinecones in the pictures, I used:
- Schachenmayr Catania (137 yds / 125 m per 50 g) in Marone (157)
- Paintbox Yarns Cotton DK (137 yds / 125 m per 50 g) in Coffee Bean (411)
- Stylecraft Special Aran (214 yds / 196 m per 100 g) in Dark Brown (1004)
Gauge & Size
This pattern is too small to accurately determine the gauge. Below, you can find the approximate size of the pinecones made with different yarns/hooks.
| Yarn Weight | Yarn Brand | Hook | Size of the Pinecone |
|---|---|---|---|
| Sport (2, Fine) | Schachenmayr Catania | 2.5 mm (12 UK) | 1.4″ (3.5 cm) |
| DK (3, Light) | Paintbox Yarns Cotton DK | 2.75 mm (C/2 US, 12 UK) | 1.6″ (4 cm) |
| Aran (4, Medium) | Stylecraft Special Aran | 3.5 mm (E/4 US, 9 UK) | 2.2″ (5.5 cm) |
Abbreviations (US Terms)
- BLO – Back Loop Only
- Ch – Chain
- Dc – Double Crochet
- Inc – Increase
- Inv Dec – Invisible Decrease
- MC – Magic Circle
- RS – Right Side
- Sc – Single Crochet
- Sl St – Slip Stitch
- St – Stitch
- Yo – Yarn Over
Special Stitches
Back Loop Only (BLO)
Learn how to crochet in the BLO HERE.
Increase (Inc)
One increase consists of 2 sts worked in the same indicated st.
Invisible Decrease (Inv Dec)
See how to make an inv dec HERE.
Magic Circle (MC)
Find a tutorial on how to make an adjustable ring HERE.
Pattern Notes
- Crochet in the round working in a spiral.
- If the pattern says “sc 2”, you need to sc 1 in each of the next 2 sts.
- (…) – Repeat the instructions within round parenthesis for the indicated number of times.
- *… – Repeat the instructions from * for the indicated number of times.
- […] – Repeat the instructions within square brackets all in the same indicated st.
Pinecone Amigurumi – Free Crochet Pattern
Make a MC.
Round 1. Sc 6. (6 sts)
Round 2. (Sc inc 1, sc 1) 3 times. (9 sts)
Start working BLO sc!
Round 3. (BLO sc inc 1, BLO sc 2) 3 times. (12 sts)
Round 4. (BLO sc inc 1, BLO sc 3) 3 times. (15 sts)
Round 5. (BLO sc inc 1, BLO sc 4) 3 times. (18 sts)
Round 6. (BLO sc inc 1, BLO sc 5) 3 times. (21 sts)
Round 7. (BLO sc inc 1, BLO sc 6) 3 times. (24 sts)
Round 8. BLO sc around. (24 sts)
For the inv dec of the next two rounds, work as for a regular inv dec but go through the BLO of the sts!
Round 9. (BLO inv dec 1, BLO sc 2) 6 times. (18 sts)
Start stuffing your pinecone.
Round 10. (BLO inv dec 1, BLO sc 1) 6 times. (12 sts)
For the last round, work regular sc sts.
If needed, add a little more stuffing.
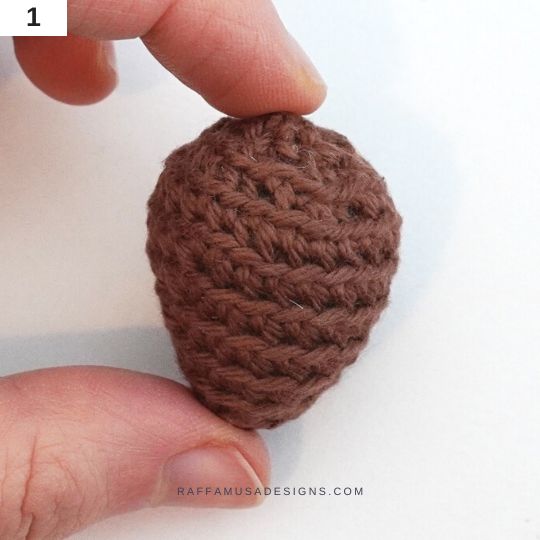
Round 11. Inv dec 6. (6 sts)
Fasten off and close the last 6 sts with the ultimate finish, as shown on page 7 (photo 1).
Scales
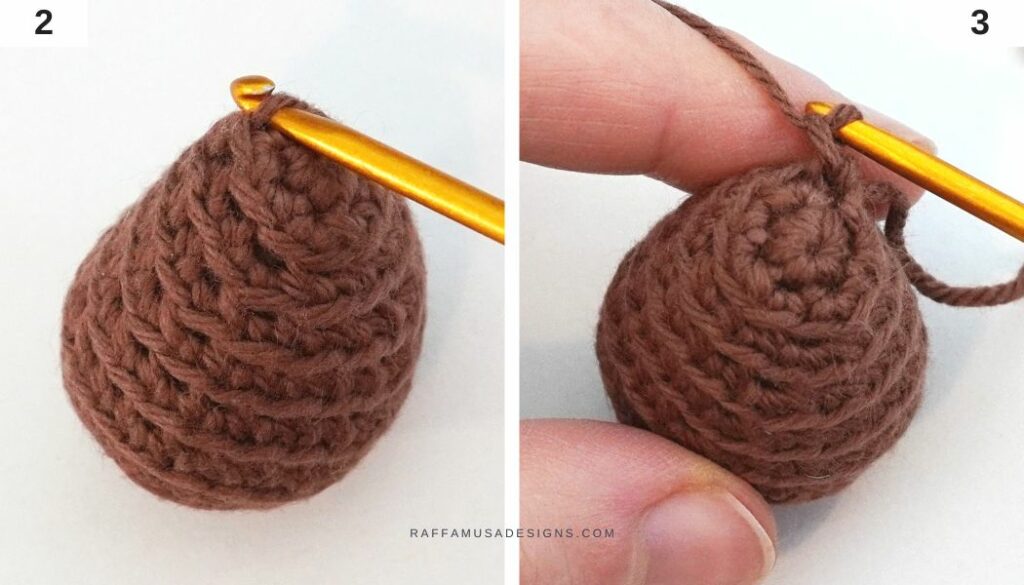
Join yarn in the first free loop available on round 2 (photos 2-3).
Round 1. *Ch 1, [dc 2] in the free loop of the next st, ch 1, sl st 2. Repeat from * until you crocheted into all the free loops all around (up to round 9).
Fasten off and weave in all your ends.
Your crochet Pinecone Amigurumi is ready!
I hope you enjoyed this free crochet pattern, and I’d love to see your pinecones! Please, share a pic of your work on Facebook and Instagram using the hashtag #raffamusadesigns!
Find more crochet Amigurumi patterns here on the blog…
