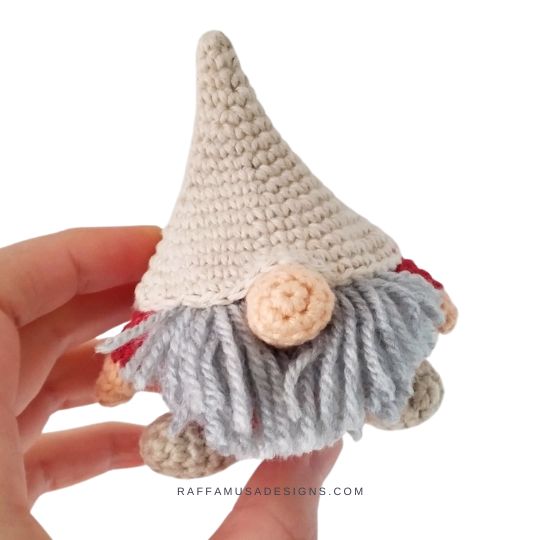
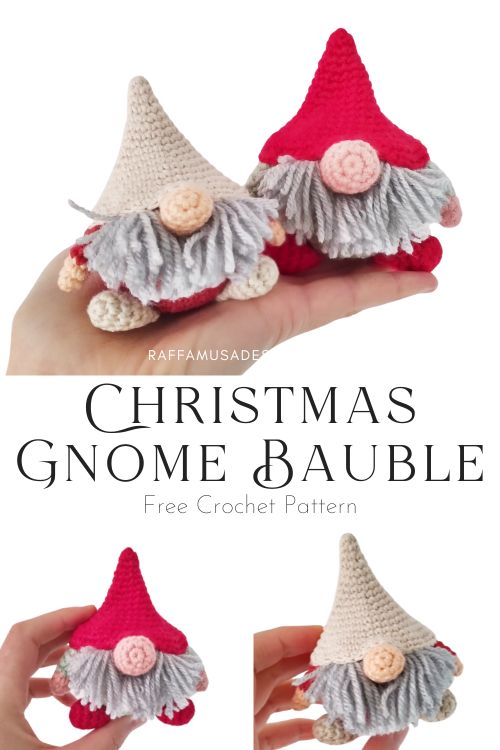
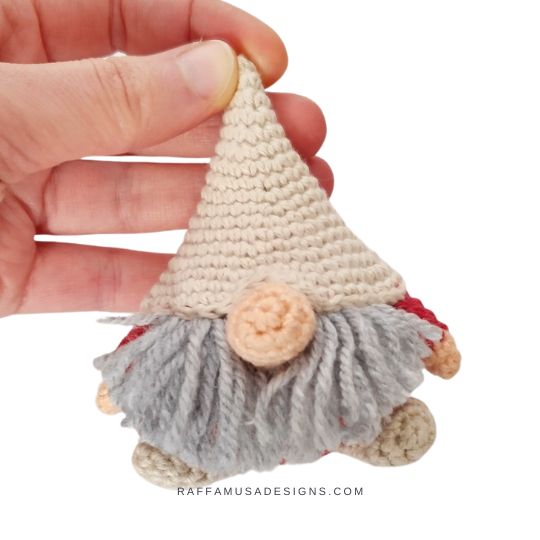
Crochet a bearded Christmas Gnome Amigurumi ornament for your Christmas tree decoration!
Why are gnomes used for Christmas decorations?
Gnomes and pixies have been part of Scandinavian folklore since the 18th or 19th century. They went by the name Nisse and were usually represented as a short man or woman wearing a red cap.
A Nisse was a sort of household spirit and its main role was to protect the house and the farm.
But their protection was not for free! You needed to take good care of your Nisse, mainly by leaving an extra bowl of porridge by your door on Christmas Eve.
It was around the 1840s that the Nisse also became a sort of Santa Clause since he was the one who brought the Christmas presents.
And this is how gnomes became associated with Christmas forever!

An Elf or a Gnome?
Even though Scandinavian traditions have existed for so long, the popularity of gnome decorations for Christmas only boomed in the past few years.
The reason for this raise in popularity is probably to be attributed to a Utah mom who replaced the Elf on a Shelf with a Santa’s Lazy Gnome.
In short, the Elf on a Shelf is an elf puppet sitting on a shelf and checking if your kids have been naughty or good.
Each night, the elf flies back to the North Pole to tell Santa and then comes back. Of course, it’s the parents’ task to sit the elf somewhere different each night so that the kids believe the elf did actually leave the house.
So, you see how the elf can be a lot of work for a busy parent.
That’s why a lazy gnome can be a great substitute. He does the same job while staying seated on his butt all the time!
To read more about Santa’s Lazy Gnome, check out this article here.
Alright, back to some crochet now…
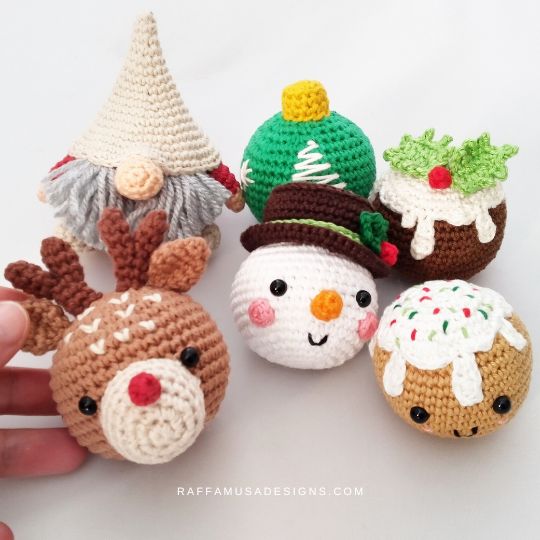
Crochet Bauble Set
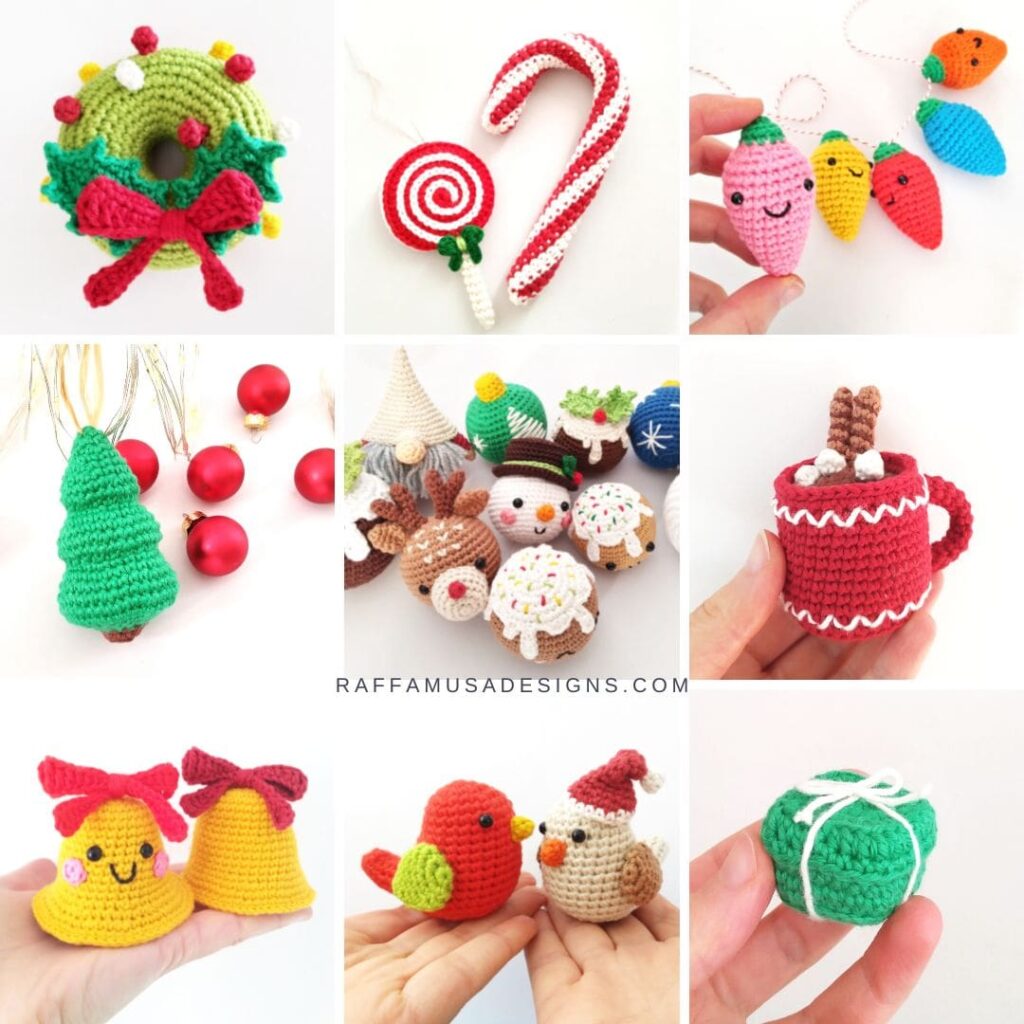
This gnome ornament is part of a Christmas bauble set which, besides the gnome, includes:
- Simple Christmas Baubles;
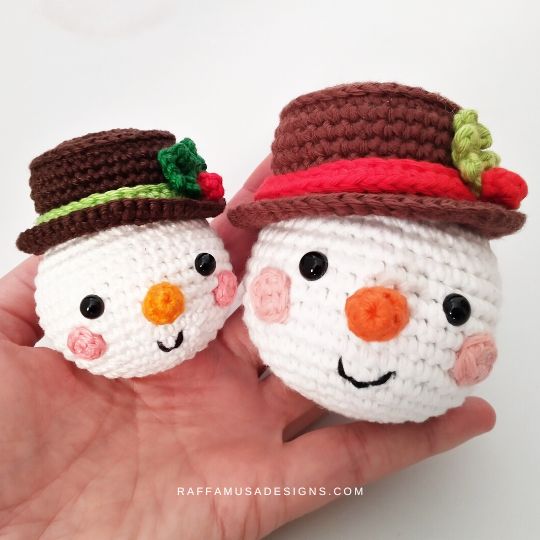
- Snowman Bauble;
- Gingerbread Man & Christmas Pudding Baubles;
- Reindeer Bauble.
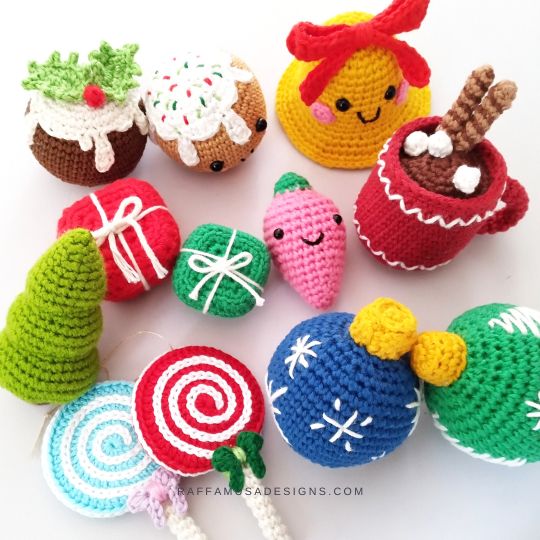
Christmas Ornaments Marathon
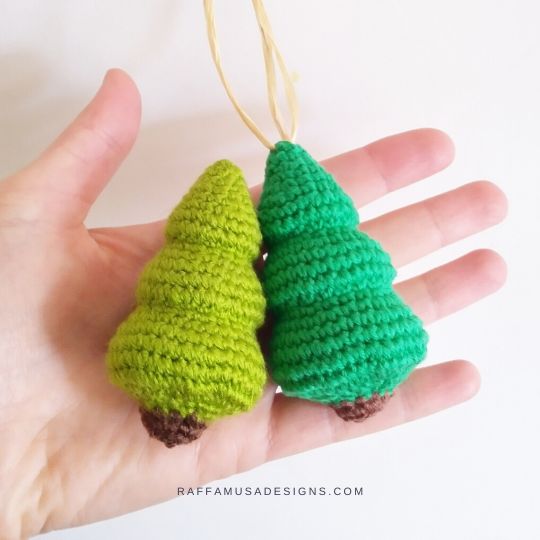
The pattern of the Christmas Gnome Amigurumi is part of my 2022 Christmas Ornaments Marathon CAL with many free patterns for your Christmas tree!
Get all the info and details on this super festive crochet marathon HERE!
Find more Christmas patterns here on the blog…
Add this pattern to your Ravelry queue HERE and favorite it (– thank you!). Or save it for later by pinning it to your favorite crochet board on Pinterest using this pin!
Note: this post contains affiliate links. If you purchase something through the links on my blog, I might earn a commission. This will not have any effect on the price you pay. For more info, please, see my Privacy Policy.
AD-FREE PRINTABLE PATTERN
The ad-free, printable PDF pattern of the Christmas Gnome Bauble is available as part of the:
- Christmas Baubles Collection on Ravelry, LoveCrafts, or Etsy;
- or the Christmas Amigurumi Ornaments on Ravelry or Etsy;


Materials
- 2.75-mm (C/2 USA, 12 UK) Crochet Hook
- DK (3, Light) Yarn
- Tapestry Needle
- Stuffing
Yarn
I used Paintbox Yarns Cotton DK (137 yds (125 m) per 50 g) in the following colors:
- Red – Pillar Red (415)
- Cream – Vanilla Cream (408)
- Pink – Blush Pink (454)
And a small amount of Hobbii Amigo (191 yds (175 m) per 50 g) in the following color:
- Grey – Light Gray Melange (A08)
Abbreviations (US Terms)
- Ch – Chain
- Inc – Increase
- Inv Dec – Invisible Decrease
- MC – Magic Circle
- Sc – Single Crochet
- Sk – Skip
- Sl St – Slip Stitch
- Sp – Space
- St – Stitch
- Yo – Yarn Over
Special Stitches
Increase (Inc)
One increase consists of 2 sts worked in the same indicated st.
Invisible Decrease (Inv Dec)
See HERE for a step-by-step tutorial.
Magic Circle (MC)
Find a tutorial on how to make the magic or adjustable ring HERE.
Size
3″ (7.5 cm) by 3.8″ (9.5 cm)
Gauge
This pattern is too small to accurately determine the gauge.
Pattern Notes
- If the pattern says “sc 2”, you need to sc 1 in each of the next 2 sts.
- (…) – Repeat the instructions within brackets for the indicated number of times.
- […] – Crochet the instructions within brackets all in the same indicated st.
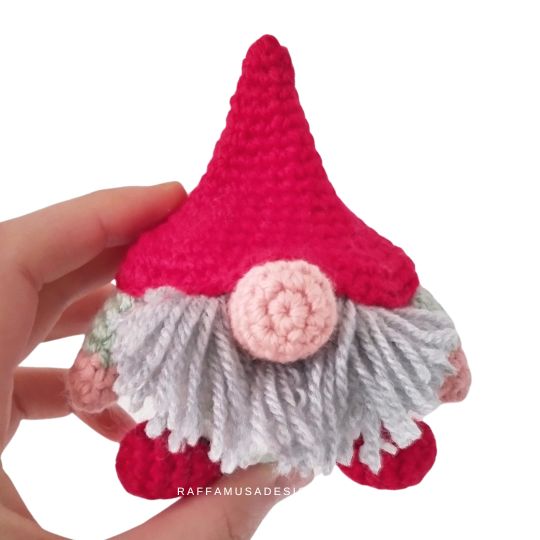
Christmas Gnome Amigurumi – Free Crochet Pattern
Bauble
With red, crochet a bauble following the pattern HERE.
Hat
With cream, make a MC.
Round 1. Sc 6. (6 sts)
Round 2. Sc around. (6 sts)
Round 3. (Sc inc 1, sc 2) twice. (8 sts)
Round 4. (Sc inc 1, sc 3) twice. (10 sts)
Round 5. Sc 2, sc inc 1, sc 4, sc inc 1, sc 2. (12 sts)
Round 6. (Sc inc 1, sc 5) twice. (14 sts)
Round 7. Sc 3, sc inc 1, sc 6, sc inc 1, sc 3. (16 sts)
Round 8. (Sc inc 1, sc 7) twice. (18 sts)
Round 9. Sc 4, sc inc 1, sc 8, sc inc 1, sc 4. (20 sts)
Round 10. Sc 2, sc inc 1, (sc 4, sc inc 1) 3 times, sc 2. (24 sts)
Round 11. (Sc inc 1, sc 5) 4 times. (28 sts)
Round 12. Sc 3, sc inc 1, (sc 6, sc inc 1) 3 times, sc 3. (32 sts)
Round 13. (Sc inc 1, sc 7) 4 times. (36 sts)
Round 14. Sc 4, sc inc 1, (sc 8, sc inc 1) 3 times, sc 4. (40 sts)
Round 15. (Sc inc 1, sc 9) 4 times. (44 sts)
Round 16. Sc 5, sc inc 1, (sc 10, sc inc 1) 3 times, sc 5. (48 sts)
Round 17. Sc around. (48 sts)
Fasten off leaving a long tail, and make an invisible join.
Nose
With pink, make a MC.
Round 1. Sc 6. (6 sts)
Round 2. Sc inc 6. (12 sts)
Round 3-5 (3 rounds). Sc around. (12 sts)
Fasten off leaving a long tail for sewing.
Arms
(Make 2)
With pink, make a MC.
Round 1. Sc 6. (6 sts)
Round 2. (Sc inc 1, sc 2) twice. (8 sts)
Round 3. Sc around. (8 sts)
Switch to red.
Round 4-8 (5 rounds). Sc around. (8 sts)
Fasten off leaving a long tail for sewing.
Shoes
(Make 2)
With cream, make a MC.
Round 1. Sc 6. (6 sts)
Round 2. Sc inc 6. (12 sts)
Round 3-5 (3 rounds). Sc around. (12 sts)
Round 6. (Inv dec 1, sc 4) twice. (10 sts)
Round 7. (Inv dec 1, sc 3) twice. (8 sts)
Fasten off leaving a long tail for sewing.
Stuff the shoe without filling it completely. Flatten the last round and seam the corresponding sts together.
Beard
With grey, cut 40 strands of yarn of approximately 5″ (12.5 cm).
Pair the strands of yarn in groups of two, and attach them to the bauble:
- Making the first row of 10 fringes between rounds 16 and 17
- Then, make the second row of 10 fringes just above the first one between rounds 17 and 18.
Assembly
Attach the nose on top of the beard exactly in the middle. Make sure that the top edge of the nose is at the same level as the top fringes of the beard.
Before seaming all around, stuff the nose with a little stuffing.
Attach the arms on the side of the beard placing the top of the arms between rounds 15 and 16 of the bauble.
Pin the hat and the feet in place:
- For the hat, make sure that the top of the beard and arms are covered.
- For the shoes, attach the flattened side just above round 6 of the bauble.
Trim the beard.
Fasten off and weave in all your ends.
YOUR CROCHET Christmas Gnome Amigurumi Ornament IS READY!
I hope you enjoyed this free crochet pattern, and I’d love to see your Christmas ornaments! Please, share a pic of your work on Facebook and Instagram using the hashtag #raffamusadesigns!
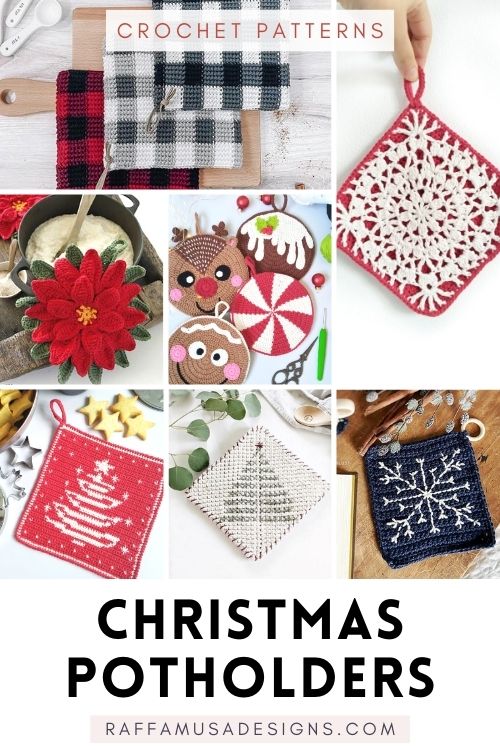
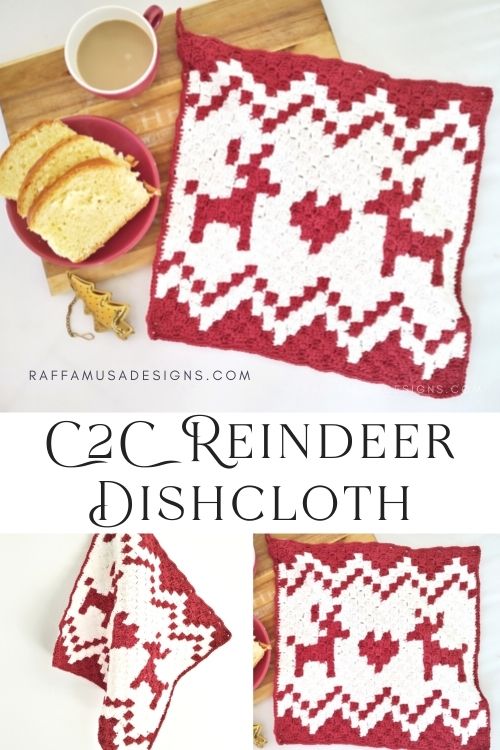
Find more free crochet Christmas Patterns here on the blog…
Oh my goodness!!! I love that you shared the story of the gnome!! I have never been a huge fan, but these guys are sooooo cute! I have crochet up a couple of these guys and share with friends who have Scandanavian ancestors. 😉
Thanks so much for your ornaments this year, Raffaella! All are so darling!
Merci pour ces échanges Raffaella et bonnes fêtes!!
Even though I am not of Scandinavian heritage I love the gnomes and pixies! Thank you for the pattern and the story behind them. I collect gnomes and pixies. Since my real name is PIXIE. That’s what my dad named me 🙂