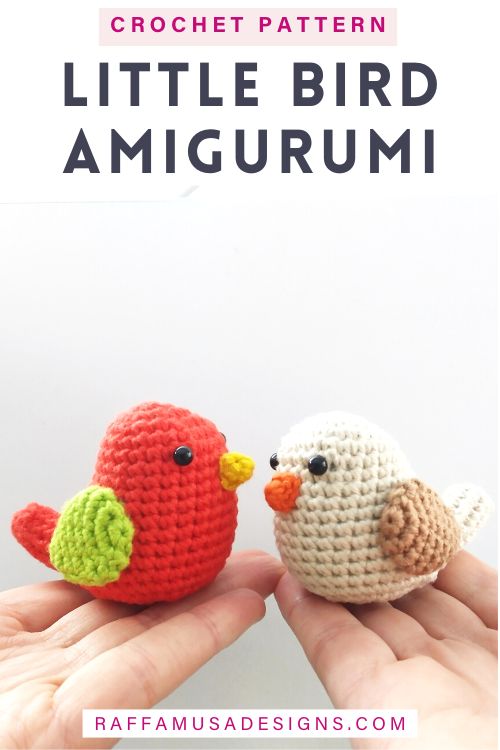
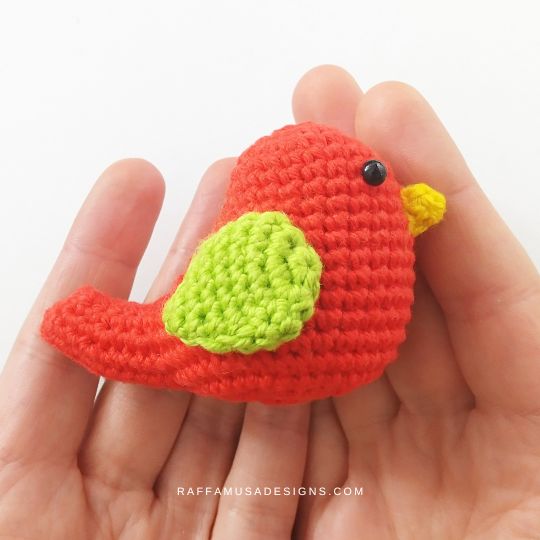
Crochet this Little Bird Amigurumi and make a cute gift for a bird-lover friend, a Christmas tree ornament, or a stuffed toy for your kids!
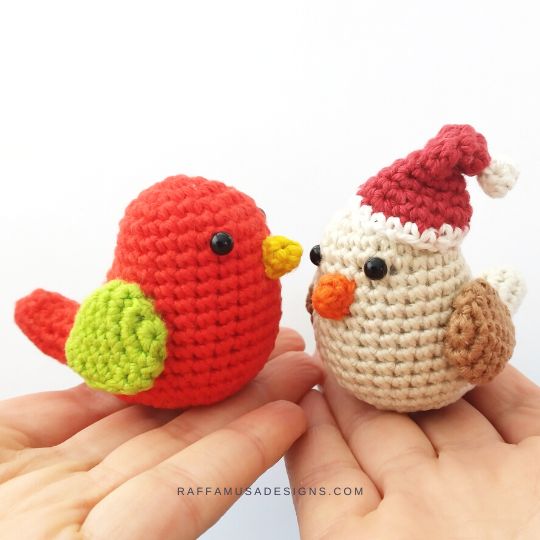
I made these Amigurumi birds as little Christmas tree decorations.
My plan is to get one of those nests that you find in most stores, take out the shiny, plastic birds that usually are inside, and put my little Amigurumi bird in!
The origin of nests as Christmas decorations is somehow mysterious.
What I could find online is that bird nests symbolize home, love, and commitment, and they also bring good luck. So, birds and bird nests are definitely a must-have for Christmas!
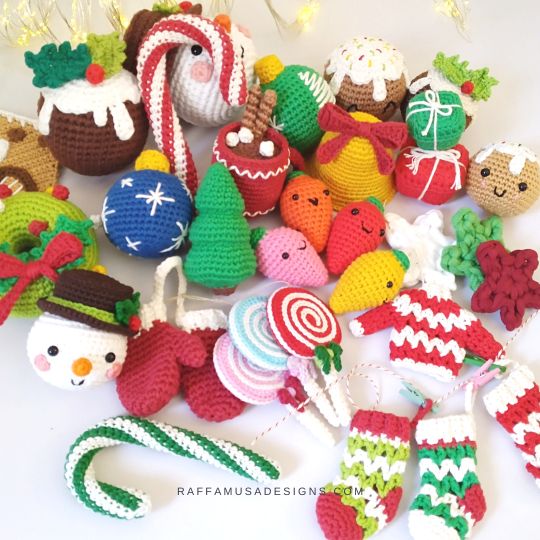
Christmas Ornaments Marathon
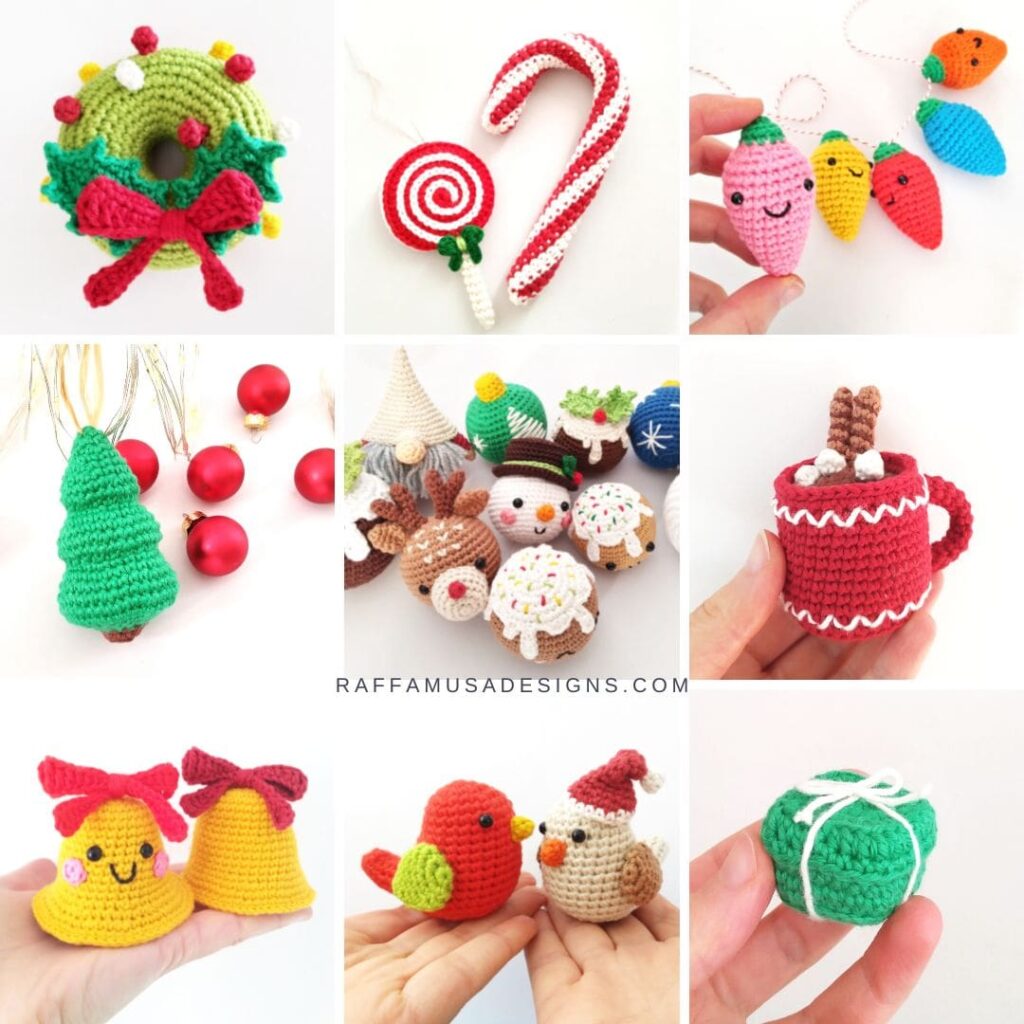
The pattern of the Little Bird Amigurumi is part of my 2022 Christmas Ornaments Marathon CAL with many free patterns for your Christmas tree!
Get all the info and details on this super festive crochet marathon HERE!
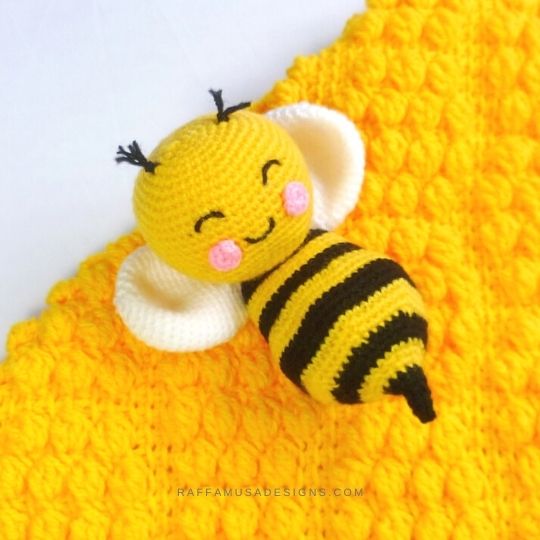
Find more Amigurumi patterns here on the blog…
Add this pattern to your Ravelry queue HERE and favorite it (– thank you!). Or save it for later by pinning it to your favorite crochet board on Pinterest using this pin!
Note: this post contains affiliate links. If you purchase something through the links on my blog, I might earn a commission. This will not have any effect on the price you pay. For more info, please, see my Privacy Policy.
AD-FREE PRINTABLE PATTERN
The ad-free, printable PDF pattern of the Little Bird Amigurumi is available on Ravelry HERE, LoveCrafts HERE, or Etsy HERE.
Or you can get it as part of the Christmas Amigurumi Ornaments on Ravelry HERE and Etsy HERE!


Materials
- 2.75-mm (C/2 USA, 12 UK) Crochet Hook
- DK (3, Light) Yarn
- Tapestry Needle
- Stuffing
- 2 Safety Eyes, 5 mm
Yarn
I used Paintbox Yarns Cotton DK (137 yds (125 m) per 50 g) in the following colors:
- Cream – Vanilla Cream (408)
- Light Brown – Soft Fudge (410)
- Orange – Blood Orange (420)
- Red – Pillar Red (415)
- White – Champagne White (403)
Abbreviations (US Terms)
- Ch – Chain
- Inc – Increase
- Inv Dec – Invisible Decrease
- MC – Magic Circle
- Sc – Single Crochet
- Sk – Skip
- Sl St – Slip Stitch
- Sp – Space
- St – Stitch
- Yo – Yarn Over
Special Stitches
Increase (Inc)
One increase consists of 2 sts worked in the same indicated st.
Invisible Decrease (Inv Dec)
See HERE for a step-by-step tutorial.
Magic Circle (MC)
Find a tutorial on how to make the magic or adjustable ring HERE.
Size
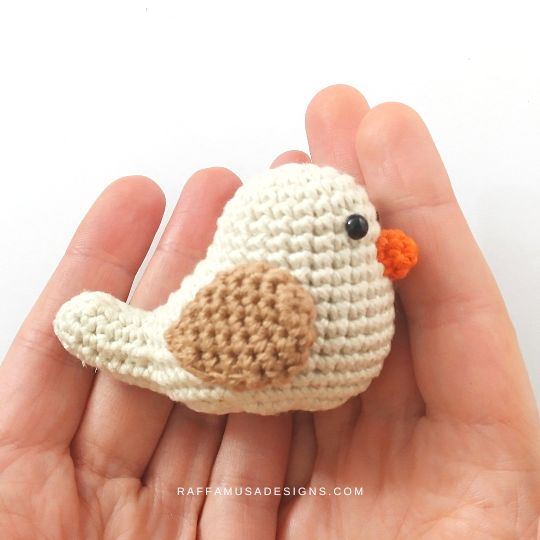
3″ (8 cm) long, 2″ (5 cm) tall, and 2″ (5 cm) large.
Gauge
This pattern is too small to determine the gauge accurately.
Pattern Notes
- If the pattern says “sc 2”, you need to sc 1 in each of the next 2 sts.
- (…) – Repeat the instructions within brackets for the indicated number of times.
- […] – Crochet the instructions within brackets all in the same indicated st.
Christmas Bird Amigurumi – Free Crochet Pattern
Bird
With cream, make a MC.
Round 1. Sc 6 in MC. (6 sts)
Round 2. Sc inc 6. (12 sts)
Round 3. (Sc inc 1, sc 1) 6 times. (18 sts)
Round 4. Sc 1, (sc inc 1, sc 2) 5 times, sc inc 1, sc 1. (24 sts)
Round 5-7 (3 rounds). Sc around. (24 sts)
On round 6, mark sts 9 and 14 to add the eyes later.
Round 8. [Sc 3] in first st, sc 23. (26 sts)
Round 9. Sc 1, [sc 3] in next st, sc 24. (28 sts)
Round 10. Sc 2, [sc 3] in next st, sc 25. (30 sts)
Round 11. Sc 3, [sc 3] in next st, sc 26. (32 sts)
Round 12. Sc 4. For the tail: working in next st, [sc 1, ch 6, sc 1 in the second ch from hook, sc in next 4 chs, sc 1 in the same st as last sc]. Sc 27 to complete the round. (38 sts)
Round 13. Sc 5, sc 5 on the lower loops of ch-6 from round 12, sc 5 working in the tail sts, sc 28. (43 sts)
Round 14. Sc 2, (sc inc 1, sc 1) 4 times, (sc 1, sc inc 1) 4 times, sc 25. (51 sts)
Round 15. (Sc 4, sc inc 1) twice, sc 8, sc inc 1, sc 4, sc inc 1, sc 27. (55 sts)
Round 16. Sc around. (55 sts)
Round 17. Sc 7, sk 20, sc 28. (35 sts, photos 1-2)
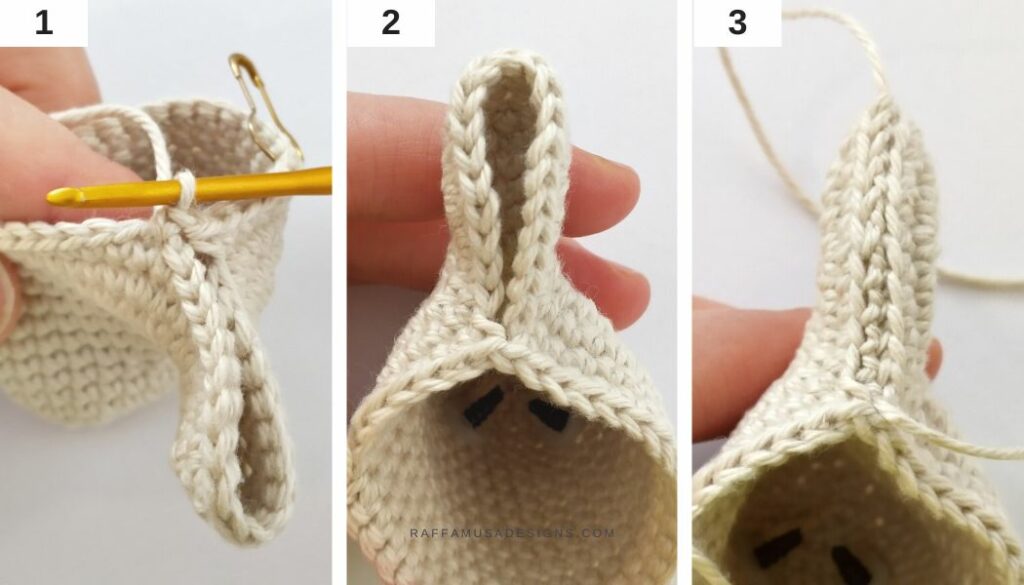
Place your loop on a stitch holder. Attach the safety eyes between rounds 6 and 7 after st 9 and after st 14 of round 6. Then, with a length of cream, sew the 20 sts of the tail (photo 3).
Round 18. (Inv dec 1, sc 3) 7 times. (28 sts)
Stuff your Amigurumi making sure to push some stuffing into the tail.
Round 19. Inv dec 14. (14 sts)
Round 20. Inv dec 7. (7 sts)
Fasten off, close the last 7 sts, and weave in your ends.
Wing
(Make 2)
With light brown, make a MC.
Round 1. Sc 6 in MC. (6 sts)
Round 2. Sc inc 6. (12 sts)
Round 3. (Sc inc 1, sc 5) twice. (14 sts)
Round 4-5 (2 rounds). Sc around. (14 sts)
Round 6. (Inv dec 1, sc 5) twice. (12 sts)
Round 7. (Inv dec 1, sc 4) twice. (10 sts)
Round 8. (Inv dec 1, sc 3) twice. (8 sts)
Round 9. Inv dec 4. (4 sts)
Fasten off leaving a long tail, and close the last 4 sts.
Beak
With orange, make a MC.
Round 1. Sc 5 in MC. (5 sts)
Round 2. Sc around. (5 sts)
Fasten off leaving a long tail for sewing.
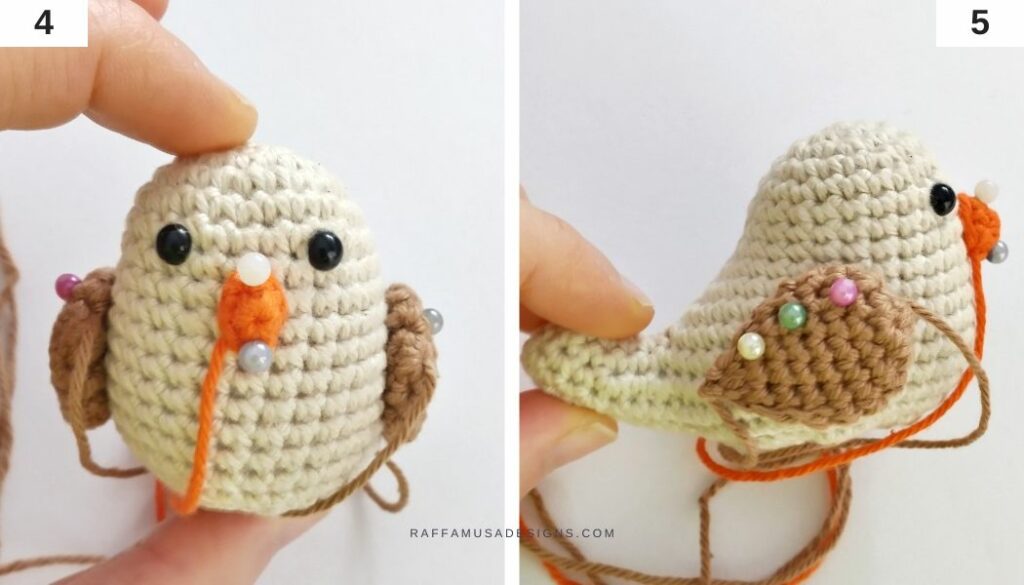
Assembly
Pin the beak in the middle of the eyes, and the wings on the side of the body.
Sew the beak and the wings, and weave in all your ends.
Christmas Hat
With red, make a MC.
Round 1. Sc 6 in MC. (6 sts)
Round 2. Sc around. (6 sts)
Round 3. (Sc inc 1, sc 2) twice. (8 sts)
Round 4. Sc around. (8 sts)
Round 5. (Sc inc 1, sc 3) twice. (10 sts)
Round 6. Sc 2, sc inc 1, sc 4, sc inc 1, sc 2. (12 sts)
Round 7. (Sc inc 1, sc 2) 4 times. (16 sts)
Round 8. (Sc inc 1, sc 3) 4 times. (20 sts)
Round 9. Sc around. (20 sts)
Fasten off red.
Join white in any st from round 9.
Round 10. Sc around. (20 sts)
Fasten off leaving a long tail for sewing.
Pompom
With white, make a MC.
Round 1. Sc 6 in MC. (6 sts)
Round 2. Sc around. (6 sts)
Fasten off leaving a long tail, and close the last 6 sts together.
Hat Assembly
Attach the pompom to the tip of the hat, and model the hat by folding the tip on one side.
Finally, sew the hat on the head of the bird.
YOUR CROCHET Little Bird Amigurumi IS READY!
I hope you enjoyed this free crochet pattern, and I’d love to see your Christmas ornaments! Please, share a pic of your work on Facebook and Instagram using the hashtag #raffamusadesigns!
Find more free Amigurumi patterns here on the blog…
Oh Raffaella!!
I live in the country, and some years ago, a small bird nest blew out of a tree, and I picked it up and kept it. I didn’t know what I would ever do with it. Now I know!!!
These birds are absolutely adorable!!! I have to get a couple made up and put in the nest and will have to send you a picture.
Thank you so much for sharing your talent and designs with us!!
At church one year we made bird nests from wood shavings, then dipped them in melted paraffin. They were then spray-painted gold and a clothespin wired to the bottom.
Hi! I had a question, on round 4 of the body the number of stitches given adds up to 22 and doesn’t reach the end of the previous round, is there something I’m missing? How should I correct this?
Oh yes, thanks for letting me know. I forgot one increase before the last sc. I’ll correct it 🙂