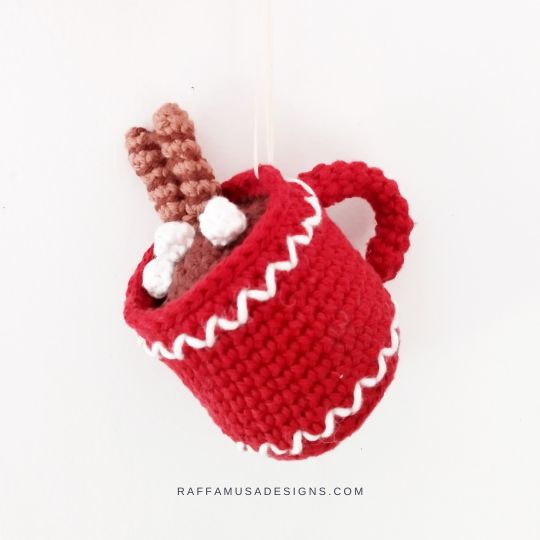
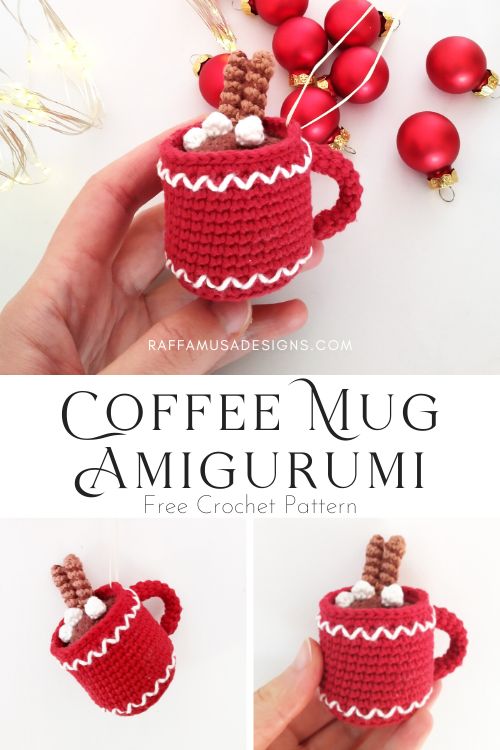
Crochet a cute Coffee Mug Amigurumi for your collection of handmade Christmas tree ornaments, or use your coffee cup as a keychain or gift tag!
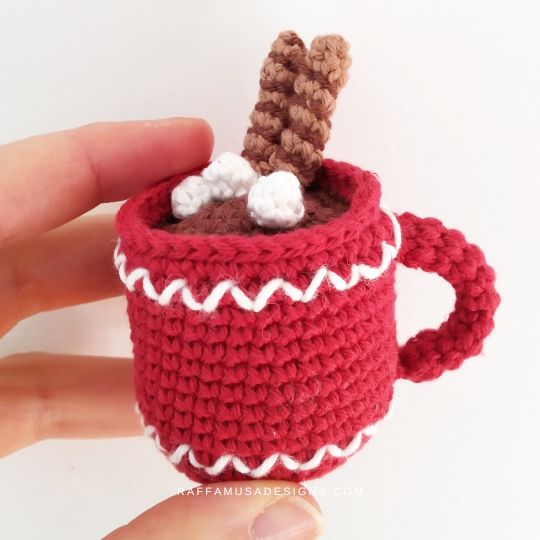
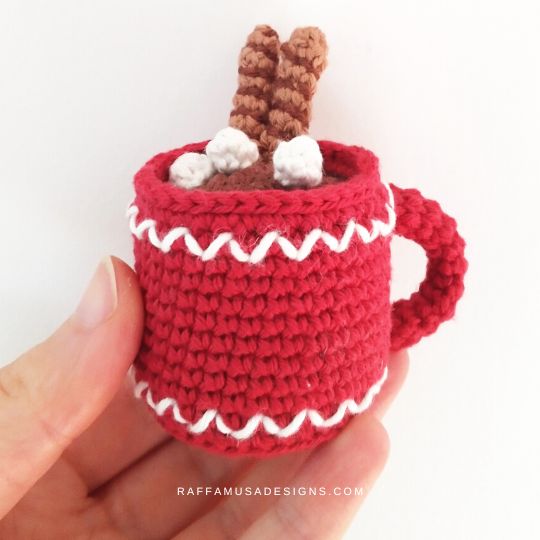
This little Christmas ornament was born as a coffee mug. However, with the marshmallows and the chocolate straws, it looks more like a cup of hot cocoa!
And you could even make it into tea if you want!
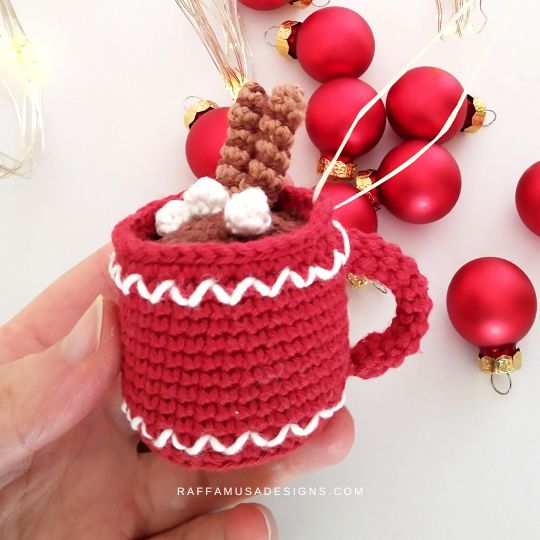
Christmas Ornaments Marathon
The pattern of the Coffee Mug Amigurumi is the third pattern in my 2022 Christmas Ornaments Marathon CAL!
In the coming weeks, I’ll be sharing many free ornament patterns that you can crochet for your Christmas tree or as gifts for family and friends, or use as keychains, gift tags, and card holders!
Get all the info and details on this super festive crochet marathon HERE!
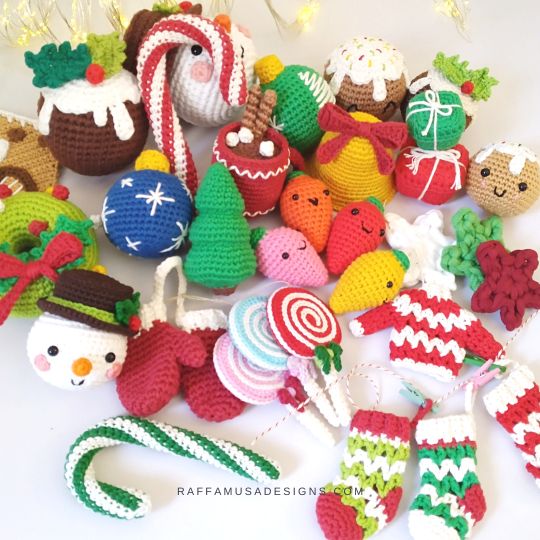
Find more Christmas patterns here on the blog…
Add this pattern to your Ravelry queue HERE and favorite it (– thank you!). Or save it for later by pinning it to your favorite crochet board on Pinterest using this pin!
Note: this post contains affiliate links. If you purchase something through the links on my blog, I might earn a commission. This will not have any effect on the price you pay. For more info, please, see my Privacy Policy.
AD-FREE PRINTABLE PATTERN
The ad-free, printable PDF pattern of the Coffee Mug Amigurumi is available on Ravelry, LoveCrafts, or Etsy!
Materials
- 2.75-mm (C/2 USA, 12 UK) Crochet Hook
- DK (3, Light) Yarn
- Tapestry Needle
- Stuffing
Yarn
I used Paintbox Yarns Cotton DK (137 yds (125 m) per 50 g) in the following colors:
- Red – Pillar Red (415)
- Brown – Coffee Bean (411)
- Light Brown – Soft Fudge (410)
- White – Champ. White (403)
Abbreviations (US Terms)
- BLO – Back Loop Only
- Ch – Chain
- Inc – Increase
- MC – Magic Circle
- Sc – Single Crochet
- Sl St – Slip Stitch
- St – Stitch
- Yo – Yarn Over
Special Stitches
Back Loop Only (BLO)
Learn how to crochet in the BLO HERE.
Increase (Inc)
One increase consists of 2 sts worked in the same indicated st.
Invisible Join
Learn how to finish a round with the invisible join HERE.
Magic Circle (MC)
Find a tutorial on how to make the magic or adjustable ring HERE.
Size
The mug measures 1.6″ (4 cm) by 1.8″ (4.5 cm).
Gauge
This pattern is too small to accurately determine the gauge.
Coffee Mug Amigurumi – Free Crochet Pattern
Mug
With red, make a MC.
Round 1. Sc 6 in MC. (6 sts)
Round 2. Sc inc 6. (12 sts)
Round 3. (Sc inc 1, sc 1) 6 times. (18 sts)
Round 4. Sc 1, (sc inc 1, sc 2) 5 times, sc inc 1, sc 1. (24 sts)
Round 5. (Sc inc 1, sc 3) 6 times. (30 sts)
Round 6. Sc 2, (sc inc 1, sc 4) 5 times, sc inc 1, sc 2. (36 sts)
Round 7. BLO sc around. (36 sts)
Rounds 8-17 (10 rounds). Sc around. (36 sts)
Place your loop on a stitch marker and continue to crochet the other parts.
Mug handle
With red, ch 6, and sl st in first ch to form a ring.
Round 1. Sc in each ch of the ring. (6 sts)
Round 2. Sc around. (6 sts)
Repeat round 2 until your handle measures about 2″ (5 cm, approximately 12 rounds).
Fasten off leaving a long tail for sewing.
Coffee
With brown, make a MC.
Round 1. Sc 6 in MC. (6 sts)
Round 2. Sc inc 6. (12 sts).
Round 3. (Sc inc 1, sc 1) 6 times. (18 sts)
Round 4. Sc 1, (sc inc 1, sc 2) 5 times, sc inc 1, sc 1. (24 sts)
Round 5. (Sc inc 1, sc 3) 6 times. (30 sts)
Round 6. Sc 2, (sc inc 1, sc 4) 5 times, sc inc 1, sc 2. (36 sts)
Fasten off and make an invisible join.
Chocolate Straw
(Make 2)
With light brown, make a MC.
Round 1. Sc 6 in MC. (6 sts)
Round 2. Sc around. (6 sts)
Repeat round 2 until your straw measures about 1.15″ (3 cm, approximately 7 rounds).
Fasten off leaving a long tail for sewing.
Finishing
With a length of brown, embroider chocolate stripes by following the spaces between the different rounds of the straw.
Fasten off the brown yarn and weave in your ends.
Marshmallows
(Make 3)
With white, make a MC.
Round 1. Sc 6 in MC. (6 sts)
Round 2. Sc around. (6 sts)
Fasten off leaving a long tail for sewing, and close the sts of round 2.
Assembly
Attach the handle to the cup by sewing the last round of the handle and its initial chain close to the top of the cup and to the bottom, respectively.
Sew the chocolate straws next to each other, close to the border of the coffee making sure to leave the last round of the coffee free for crocheting later.
Attach the marshmallows to the coffee and weave in your ends.
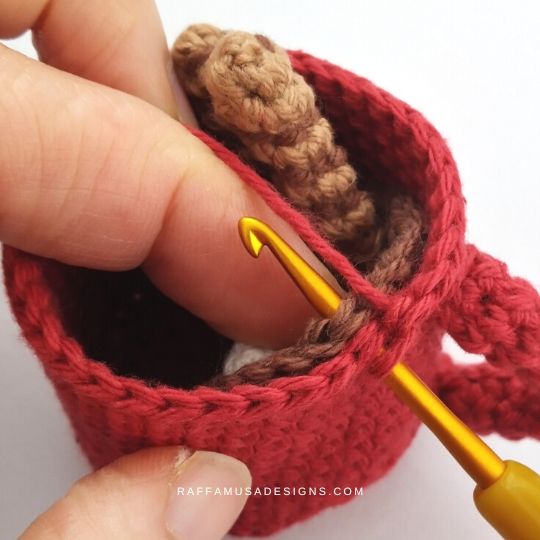
Place the coffee inside the cup. Continue crocheting from round 17 of the cup with red.
Round 18. Sc together the corresponding sts of round 17 of the cup and round 6 of the coffee (photo below). Before completing the round, stuff your Amigurumi. (36 sts)
Round 19. Sl st around. (36 sts)
Fasten off and make an invisible join. Then, weave in your ends.
Finishing
With a length of white yarn, embroider a few decorations on your coffee mug.
Fasten off and weave in all your ends.
YOUR CROCHET Coffee Mug Amigurumi IS READY!
I hope you enjoyed this free crochet pattern, and I’d love to see your Christmas ornaments! Please, share a pic of your work on Facebook and Instagram using the hashtag #raffamusadesigns!
Find more free crochet Christmas Patterns here on the blog…
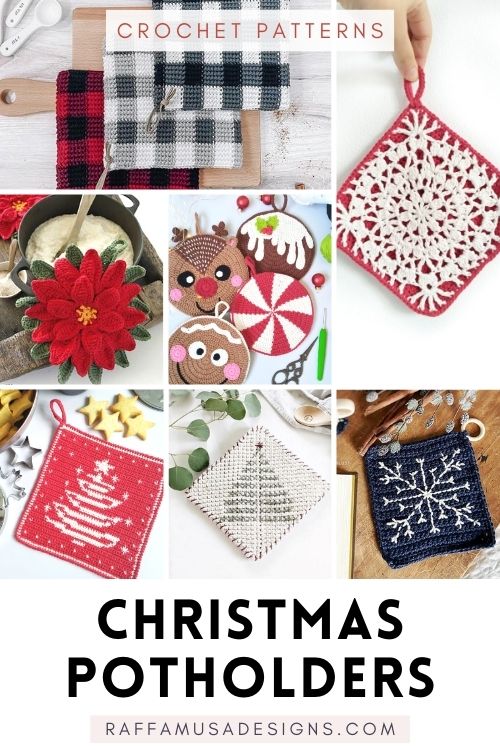
- Free Crochet Christmas Potholders
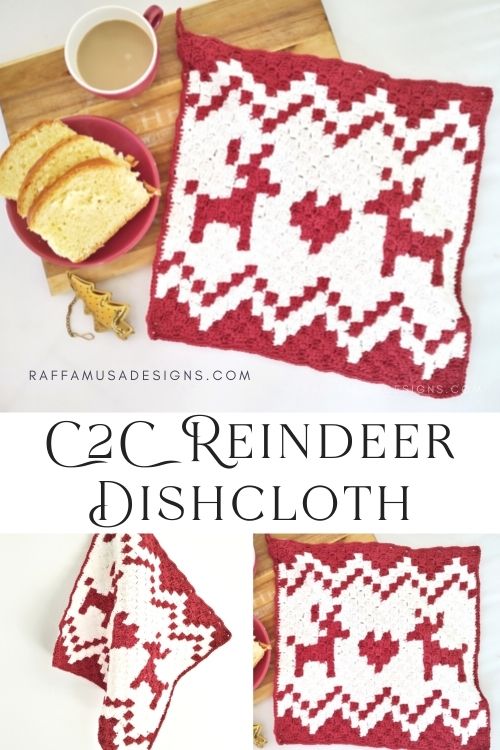
- C2C Nordic Reindeer Dishcloth
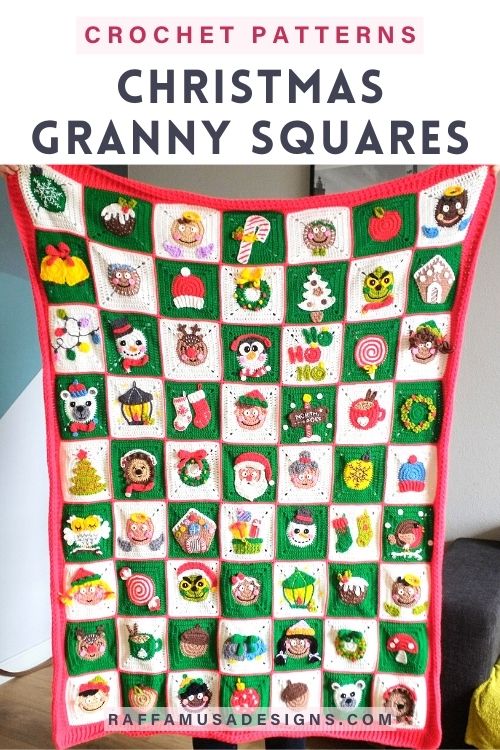
- Christmas Granny Squares
- Free Crochet Patterns for Coffee Lovers




Thank you so much for this pattern! It’s absolutely adorable, and I was able to make it into a gift box with only a couple of tweaks. I made a few for my Etsy store for Christmas, and I made sure to include the link to your site. 🙂
https://www.etsy.com/listing/1350007385/mug-of-cocoa-gift-box
Oh my gosh, it’s so cute 😍 such a beautiful idea!
Cảm ơn tác giả đã cho mình một mẫu free vô cùng ngọt ngào.
Am so excited to start with this coffee mug. Have been wanting to find a free pattern for this and alas, thanks to you! Merry Christmas!
So cute and easy to make!
Every single stitch is explained.
Love it!