Have you just made a beautiful crochet blanket, potholder, or another crochet project, and now you’re drawing a blank about how to finish it up with proper edging?
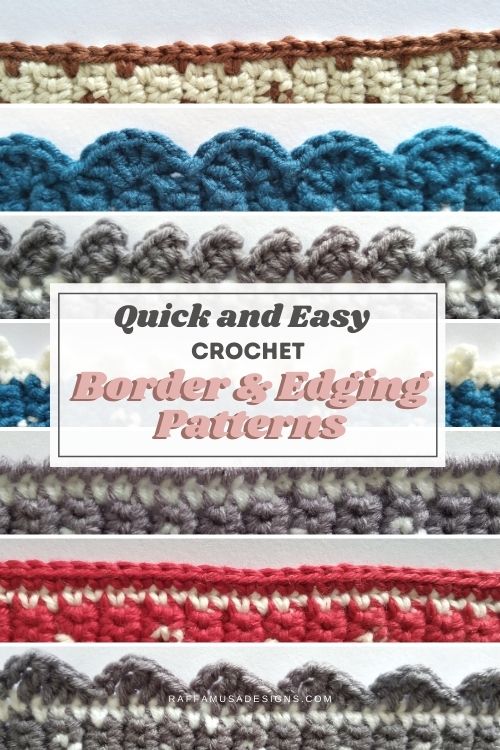
And let’s say you’re somehow impatient to move on to your next pattern, so you are looking for a really quick and easy border idea that still looks great!
I’ve been there! Several times.
And I have scoured the internet extensively looking for crochet border patterns. There are so many options out there that it’s easy to get lost!
So, I made my own collection of crochet borders that are very simple, yet pleasing to the eye!
For all the edging patterns that I am sharing in this post, you will need to crochet just two rows. The first row is always a single crochet one, while the second row varies from border to border.
One thing that I like about these borders is that you can easily adapt them. Whether your item is in one solid color or in multiple colors, these borders will perfectly fit your project.
Since I used all these borders for my Farmhouse Potholders, you can see what they look like in action! I’ll give you the specific link for each one of them.
1. Single Crochet Border
This is the easiest border you can think of. Both rows are worked in single crochet. You do not have any stitch count limitations, so it is great when you do not want to work any math at all!
You can see this border in action in the Rooster Potholder!
One interesting variation that works great for blankets is to crochet the second row in the back loop only! This is something I did for my Bee Granny Square Blanket!
2. Crab Stitch Border
This is also a very simple border that you can use on any project. It will work on any stitch count and the pattern looks like this:
Row 1. Sc all around.
Row 2. Crab stitch all around.
You can see this crochet border in the Pig Potholder pattern!
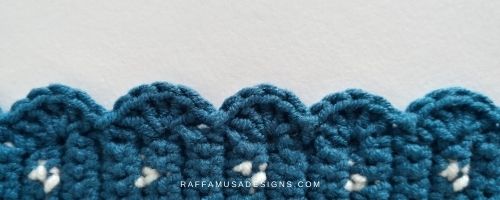
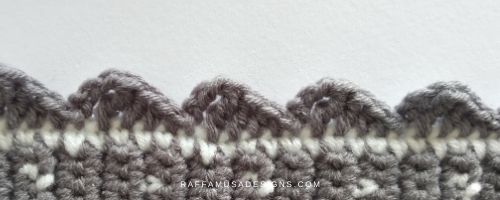
3. Shell or Scallop Border
Crochet shells are always very cute and versatile. They look great on a number of projects, from blankets to garments, and from kitchen towels to spa sets.
This edging pattern works in multiples of 5!
To make this border, follow this pattern:
Row 1. Sc all around.
Row 2. (Sk 1 st, [dc 5] into the next st. Sk 1 and sl st into the next st) all around.
You can see it in action in the Goose Potholder.
4. Picot Border
To make a picot, you simply chain 3 and then, slip stitch in the back loop of the first chain you made.
It is such a simple stitch for such an elegant result!
For my Cow Potholder, I worked up a crochet picot border that could work well for multiples of 5.
Row 1. Sc all around.
Row 2. (Sc 2, [sc 1, picot 1, sc 1] all in the same st) all around.
5. Zig Zag Border
The Zig Zag border is very simple and looks great on many different projects, such as baskets, potholders, dishcloths, but also blankets, etc.
It’s more or less as “bulky” as the Crab Stitch border, but it creates a sort of braid around your crochet piece.
Moreover, unlike the crab stitch, it’s crocheted in the right direction!
Row 1. Sc all around.
Row 2. [Sl st 1, ch 1] in each st all around.
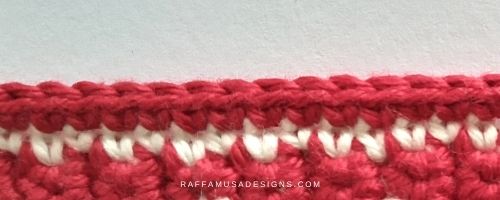
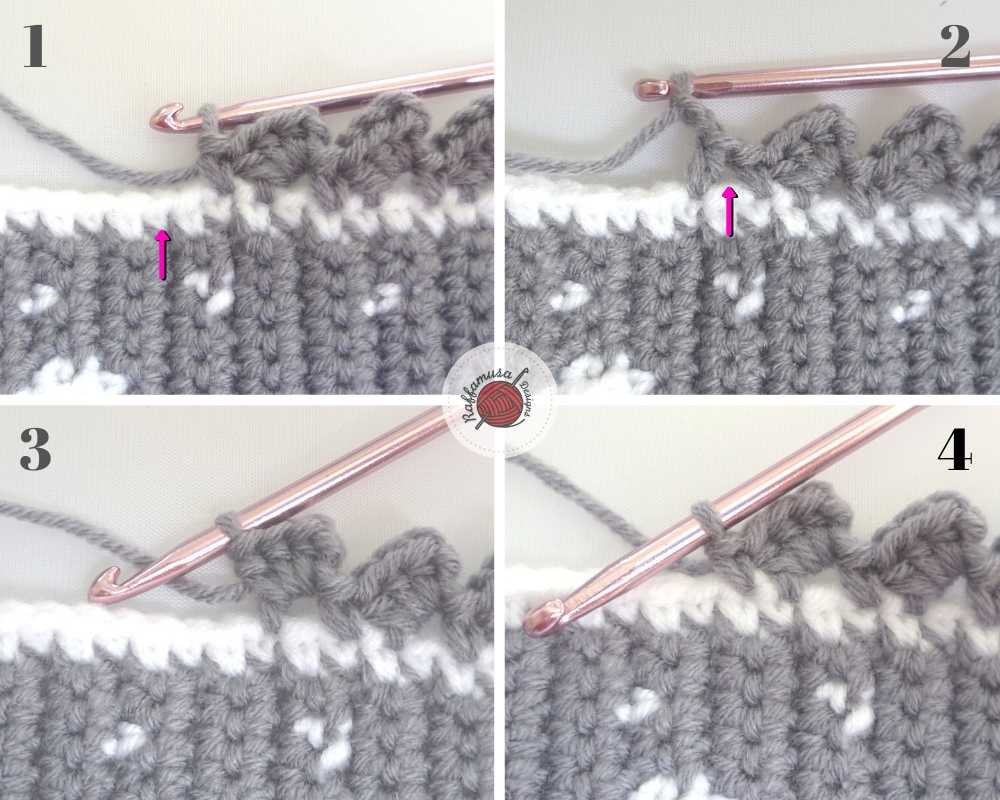
6. Slip Stitch and Drop Stitch Border
Even simpler than the single crochet border, you can finish up your project with this easy slip stitch/drop stitch border.
This is perfect when you do not want to add much width or height to your crochet piece but still want a finished look.
I used this border for my Pumpkin Potholder!
I adjusted the pattern so that it worked for multiples of 3, but you can vary the spacing between drop stitches to make it work for your specific stitch count.
Row 1. Sc all around.
Row 2. (Sl st 2, drop st 1) all around.
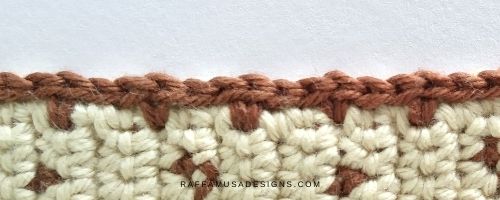
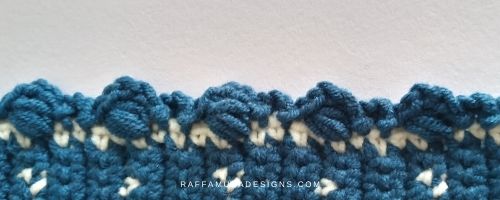
7. Triangle Border
For my Bee Potholder, I chose a delicate and natural border that looks like many little triangles.
This border pattern works for multiples of 5.
Row 1. Sc around.
Row 2. (Sc 1, hdc 1, dc 1, tr 1, ch 3 and sl st into the next st). Repeat all around.
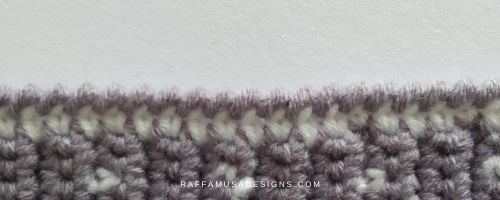
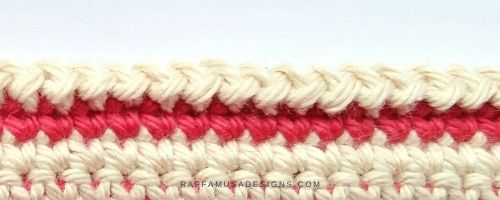
8. Around the Post Hdc Clusters
Mainly consisting of half double crochet stitches, this edging is very simple and beautiful! You can see this border in action in the Horse Potholder.

This border pattern works for multiples of 3.
Row 1. Sc all around.
Round 2. Sc in the first st, (sk 1, hdc into the next st. Ch 2, hdc 3 in the hole formed between the first sc and the post of the hdc. Sc into the next st) until the end.
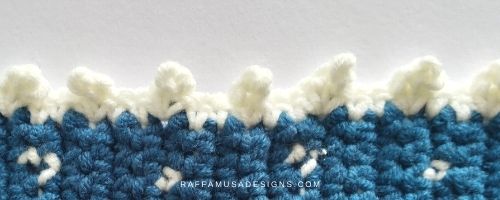
9. Puff Stitch Border
I made this border for my Farm Life Potholder. It is a combination of puffs and chains with a very rustic look to it. I would use this border for anything for the kitchen or the bath.
The stitch repeat works in multiples of 5.
Row 1. Sc all around.
Row 2. Ch 3, 1 puff* into the next st, ch 1, sk the next 2 sts, sl st into the next st, ch 3, sl st into the next st. Repeat around.
*Puff Stitch (Puff): (Yo, insert your hook into the indicated st and pull up a loop to the level of your work) three times. You should have 7 loops on your hook. Yo, pull through all 7 loops.
I hope you enjoyed this collection of crochet borders and edgings! Let me know which one you are going to use by leaving a comment below or showing me your work on Facebook and Instagram!
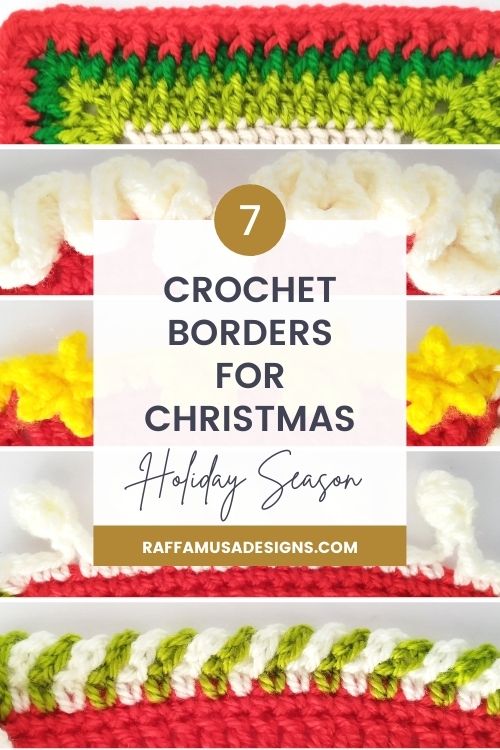
Find more crochet borders and inspiration here…
- 7 Crochet Borders for Christmas
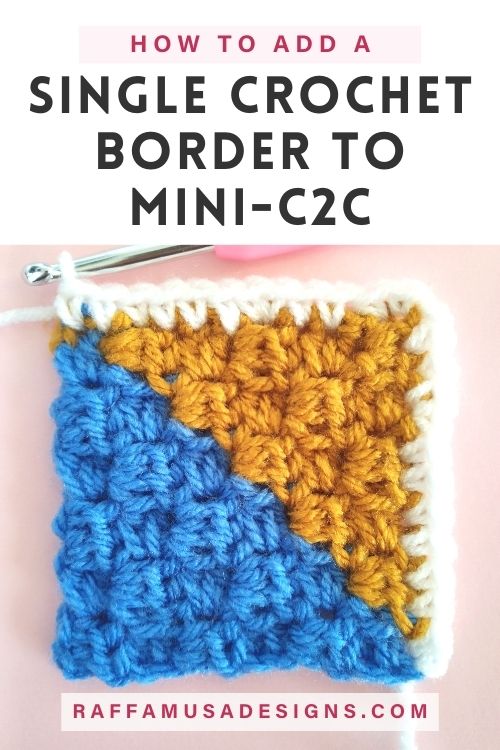
- How to add a simple single crochet border to C2C crochet
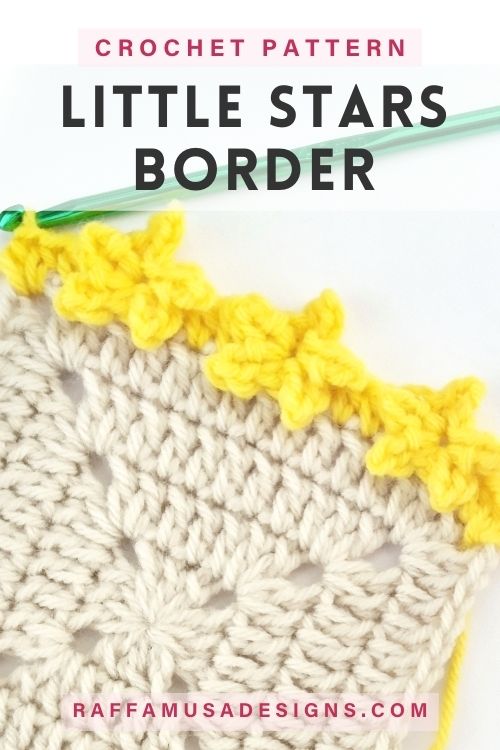
- Little Stars Border
I’m so happy with your border patterns for pot holders…
Ty and I will love seeing more of your beautiful work.
Thank you so much! I’m happy you like these borders 🙂
I have just completed a lapghan and was looking for a nice border to finish it off. Was stoked to see your zig zag border as I had crocheted my squares together using the zig zag crochet joining stitch and didn’t know I could have a matching border. It was really easy to do and the perfect way to edge the blanket. Thank you.
Hello! I just followed your directions and put a zig zag border around my potholders and it was the perfect finish. Not too much, not too little. Thank you so much!
I just finished a multi colored hexagon blanket. Would love your suggestion for a border. Thank you so much!!
Hi, if your blanket already has a lot of colors, I would go for something easy, maybe just a couple of rounds of back loop only single crochet in a neutral color or in the same color as your joining (if it’s a visible join). Otherwise, you could crochet a few rounds using all the colors you have in the blanket and make a gradient from the lighter color to the darkest one!
I used the triangle boarder. It was perfect for the baby blanket I made. I usually don’t use a pattern so I’m often looking for a boarder to compliment a blanket hat or sweater. Thank you, I will be using some of your other boarders.
I am adding your HDC CLUSTER AROUND POST border for my Millstone blanket. It is just the perfect end for this gift for my friend who is going through chemo.
Thanks for posting these. It is a remarkable gift to us hookers!
🥰
So lovely to find such cute borders all in one place. I’ve just made a baby blanket for a friend’s granddaughter who is due in the next few weeks. I needed a border, and low and behold, the zig zag border is perfect. Thank you for all these simple but pretty borders.