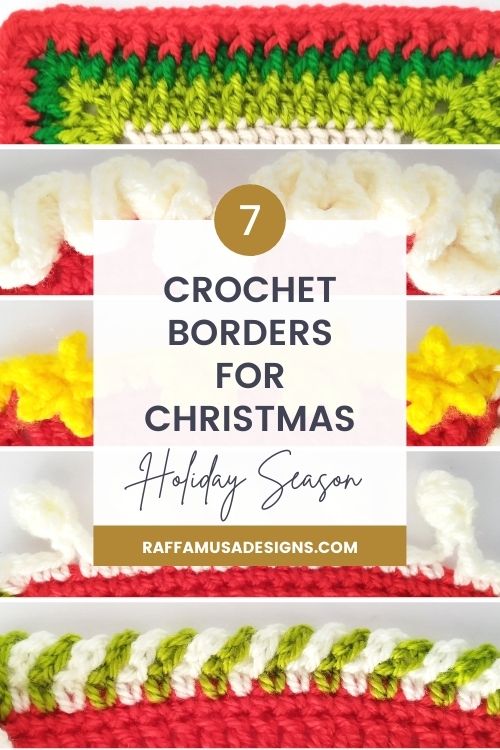
Today, we will explore some of the best crochet Christmas borders and edgings!
Adding the right border to your Christmas projects can be just as fun as crocheting the main piece.
And actually, with the right border pattern, any plain blanket, pillowcase, dishcloth, stocking, etc, can become a beautiful handmade piece for the Holidays!
All you need to do is to find that one border that has the right combination of color, festive look, and joyfulness!
So, to help you find the best edging pattern for your Christmas makes, here, I collected my favorite crochet borders for the Holidays!
Save these Christmas borders for later by pinning this post to your favorite crochet board on Pinterest with this pin!
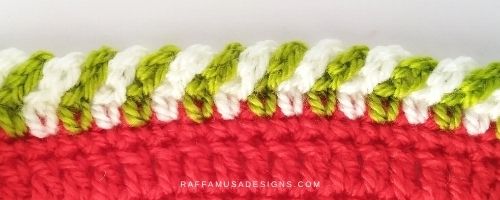
1. Candy Cane Border
The candy cane border is definitely one of the most popular crochet edgings for Christmas. For this border, you’ll only need to chain and single crochet first with one yarn color, and then with the other.
There are several tutorials online, like for example this one HERE.
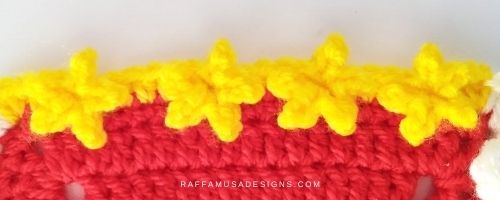
2. Little Stars Border
The Little Stars crochet border is a fun edging pattern that will add many little stars to the edge of your crochet project.
Follow the free step-by-step tutorial HERE.
3. Ruffle Border
Crochet ruffles are so fun and cozy! Adding a ruffle edge to your Christmas creations is super easy, and you can do it with just one row/round of double crochet. Here’s the pattern in short:
Row/Round 1. [Dc 4 or 5] in each st.
And that’s it!
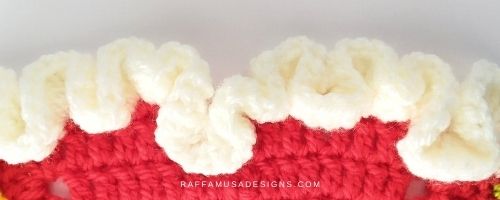
Of course, if you dc 5 sts in each st across/around, the ruffle will be more crowded, something similar to the right side in the picture above.
On the other hand, with 4 dc in each st, you’ll still get a very cute ruffle but it will be less crowded, more like on the left side in the picture.
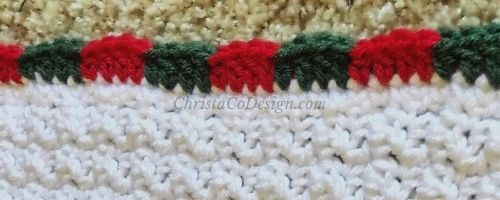
4. Color Block Border by ChristaCodesign
This cute color-block Christmas border was designed by Christa from ChristaCoDesign. This border is simple but at the same time so festive and cheerful!
Find the free pattern HERE.
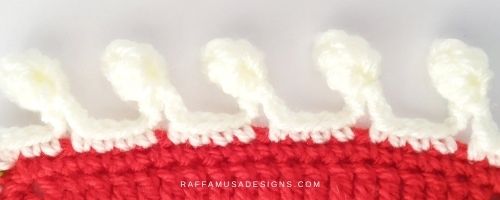
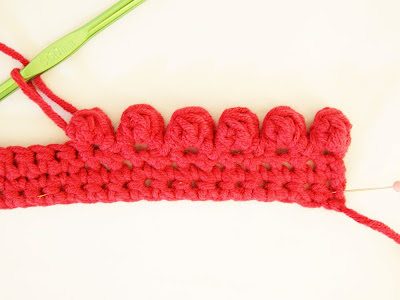
5. Pompom Edging
Pompoms, bobbles, and popcorns can always add a festive and snowy look to your Christmas blankets and projects.
Below, you can find the pattern for the pompom edge that you see in the picture.
This border works in multiples of 4 but you can easily adapt it to any stitch count by varying the number of single crochet stitches between pompoms.
For making the pompoms, you’ll need to know how to make a popcorn stitch. If you are not familiar with this stitch, you can find the tutorial of the crochet popcorn stitch HERE.
Row/Round 1. *Sc 2, ch 5, popcorn 1 in the third ch from your hook, ch 2, sc 2. Repeat from across.
6. Front Post Double crochet and Half double crochet Border
When you want to add a wider edge to your project, this border can be exactly what you need. I especially like it for blankets, and in fact, it is the border that I’m using for my Christmas granny square blanket.
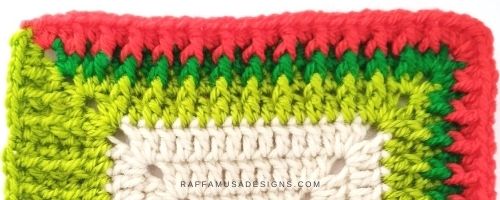
This border works best when you begin with an odd number of stitches but you can easily adapt it to even numbers once you get the hang of it.
You will need to be familiar with front post double crochet stitches. In case you’ve never tried post stitches, check this tutorial HERE.
Front Post Dc/Hdc Border Pattern
Join yarn in the first st on one side.
Round 1. Ch 2 (does not count as a st), dc all around. At the corners, [dc 2, ch 1, dc 2]. Join the round with a sl st.
Round 2. Ch 1 (does not count as a st here and in the rest of the pattern), *hdc 1, (FPdc 1, hdc 1) until you get to the last st of the side. In the corner, [hdc 2, ch 1, hdc 2]. Repeat from * all around. After the last corner, hdc 1, FPdc 1, then, join the round with a sl st.
Round 3. Ch 1, *hdc 1, (FPdc 1, hdc 1) until you get to the last st of the side. In the corner, [hdc 2, ch 1, hdc 2]. Repeat from * 4 times. After the last corner, (hdc 1, FPdc 1) twice, then, join the round with a sl st.
Round 4. Ch 1, *hdc 1, (FPdc 1, hdc 1) until you get to the last st of the side. In the corner, [hdc 2, ch 1, hdc 2]. Repeat from * 4 times. After the last corner, (hdc 1, FPdc 1) 3 times, join the round with a sl st.
And basically, you keep repeating the same pattern for as many rounds as you want by making sure to increase the number of (hdc 1, FPdc 1) repeats that you make after the last corner.
7. Crocheted Bobble Edging by Heidi Bears
Last but not least, we have this beautiful crocheted bobble edging designed by Heidi Bears.
This border is simple, not too large, and it gets done in just one row.
Find the free pattern and tutorial HERE.
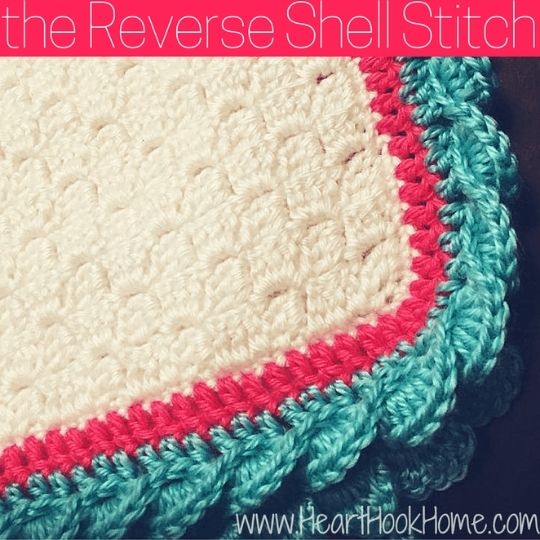
8. Reverse Shell Stitch Border
One last border as a bonus is the reverse shell stitch by Heart Hook Home. With the right Christmas colors, this border will look fabulous around your Christmas blanket!
Find the free pattern tutorial HERE.
Were you looking for something more simple? Check these Quick and Easy crochet borders in just 2 rows!
I hope you enjoyed this collection of crochet Christmas borders and edgings! Let me know which one you are going to use by leaving a comment below or show me your work on Facebook and Instagram!
Find more crochet borders and inspiration here…