Learn here how to add a simple single crochet border around corner to corner (C2C) afghan blocks and make them ready for joining!
A single crochet border is the best way to make your C2C squares ready before finally joining them into a complete afghan, pillowcase, etc.
But it’s also a nice finishing touch for all those projects that do not need any joining, like for example the mini-C2C Nordic Christmas potholder.
Of course, once you learn how to crochet around the edges of your C2C project, you can easily make a double crochet border or half double crochet border following the same steps as for the single crochet border that I’m showing you here.
Mini-C2C vs Regular C2C
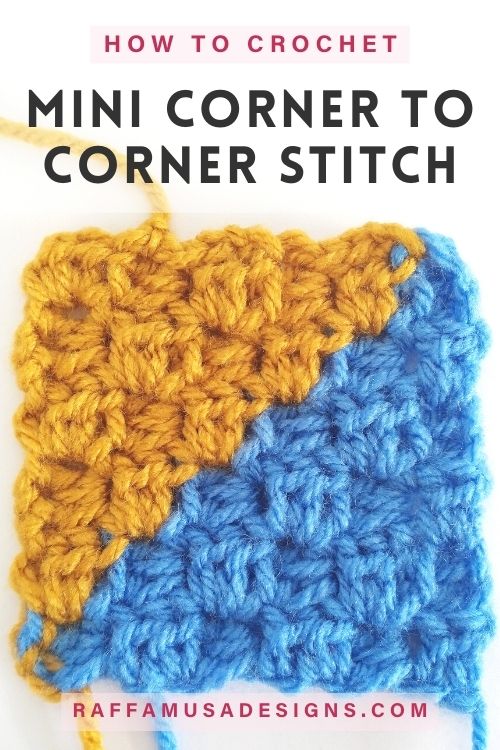
In both my video and photo tutorials, I’m showing you how to add a border to a mini-C2C square.
In a mini-C2C square, each block consists of two half double crochet stitches. While in a regular C2C square, each block has three double crochet stitches!
However, the same steps and logic apply when you need to add a border to a regular C2C project.
Save this post for later by pinning it to your favorite crochet board using this pin!
the Right Color for your Border
For this tutorial, I used a contrasting color yarn. This way, you can clearly see the stitches of the border compared to the C2C square.
However, for a more elegant and subtle join, make sure to use the same color yarn as the main one of your squares!
How to Add a Simple Border to a Mini-C2C Square – Video Tutorial
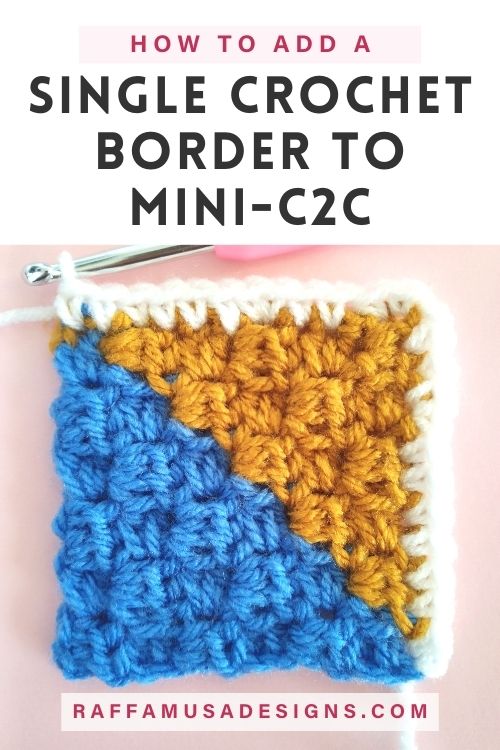
Single Crochet Border for Mini-C2C projects
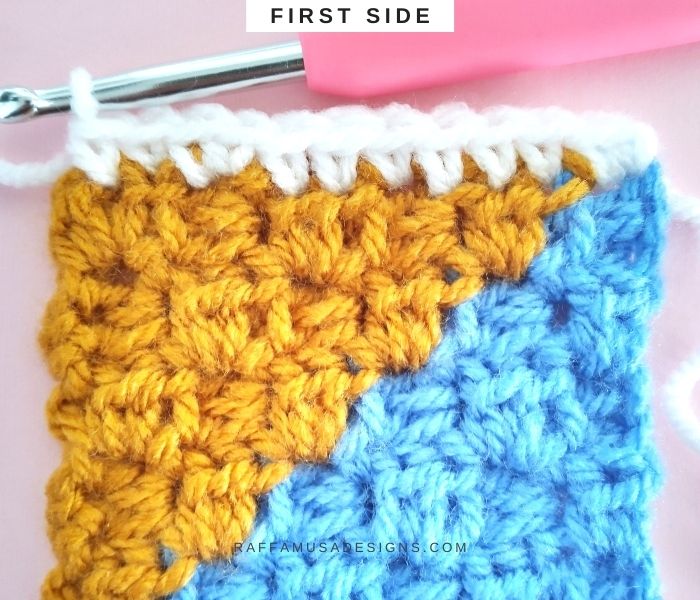
- Attach the yarn to any corner of your square.
- Single crochet 2 stitches for each of the blocks of the mini-C2C square.
What’s the Stitch Count?
In the example shown here, my square has 6 mini-C2C blocks on each side. This means that the border will have 6 * 2 = 12 stitches on each side!
Working 2 stitches on the side of each mini-C2C block works very well for the particular way I showed you to crochet the mini-C2C stitch HERE.
In short, for each mini-C2C block, there is a chain 1 to start, and 2 half double crochets per block.
If your mini-C2C blocks have a chain of 2 at the beginning and 3 half double crochets each, then the stitch count will be slightly different.
In fact, in that case, you’ll have a short side corresponding to the beginning ch-2, and a long side, which is the top of the 3 half double crochets.
So, for your border, you would have to work 2 single crochets on each short side, and 3 single crochets on each long side.
The same applies to regular C2C. You’ll need to work 2 single crochets on each short side (the beginning chain 2), and 3 single crochets on each long side (the top of the double crochet stitches).
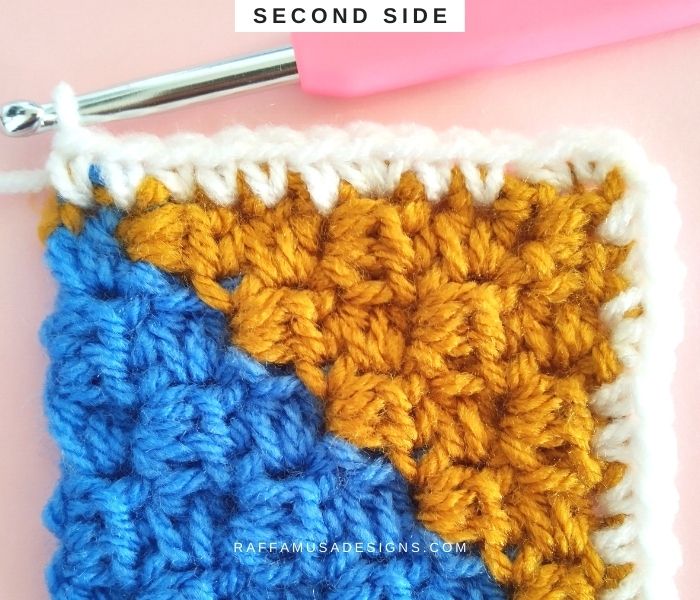
How to Turn at the Corners
Once the first side is done, it is time to crochet the border on the next side of your square.
To turn and start working on the next side, simply chain 1 to give a little ease to the corner.
Then, continue working your border on the remaining sides.
Once you completed the last side of your square, finish your single crochet border by making one chain for the corner, and simply slip stitch into the first single crochet stitch.
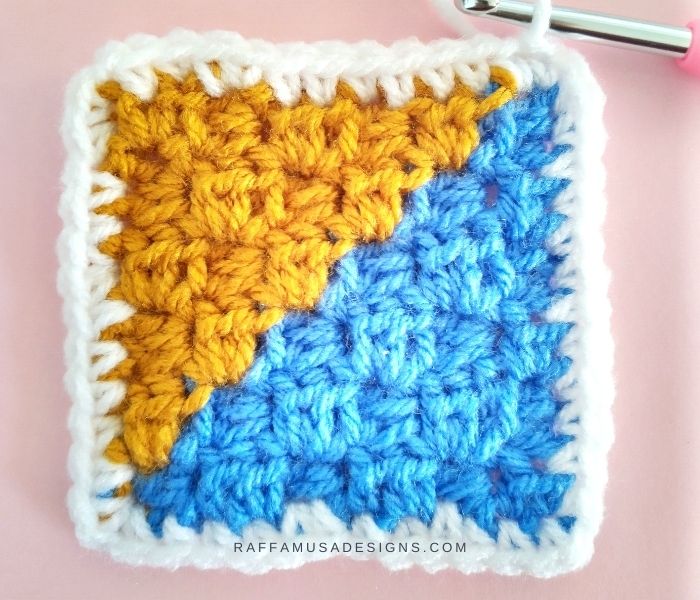
YOUR Single Crochet border around your C2C PROJECT IS READY!
I hope you enjoyed this tutorial. I would love to see your C2C projects on Facebook and Instagram. Don’t forget to use the hashtag #raffamusadesigns so that I don’t miss your pictures!
Find more crochet tutorials here on the blog…
- Crochet the Mini-C2C Stitch Tutorial
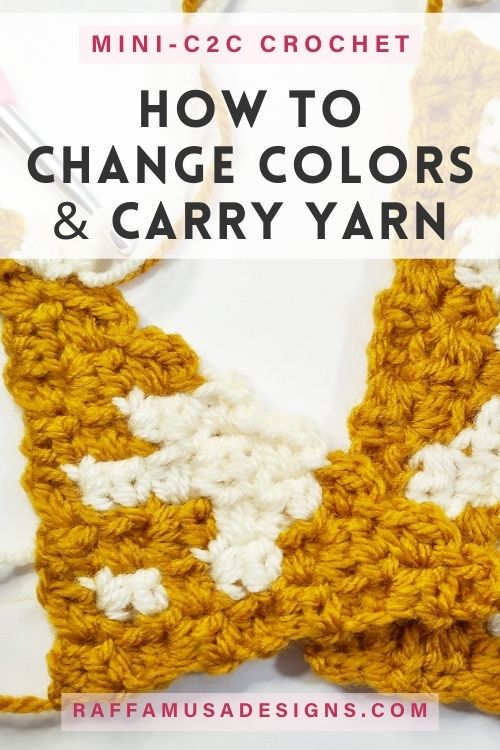
- How to Change Colors & Carry Yarn in Mini-C2C
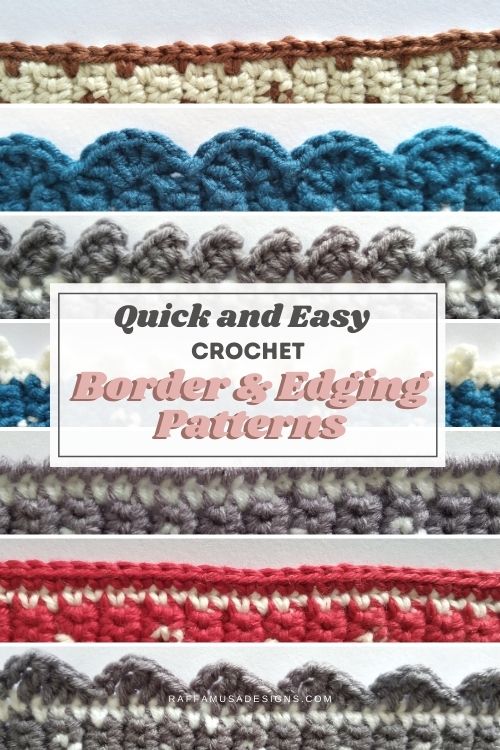
- Quick and Easy Borders in Just 2 Rows