The Tapestry Crochet Rooster Potholder was something I had wanted to crochet for a while but I just didn’t have a pattern yet! So, a few days ago, I sat down, took a squared paper, and started drawing one of my own.
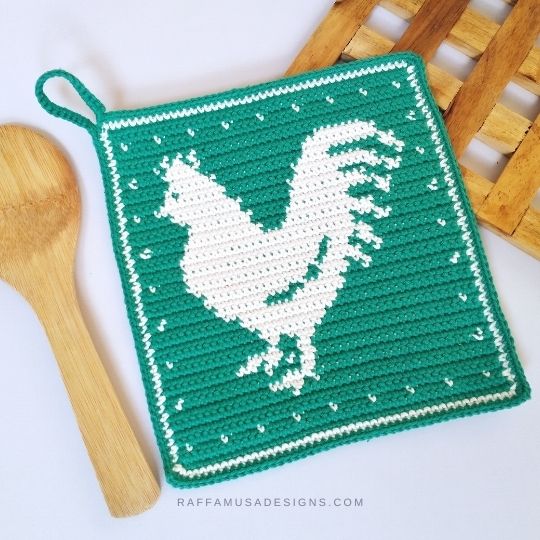
I have always loved the rustic kind of kitchen décor, especially the ones with animals and warm colors! So, my aim was to draw a rustic rooster that would look great in a cozy kitchen.
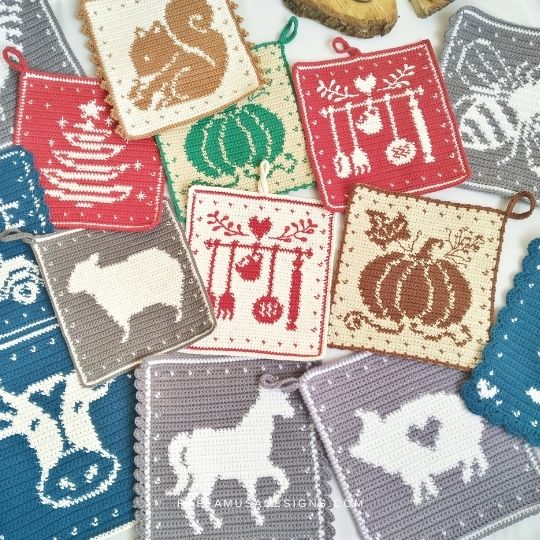
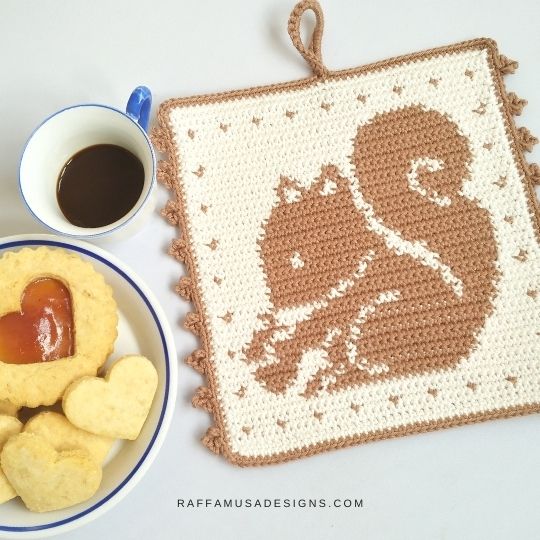
But well, after this first potholder, I couldn’t stop drawing and crocheting farmhouse animals and ended up creating an entire collection, the Farmhouse Collection!
Take a look at the collection HERE. Every now and then, I keep adding one or two new potholders!
A Compact Crochet Potholder
I often admire all the beautiful crochet potholders out there on the web, but I always have the same thought: I do not want any holes whatsoever in my potholders!
Don’t you find it annoying if you have to fold your potholder a trillion times in order not to get burned? I certainly do! While cooking, I want potholders that are actually protecting my hands. At the same time, I would like something that is not so thick to make me feel like a dodo.
And that’s why I chose to crochet my Rooster Potholder, using tapestry crochet.
Tapestry Crochet
In tapestry crochet, you carry all the colors that you need in a given row within your stitches.
Thus, the resulting fabric has the compactness of single crochet with some extra thickness thanks to the extra yarn carried inside. This provides the best solution to my need for a compact and functional potholder!
Changing Colors in Tapestry Crochet
For a nice result with tapestry crochet projects, it is important to change colors smoothly. To do so, it is necessary that each final stitch in a specific color is closed using the yarn in the next color.
In other words, when crocheting the last st of one given color, insert your hook in the indicated st, yo, pull up a loop, drop the currently used color, yo using the yarn in the new color and pull through both loops on your hook.
If you would like to read more about how to change color in tapestry crochet, you can take a look at this free tutorial on the blog. The tutorial also includes a little trick for a better color change when working on the wrong side!
What is the Best Yarn for Potholders?
The best choices of yarn for potholders are with no doubt natural fibers such as cotton or wool, best if felted. Moreover, felted wool is also flame-retardant.
On the other hand, synthetic yarns are a definite NO as they might actually melt with the high temperatures.

Note: this post contains affiliate links. This means that if you purchase something through the links on my blog, I might earn a commission. This will not have any effects on the price you pay. For more info, please, see my Privacy Policy.
AD-FREE DOWNLOADABLE PATTERN
I know ads are annoying… But no worries! The crochet pattern of the Rooster Potholder is available as an ad-free PDF in my Ravelry, LoveCrafts, and Etsy stores!


Materials
- 3.0-mm (D-3 USA, 11 UK) Crochet Hook
- Paintbox Yarns Cotton DK in two contrasting colors. I will refer to them as color A (A) and color B (B).
- Tapestry Needle
Yardage
- A – 50-55 yds / 45-50 m
- B – 30-35 yds / 27-32 m
Size
6.7” (17 cm) by 7.3” (18.5 cm)
Crochet Abbreviations (US Terms)
Ch – Chain
RS – Right Side
Sc – Single Crochet
Sk – Skip
Sl St – Slip Stitch
St – Stitch
WS – Wrong Side
Yo – Yarn Over
Pattern Notes
- The pattern is written in two sections. The Potholder is worked in rows, then the Border is worked in rounds.
- The potholder is worked entirely in sc.
- If the pattern says “(A) 5”, it means that with color A, you need to make one single crochet in each of the next 5 stitches.
- Turn your work at the end of each row.
- The starting ch 1 counts as your first stitch and is always made with A.
- All uneven-numbered rows are crocheted on the right side. All even-numbered rows are crocheted on the wrong side.
- (…) – Repeat the instructions within brackets for the indicated number of times.
- With the exception of the border, the stitch count is always 45 sts.
- The color chart of the potholder is only available in the paid PDF pattern.
Gauge
28 sc for 26 rows in 4” (10 cm) worked in tapestry crochet.
Tapestry Crochet Rooster Potholder – Free Pattern
(A) Ch 46.
← Row 1 [RS]. (A) 45.
→ Row 2 [WS]. (A) 45.
← Row 3 [RS]. (A) 2, (B) 1, ((A) 4, (B) 1) 8 times, (A) 2.
→ Row 4 [WS]. (A) 45.
← Row 5 [RS]. (A) 45.
→ Row 6 [WS]. (A) 18, (B) 1, (A) 26.
← Row 7 [RS]. (A) 23, (B) 1, (A) 1, (B) 5, (A) 15.
→ Row 8 [WS]. (A) 2, (B) 1, (A) 14, (B) 4, (A) 21, (B) 1, (A) 2.
← Row 9 [RS]. (A) 23, (B) 2, (A) 4, (B) 1, (A) 15.
→ Row 10 [WS]. (A) 11, (B) 3, (A) 1, (B) 2, (A) 1, (B) 1, (A) 1, (B) 2, (A) 23.
← Row 11 [RS]. (A) 23, (B) 2, (A) 2, (B) 5, (A) 13.
→ Row 12 [WS]. (A) 16, (B) 1, (A) 3, (B) 2, (A) 23.
← Row 13 [RS]. (A) 2, (B) 1, (A) 19, (B) 4, (A) 1, (B) 2, (A) 13, (B) 1, (A) 2.
→ Row 14 [WS]. (A) 15, (B) 9, (A) 21.
← Row 15 [RS]. (A) 20, (B) 11, (A) 14.
→ Row 16 [WS]. (A) 13, (B) 13, (A) 19.
← Row 17 [RS]. (A) 18, (B) 16, (A) 11.
→ Row 18 [WS]. (A) 2, (B) 1, (A) 7, (B) 7, (A) 4, (B) 7, (A) 14, (B) 1, (A) 2.
← Row 19 [RS]. (A) 17, (B) 5, (A) 2, (B) 12, (A) 9.
→ Row 20 [WS]. (A) 9, (B) 14, (A) 2, (B) 4, (A) 2, (B) 1, (A) 13.
← Row 21 [RS]. (A) 13, (B) 2, (A) 1, (B) 4, (A) 1, (B) 16, (A) 8.
→ Row 22 [WS]. (A) 7, (B) 18, (A) 1, (B) 5, (A) 2, (B) 1, (A) 11.
← Row 23 [RS]. (A) 2, (B) 1, (A) 8, (B) 2, (A) 2, (B) 3, (A) 1, (B) 19, (A) 4, (B) 1, (A) 2.
→ Row 24 [WS]. (A) 7, (B) 19, (A) 1, (B) 3, (A) 1, (B) 2, (A) 12.
← Row 25 [RS]. (A) 13, (B) 25, (A) 7.
→ Row 26 [WS]. (A) 7, (B) 24, (A) 3, (B) 2, (A) 9.
← Row 27 [RS]. (A) 10, (B) 3, (A) 1, (B) 23, (A) 8.
→ Row 28 [WS]. (A) 2, (B) 1, (A) 5, (B) 11, (A) 3, (B) 12, (A) 8, (B) 1, (A) 2.
← Row 29 [RS]. (A) 8, (B) 1, (A) 4, (B) 9, (A) 5, (B) 9, (A) 9.
→ Row 30 [WS]. (A) 9, (B) 9, (A) 5, (B) 8, (A) 4, (B) 2, (A) 8.
← Row 31 [RS]. (A) 9, (B) 12, (A) 7, (B) 9, (A) 8.
→ Row 32 [WS]. (A) 7, (B) 10, (A) 7, (B) 10, (A) 3, (B) 2, (A) 6.
← Row 33 [RS]. (A) 2, (B) 1, (A) 4, (B) 3, (A) 4, (B) 7, (A) 8, (B) 11, (A) 2, (B) 1, (A) 2.
→ Row 34 [WS]. (A) 6, (B) 9, (A) 10, (B) 11, (A) 3, (B) 1, (A) 5.
← Row 35 [RS]. (A) 5, (B) 2, (A) 3, (B) 10, (A) 10, (B) 6, (A) 1, (B) 1, (A) 7.
→ Row 36 [WS]. (A) 7, (B) 7, (A) 12, (B) 4, (A) 7, (B) 2, (A) 6.
← Row 37 [RS]. (A) 7, (B) 11, (A) 14, (B) 5, (A) 8.
→ Row 38 [WS]. (A) 2, (B) 1, (A) 4, (B) 5, (A) 15, (B) 10, (A) 5, (B) 1, (A) 2.
← Row 39 [RS]. (A) 9, (B) 7, (A) 16, (B) 1, (A) 1, (B) 3, (A) 1, (B) 1, (A) 6.
→ Row 40 [WS]. (A) 7, (B) 1, (A) 1, (B) 1, (A) 1, (B) 1, (A) 33.
← Row 41 [RS]. (A) 45.
→ Row 42 [WS]. (A) 45.
← Row 43 [RS]. (A) 2, (B) 1, ((A) 4, (B) 1) 8 times, (A) 2.
→ Row 44 [WS]. (A) 45.
← Row 45 [RS]. (A) 45.
Border
After row 45, both A and B are at the left, top corner of your potholder (if you are right-handed, or the right corner if you are left-handed).
Round 1 (RS). With B, sc 45 on each side of the potholder. At the corners, sc 1 in the last st of the current side, ch 1, and sc 1 in the first st of the next side. Join the round with a sl st into the first st. (45 sts on each side and 1 ch at the corners).
Round 2 (RS). With A, sc in each st around. At the corners, [sc 1, ch 1, sc 1] in the ch-1 space.
Hanging Loop. Once you are back at the top, left corner, sc 1 in the ch-1 space, ch 20, sc back into the same ch. Turn your work and sc 25 inside the loop you just created. Sl st back into the same ch-1 space, and turn your work.
Fasten off, weave in ends.
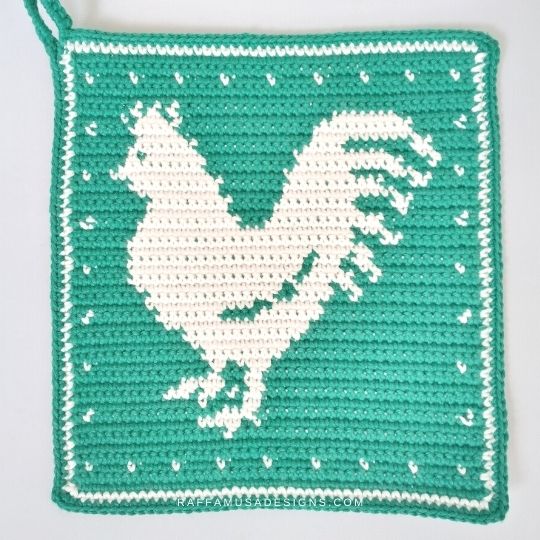
Your Tapestry Crochet Rooster Potholder is ready!
Please, do not hesitate to contact me if you need any help or support. I am looking forward to seeing all your beautiful makes on Facebook and Instagram!
If you liked this pattern, you might also be interested in these other designs from the Farmhouse Collection. Check them out!
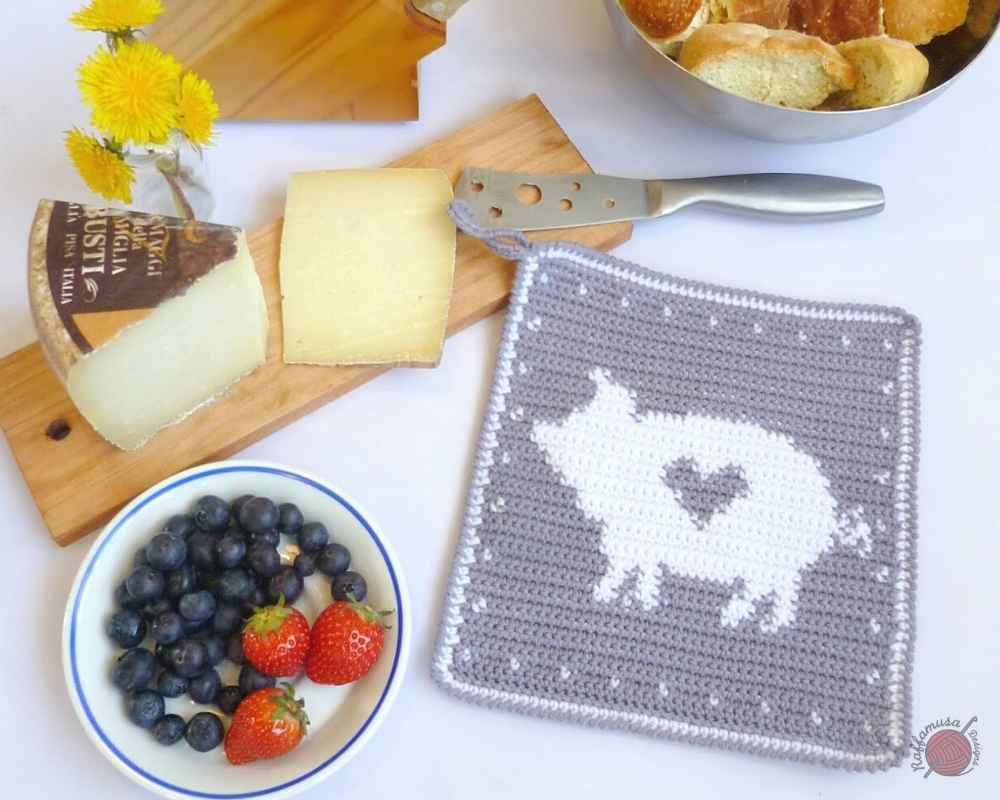
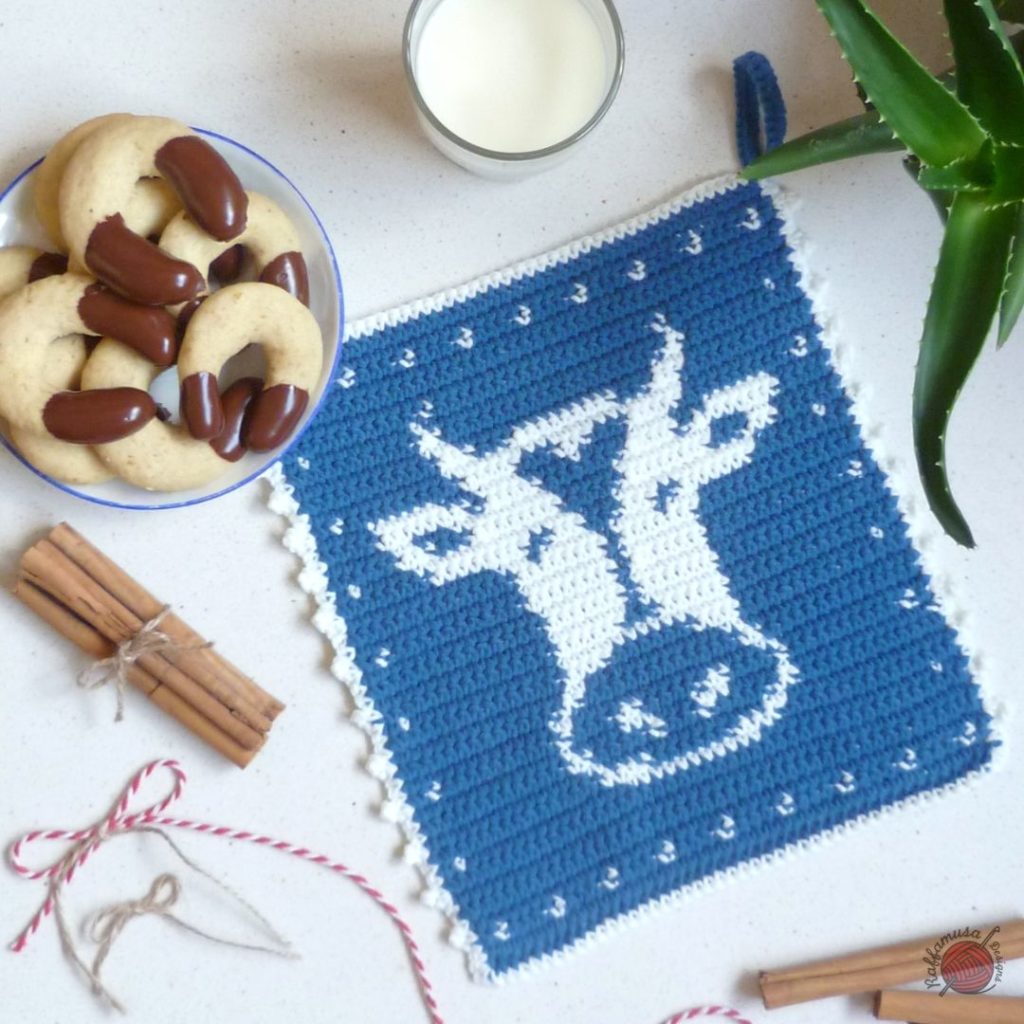
Thank-you, I learned something! I’d never heard of milk fibers. I love your rooster! I hope you’ll make some other farm animals, like a pig, sheep, cow, and horse. Thank-you for the lovely pattern!
Thank you so much! And yes, I also hope to enlarge the farm with some more animals 🙂
My kitchen is all roosters. I started making this but have a question on row 9. (Chain 1, 15 with m, sc 1 with s, 4 with m, 2 with s, 23 with m) The stitch number comes up 46. Should the first stitches with main color be 14? Thank you in advance.
Yes, that’s correct, it should be 14 sts with m! Thanks for the notification, I will edit it right now!
Do you have a video on how this pattern is worked? I’m a little confused on how to work this pattern. TIA
Hi, I’m sorry but I don’t have any video tutorials at the moment. It surely is on my to-do list though. Hope to make some soon!
Row 9 has 46 stitches…opps
Thanks a lot, I’ll edit it 🙂
Hi,
I am making the rooster pot holder for my daughter. I am using Dishie Twist from WeCrochet. It is 100% cotton, worsted weight. My hook is a 3.0mm. When I chain 46 it ends up being 13 inches long. Is it due to your pattern using DK and I am using worsted? TIA
Lisa
Just read comments on your rooster potholes usually don’t read but ya said you corrected it on row 9 but hasn’t been corrected yet ice design
Hi, I know my answer is going to be a little confusing but I hope it will make sense.
So, since that comment, I actually completely changed the way the pattern is written.
The first thing to take into account is that in the old version of the pattern, the rooster was facing the opposite direction. That’s why row 9 started from what is now the end of the row, i.e. (A) 15.
The second thing is that in the old instructions, I wrote “Ch 1, turn, (A) tot, (B) tot, (A) tot, etc”, and that “Ch 1” counted as a st. So, if the pattern stated “Ch 1, turn, (A) 15” it meant that you had 16 sts with A, while of course, you needed only 15 in total. And that’s what I had to correct so that the beginning of row 9 became “Ch 1, turn, (A) 14”.
However, now, the instructions are mirrored and I dropped the “Ch 1, turn” at the beginning of every row. So now, row 9 starts with “(A) 23”, and you know that you need 23 sts with A in total at the beginning of that row. It’s up to you if you want to ch 1 and sc 22 (in which case you’ll have to sc 1 in that initial ch 1 at the end of the next row), or don’t consider the initial ch 1 as a st and actually sc 23.
But other than that, I think that the stitch count of row 9 is correct: (A) 23, (B) 2, (A) 4, (B) 1, (A) 15 = 45 sts
Please, let me know if you have any questions 🙂
Best,
Raffaella
Is there a graph to follow each of your patterns?
Hi, the graphs are in the PDF patterns 🙂
How do you launder these? Do you use the washer and dryer or do you hand wash and air dry? Or do something else to keep them in good shape?