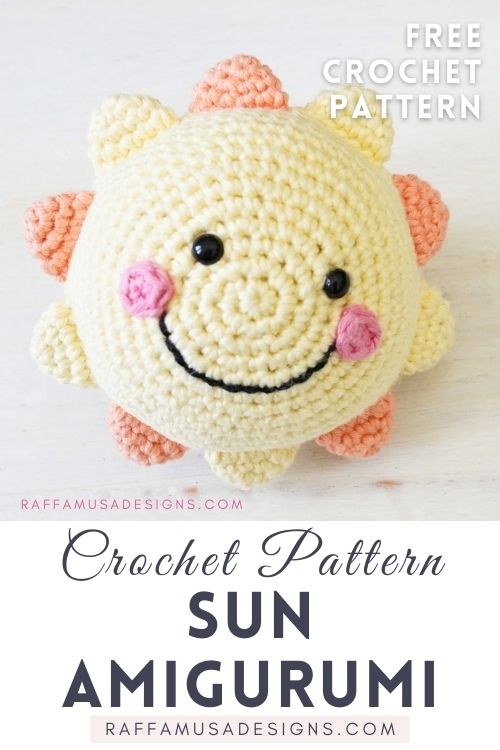
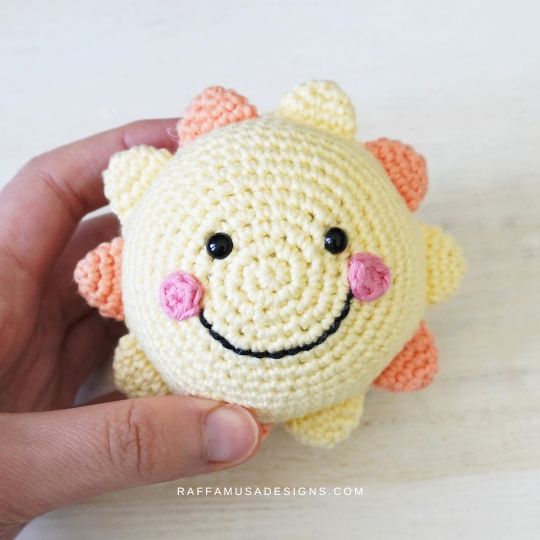
Crochet a super cute sun Amigurumi with this free pattern!
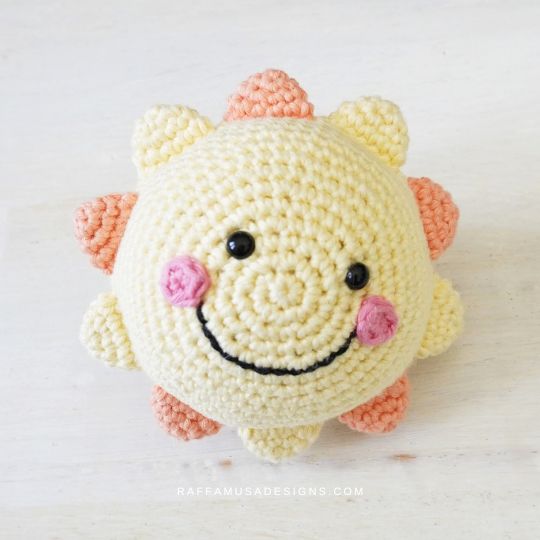
The prototype and original idea behind this sun Amigurumi was the sun sensory toy that I designed for my Weather Baby Cube. For the sensory cube, I made the sun flat and free to rotate around the nose.
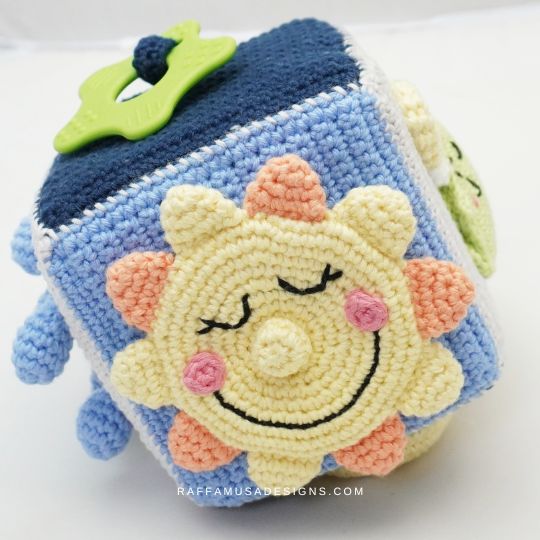
Since I loved how cute the sun sensory toy turned out, I thought it would be even more beautiful if I stuffed it and made it into an Amigurumi.
And I was not disappointed!
My Amigurumi sun will probably end up with other weather-themed Amigurumi into a weather baby mobile, and I’ll share more about it as soon as I have it ready.
But for now, I hope you’ll enjoy this free pattern for a sun Amigurumi!
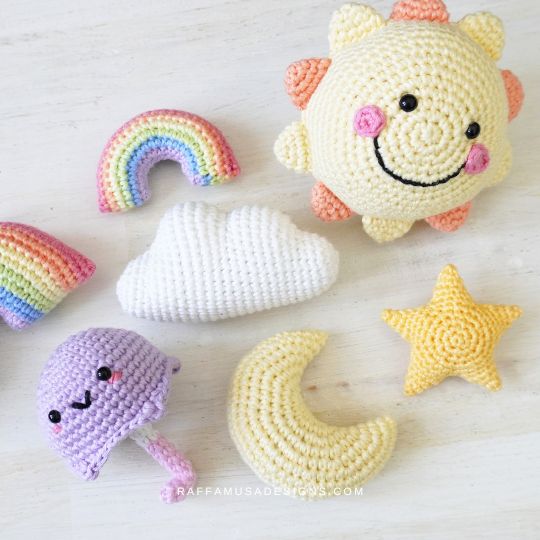
Find more Amigurumi patterns here on the blog…
Add this pattern to your Ravelry queue HERE and favorite it (– thank you!). Or save it for later by pinning it to your favorite crochet board on Pinterest using this pin!
Note: this post contains affiliate links. If you purchase something through the links on my blog, I might earn a commission. This will not have any effect on the price you pay. For more info, please, see my Privacy Policy.
PRINTABLE CROCHET PATTERN
The printable pattern of the sun Amigurumi is available in all my online shops. Get your copy on Ravelry HERE, Lovecrafts HERE, or Etsy HERE.

Materials
- DK (3, Light) Yarn
- 3.0 mm (11 UK) Crochet Hook
- Tapestry Needle
- Cotton Stuffing for Amigurumi
- Safety Eyes, 6 mm
- Black Embroidery Floss
- Stitch Markers
Yarn
I used Hobbii Rainbow Cotton 8/6 (50 g, 115 yds / 105 m) in the following colors:
- Yellow – Pastel Yellow (053)
- Orange – Peach (049)
- Pink – Light Coral (050)
Abbreviations (US Terms)
- Ch – Chain
- Inc – Increase
- Inv Dec – Invisible Decrease
- MC – Magic Circle
- RS – Right Side
- Sc – Single Crochet
- St – Stitch
- Yo – Yarn Over
Special Stitches
Increase (Inc)
One increase consists of 2 sts worked in the same indicated st.
Invisible Decrease (Inv Dec) See the tutorial HERE.
Magic Circle (MC) See the tutorial HERE.
Size
4″ (10 cm) including the rays.
Gauge
7 rounds in sc in 2″ (5 cm).
Pattern Notes
- If the pattern says “sc 2”, you need to sc 1 in each of the next 2 sts.
- (…) – Repeat the instructions within parenthesis for the indicated number of times.
- Crochet in the round in a continuous spiral.
Crochet Sun Amigurumi – Free Pattern
Cheeks
(Make 2)
With pink, make a MC.
Round 1. Sc 6 in MC. (6 sts)
Fasten off leaving a long tail for sewing, and join the round with an invisible join.
Rays
(Make 5 with yellow and 5 with orange)
Make a MC.
Round 1. Sc 6 in MC. (6 sts)
Round 2. (Sc inc 1, sc 2) twice. (8 sts)
Round 3. (Sc inc 1, sc 3) twice. (10 sts)
Round 4. (Sc inc 1, sc 4) twice. (12 sts)
Fasten off leaving a long tail for sewing.
Sun
With yellow, make a MC.
Round 1. Sc 6 in MC. (6 sts)
Round 2. Sc inc 6. (12 sts)
Round 3. (Sc inc 1, sc 1) 6 times. (18 sts)
Round 4. Sc 1, (sc inc 1, sc 2) 5 times, sc inc 1, sc 1. (24 sts)
Round 5. (Sc inc 1, sc 3) 6 times. (30 sts)
Round 6. Sc 2, (sc inc 1, sc 4) 5 times, sc inc 1, sc 2. (36 sts)
Round 7. (Sc inc 1, sc 5) 6 times. (42 sts)
Round 8. Sc 3, (sc inc 1, sc 6) 5 times, sc inc 1, sc 3. (48 sts)
Round 9. (Sc inc 1, sc 7) 6 times. (54 sts)
Round 10. Sc 4, (sc inc 1, sc 8) 5 times, sc inc 1, sc 4. (60 sts)
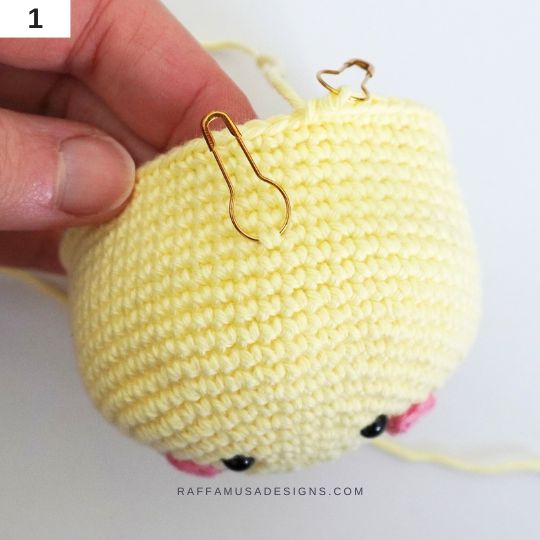
Rounds 11-21 (11 rounds). Sc 60. (60 sts)
Mark the beginning of round 16 with a st marker (photo 1).
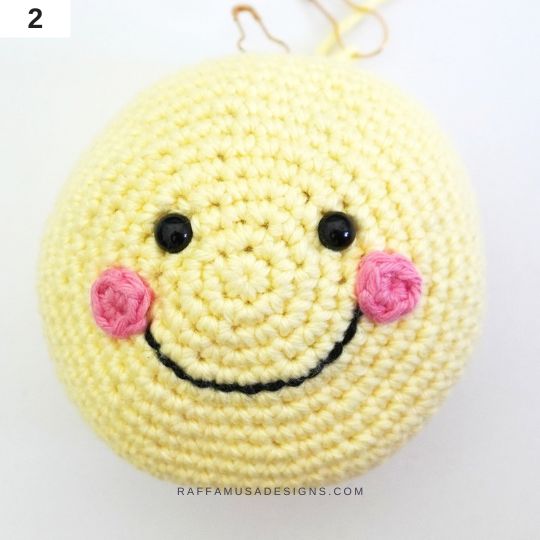
Sew the cheeks on the sun. Embroider the mouth with your black embroidery thread, and attach the safety eyes (photo 2).
Assemble The Rays
Sew the rays around round 16 as follows:
- Take the first ray in yellow.
- Align the last st of round 4 of the ray with st 6 of the same round, and squeeze the ray in half so that you have 6 sts in the front and 6 sts on the back.
- Draw your yarn tail through the last st and st 6 of round 4 of the ray.
- Then, draw the yarn through one of the sts from round 16 of the sun.
- Bring back the yarn through the next corresponding sts on the ray, and then through the next st on round 16 of the sun.
- Continue like this until you sewed all 6 corresponding sts of the ray.
- Weave in the ends of the ray.
Repeat the same steps to sew one orange ray. Start attaching this new ray to the next st on round 16 of the sun compared to where you finished joining the previous ray.
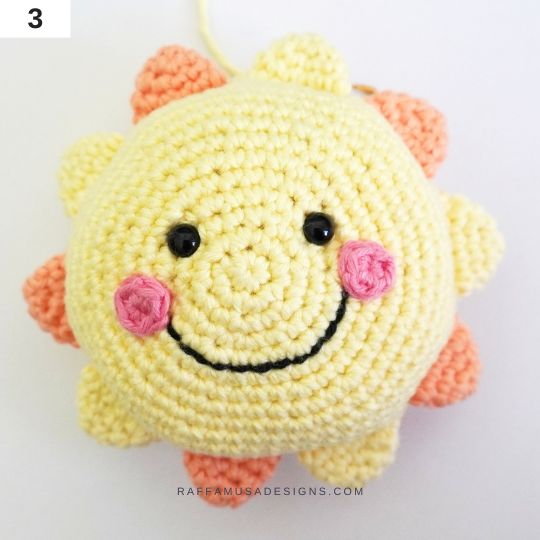
Continue sewing rays alternating between yellow and orange (photo 3).
Since round 16 of the sun has 60 sts, you’ll cover the entire round with the 10 rays (because each ray comes down to 6 sts).
Continue to crochet the sun
Round 22. Sc 4, (inv dec 1, sc 8) 5 times, inv dec 1, sc 4. (54 sts)
Round 23. (Sc inc 1, sc 5) 6 times. (42 sts)
Round 24. Sc 3, (sc inc 1, sc 6) 5 times, sc inc 1, sc 3. (48 sts)
Round 25. (Sc inc 1, sc 7) 6 times. (54 sts)
Round 26. Sc 4, (sc inc 1, sc 8) 5 times, sc inc 1, sc 4. (60 sts)
Round 27. Sc 60. (60 sts)
Round 28. Sc 4, (inv dec 1, sc 8) 5 times, inv dec 1, sc 4. (54 sts)
Round 29. (Inv dec 1, sc 7) 6 times. (48 sts)
Round 30. Sc 3, (inv dec 1, sc 6) 5 times, inv dec 1, sc 3. (42 sts)
Start stuffing your sun.
Round 31. (Inv dec 1, sc 5) 6 times. (36 sts)
Round 32. Sc 2, (inv dec 1, sc 4) 5 times, inv dec 1, sc 2. (30 sts)
Round 33. (Inv dec 1, sc 3) 6 times. (24 sts)
Round 34. Sc 1, (inv dec 1, sc 2) 5 times, inv dec 1, sc 1. (18 sts)
Add more stuffing if needed.
Round 35. (Inv dec 1, sc 1) 6 times. (12 sts)
Round 36. Inv dec 6. (6 sts)
Fasten off and close the last 6 sts with the ultimate finish.
YOUR CROCHET Sun AMIGURUMI IS READY!
I hope you enjoyed this free crochet pattern, and I’d love to see your suns! Please, share a pic of your work on Facebook and Instagram using the hashtag #raffamusadesigns!
Find more Amigurumi patterns here on the blog…
