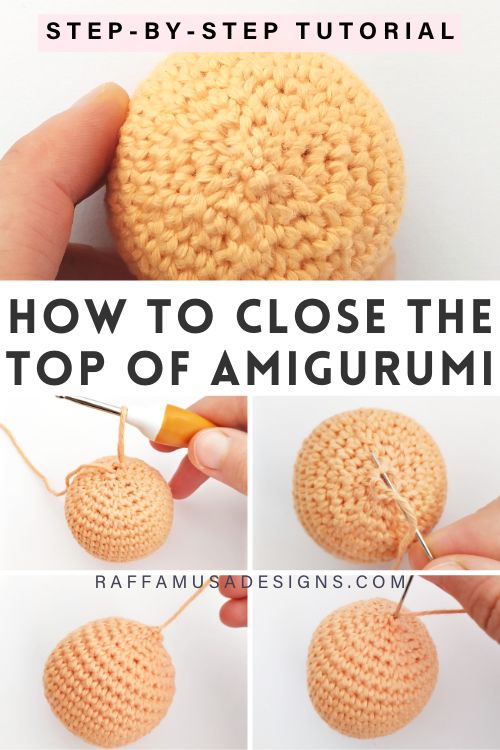
In this quick tutorial, I would like to show you a clean and secure way to close the top hole of Amigurumi using the Ultimate Finish.
It’s no secret that the first rounds of Amigurumis, i.e. the beginning, always look beautiful with a beautiful and perfect spiral that is just a pleasure to look at!
However, things get quite messy by the end, when it’s time to decrease and close the top hole of your Amigurumi!
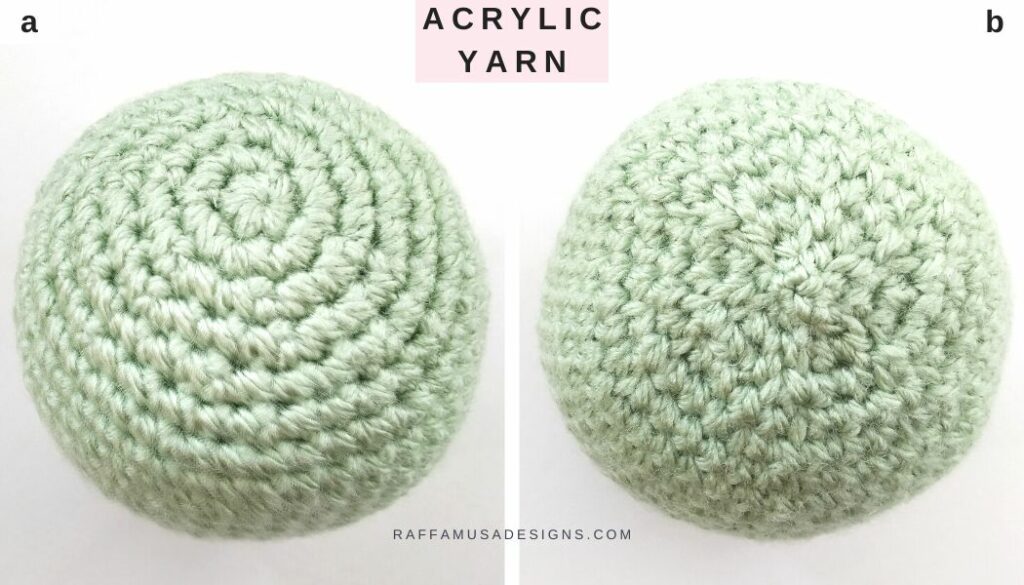
In the examples in the pictures above and below, you can see a simple Amigurumi sphere made with acrylic yarn (picture above) or cotton yarn (picture below).
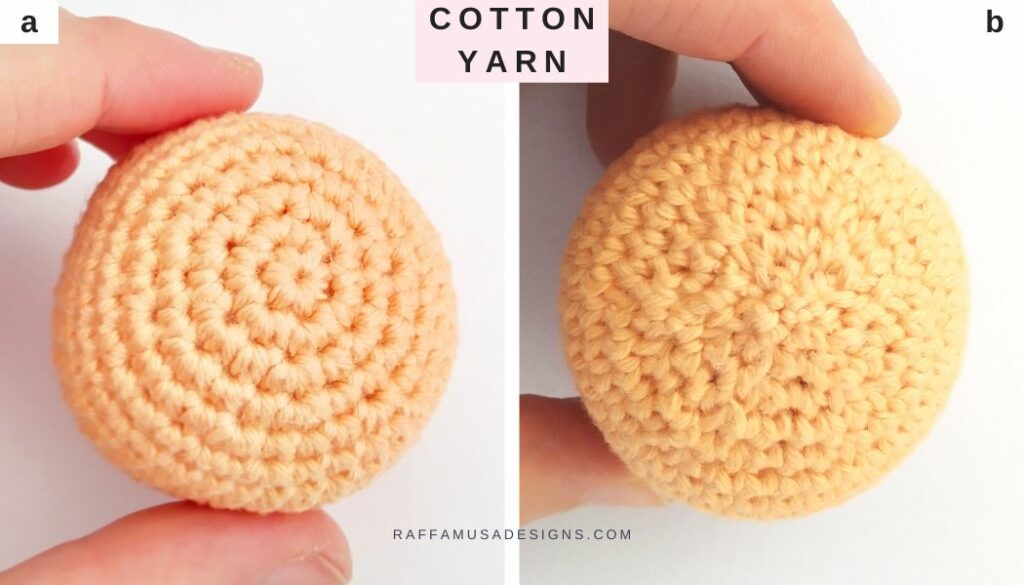
In both cases, the first rounds of the sphere are on the left panel, and the last rounds are on the right panel.
Even though the last part of the Amigurumi sphere is not nearly as beautiful as the beginning, it’s not as bad as it can get when you don’t use one of these two techniques:
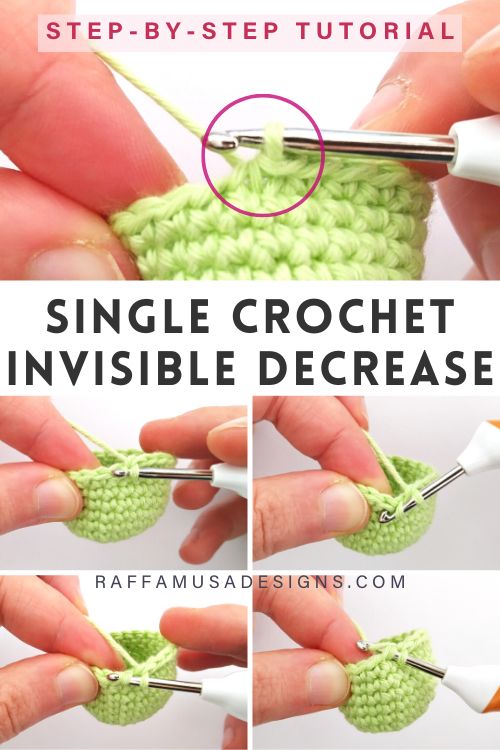
- the Single Crochet Invisible Decrease;
- and the Ultimate Finish, which we’ll see right now!
Pin this free crochet tutorial for later by saving it to your best Amigurumi board on Pinterest with this pin.
Note: this post contains affiliate links. If you purchase something through the links on my blog, I might earn a commission. This will not have any effect on the price you pay. For more info, please, see my Privacy Policy.
How to Finish Off Amigurumi with the Ultimate Finish
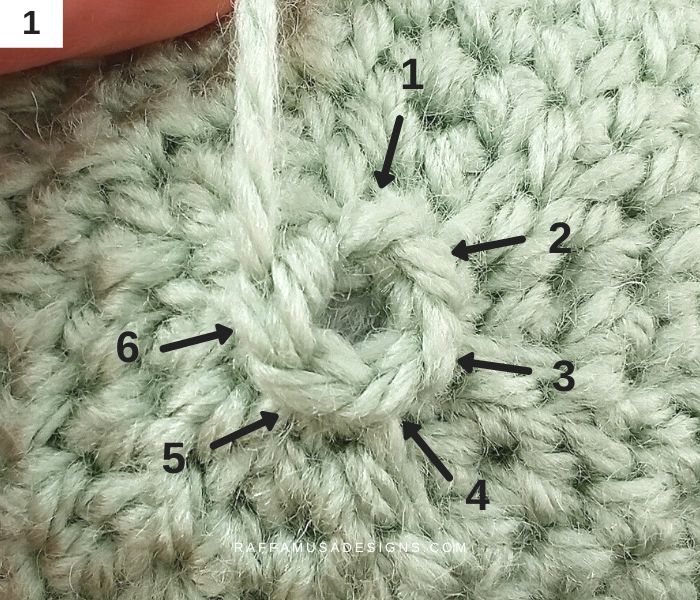
Normally, after the last round of an Amigurumi, you are left with 6 stitches, which are not closed. So, you’ll see that there is a little hole at the top, like the one shown in photo 1 below.
To close this gap with the ultimate finish, we’ll work into the back loop only (BLO) of each of those last 6 stitches.
Step 1
To start making the ultimate finish and close the top hole of the Amigurumi, start by cutting a tail and sliding it through the last st.
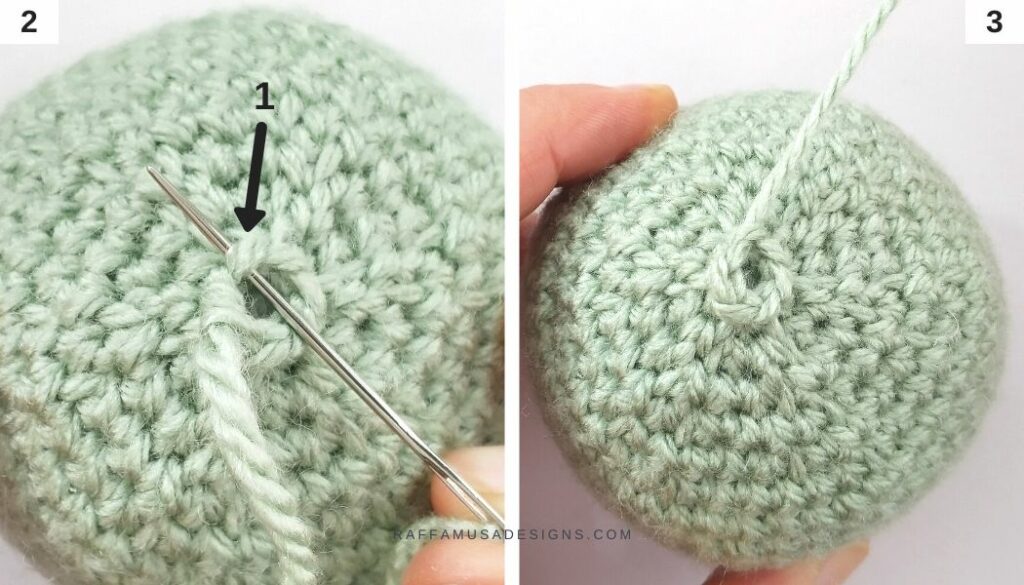
Steps 2 and 3
Thread your yarn tail through a tapestry needle and draw it through the BLO of the first st of the last round of your Amigurumi (indicated by the arrow in photo 2) with a movement from the center-out.
Steps 4 and 5
Working in the BLO, draw the yarn from the center-out through the second st of the last round (indicated by the arrow in photo 4).
Then, repeat the same for all the remaining sts of the last round. Remember, always go from the center out!
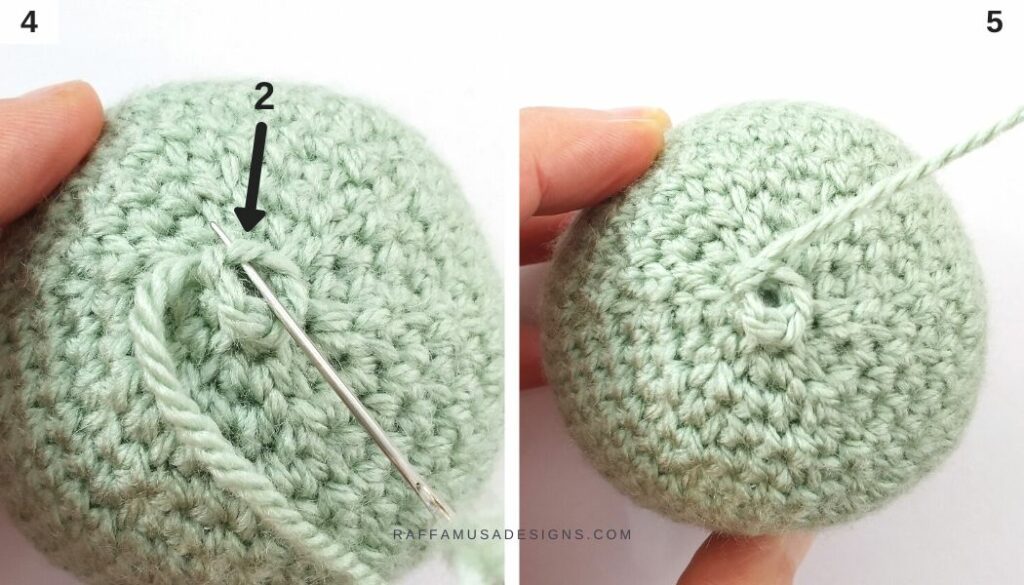
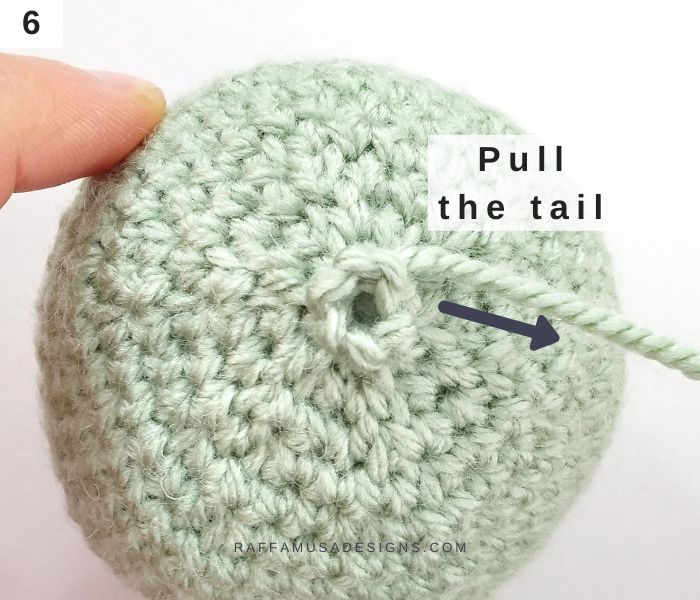
Step 6
Once you’ve gone through all the stitches, pull the tail firmly until the gap closes.
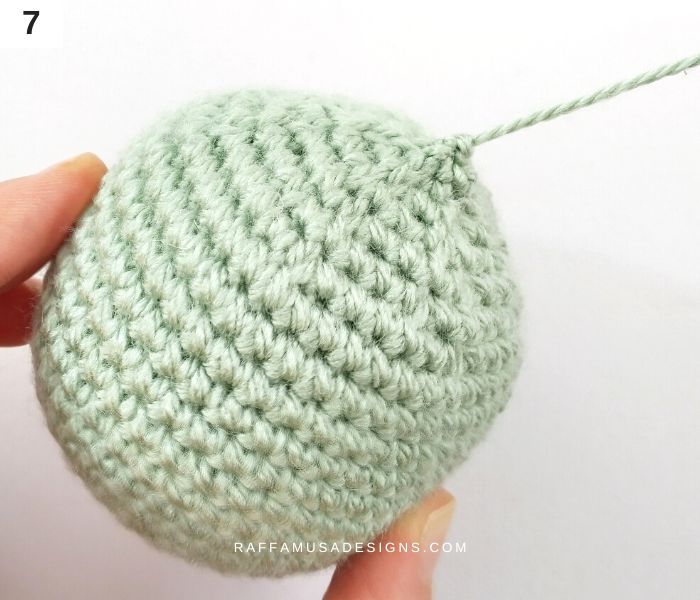
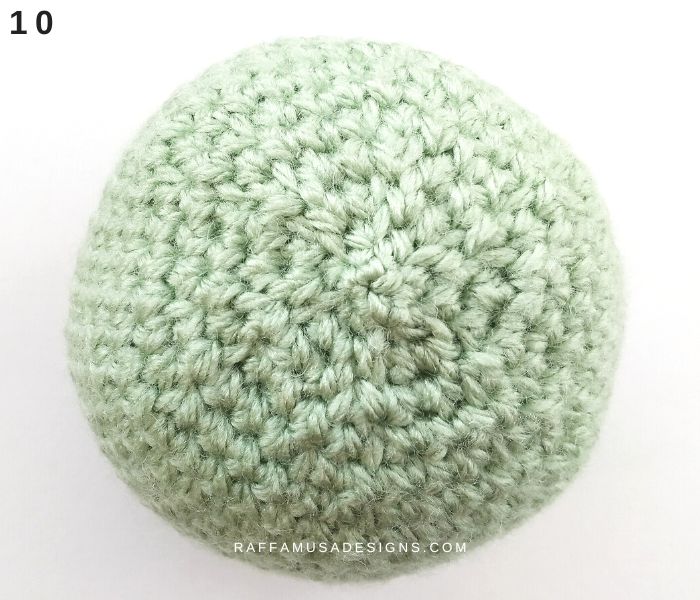
Step 7
Now, you’ll see that you have a little pointy bulge instead of a hole.
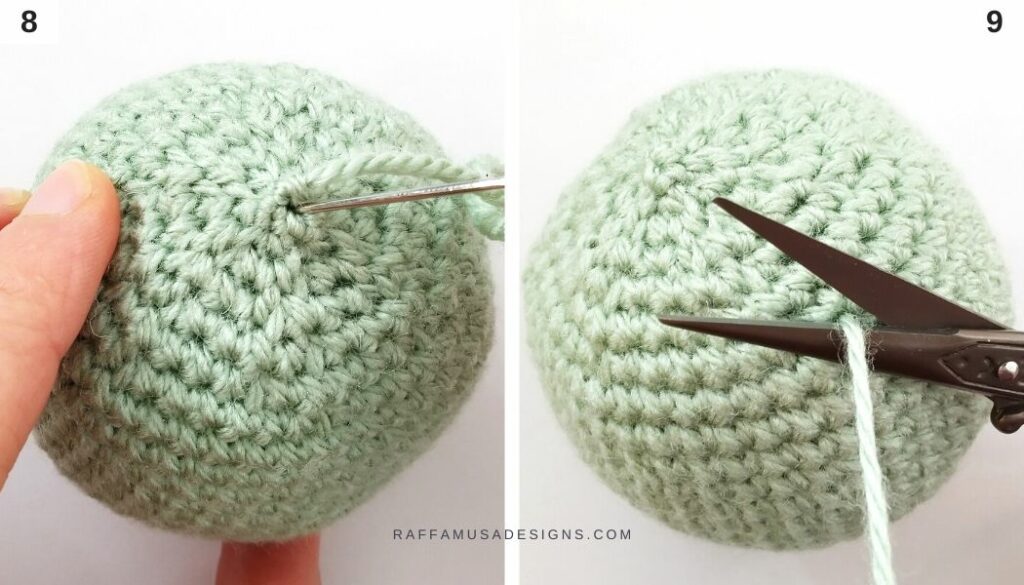
Steps 8 and 9
To flatten the pointy tip of your Amigurumi, draw your needle through the center of the last round, as shown in photo 8, emerge a few rounds below, and pull tightly until the top of your Amigurumi is flat.
Then, weave in your end and cut the extra tail of yarn.
Finally, using your tapestry needle, hide any remaining piece of the tail by pushing it inside your Amigurumi.
And your ultimate finish for closing the top hole of Amigrumi is done!
I hope that you enjoyed this free tutorial.
Find more crochet tutorials HERE on the blog…
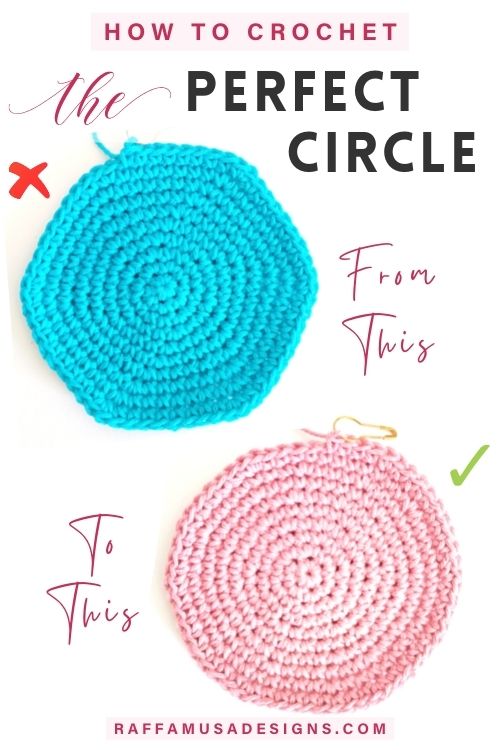
- How to Single Crochet the Perfect Circle
- Single Crochet Invisible Decrease
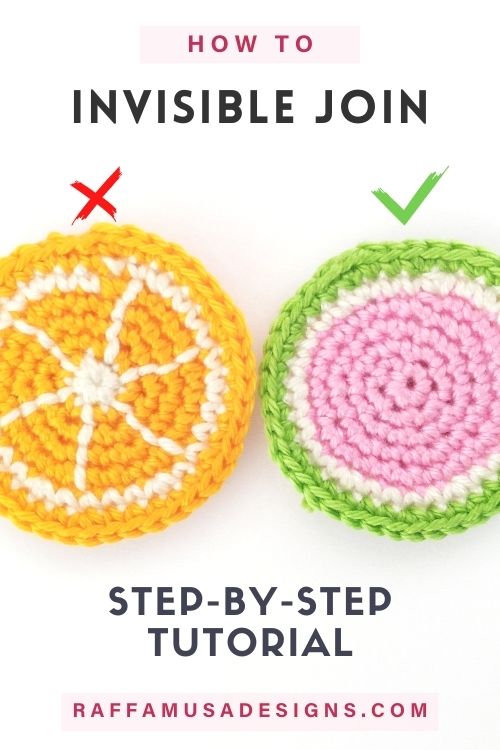
- How to Make an Invisible Join