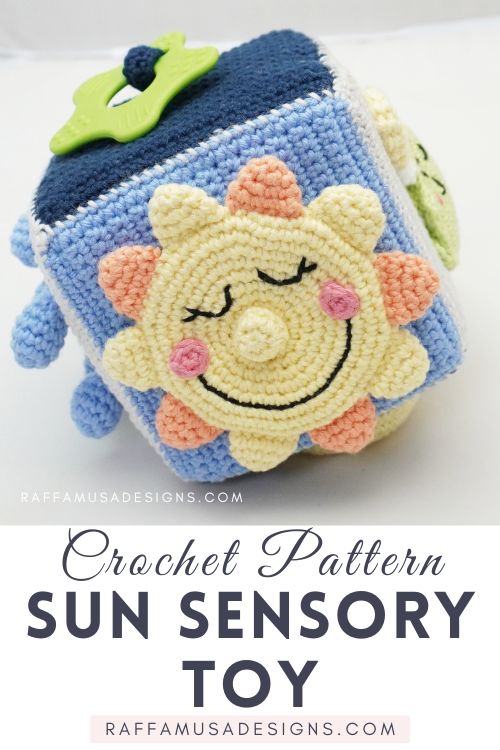
This crochet sun sensory toy is one of the faces of my Weather Baby Cube.
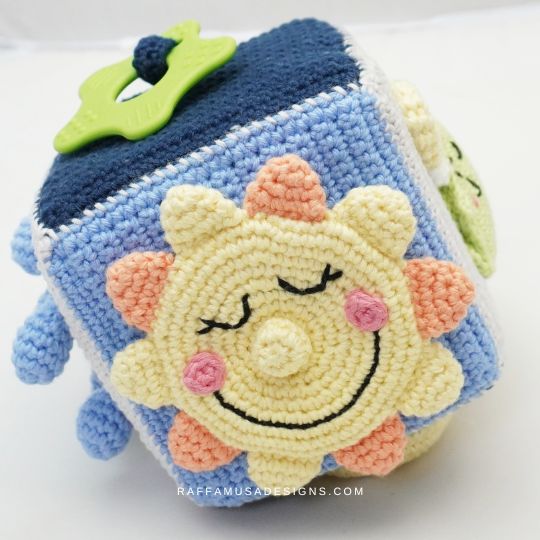
Since the pattern of the sun is a bit long, I decided to keep it separate from the main cube pattern, and here it is on its own blog page.
The sun sensory toy is not exactly an Amigurumi because it is not stuffed. Instead, it’s a sort of flat disc that rotates around the nose for a little sensory activity for your kid!
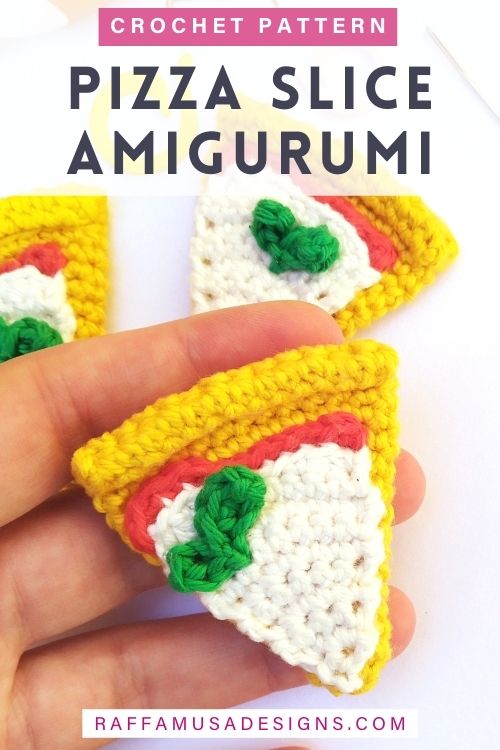
Find more Amigurumi patterns here on the blog…
Add the sun and the Weather Baby Cube pattern to your Ravelry queue HERE and favorite it (– thank you!). Or save it for later by pinning it to your favorite crochet board on Pinterest using this pin!
Note: this post contains affiliate links. If you purchase something through the links on my blog, I might earn a commission. This will not have any effect on the price you pay. For more info, please, see my Privacy Policy.
MATERIALS
- DK (3, Light) Yarn
- 3.0 mm (11 UK) Crochet Hook
- Black Embroidery Floss
- Tapestry Needle
YARN
I used Hobbii Rainbow Cotton 8/6 (50 g, 115 yds / 105 m) in the following colors:
- Pink – Light Coral (050)
- Yellow – Pastel Yellow (053)
- Orange – Peach (049)
- Grey – Pearl Gray (073)
Feel free to use any comparable yarn that meets gauge.
SIZE
3.8″ (9.7 cm)
GAUGE
13 sc for 14 rows in 2″ (5 cm)
ABBREVIATIONS (US TERMS)
- Ch – Chain
- Inc – Increase
- Inv Dec – Invisible Decrease
- MC – Magic Circle
- RS – Right Side
- Sc – Single Crochet
- Sl St – Slip Stitch
- St – Stitch
- Yo – Yarn Over
Special Stitches
Increase (Inc)
One increase consists of 2 sts worked in the same indicated st.
Invisible Decrease (Inv Dec) Tutorial on HERE.
Magic Circle (MC) See the tutorial HERE.
PATTERN NOTES
- If the pattern says “sc 2”, you have to crochet 1 sc in each of the next 2 sts.
- (…) – Repeat instructions within parentheses for the indicated number of times.
How to Crochet a Sun Amigurumi Sensory Toy
Cheeks
(Make 2)
With pink, make a MC.
Round 1. Sc 6 in MC. (6 sts)
Fasten off leaving a long tail for sewing, and join the round with an invisible join.
Sun
Crochet in the round in a continuous spiral.
With yellow, ch 6 and sl st in first-made ch to form a ring. Pay attention not to twist the chain.
Round 1. Sc in each ch around. (6 sts)
Round 2. Sc inc 6. (12 sts)
Round 3. (Sc inc 1, sc 1) 6 times. (18 sts)
Round 4. Sc 1, (sc inc 1, sc 2) 5 times, sc inc 1, sc 1. (24 sts)
Round 5. (Sc inc 1, sc 3) 6 times. (30 sts)
Round 6. Sc 2, (sc inc 1, sc 4) 5 times, sc inc 1, sc 2. (36 sts)
Round 7. (Sc inc 1, sc 5) 6 times. (42 sts)
Round 8. Sc 3, (sc inc 1, sc 6) 5 times, sc inc 1, sc 3. (48 sts)
Round 9. (Sc inc 1, sc 7) 6 times. (54 sts)
Round 10. Sc 4, (sc inc 1, sc 8) 5 times, sc inc 1, sc 4. (60 sts)
Round 11. Sc 60. (60 sts)
Round 12. Sc 4, (inv dec 1, sc 8) 5 times, inv dec 1, sc 4. (54 sts)
Sew the cheeks on the sun. Embroider the mouth and the eyes with your black embroidery thread.
Round 13. (Sc inc 1, sc 5) 6 times. (42 sts)
Round 14. Sc 3, (sc inc 1, sc 6) 5 times, sc inc 1, sc 3. (48 sts)
Round 15. (Sc inc 1, sc 7) 6 times. (54 sts)
Round 16. Sc 4, (sc inc 1, sc 8) 5 times, sc inc 1, sc 4. (60 sts)
Round 17. Sc 60. (60 sts)
Round 18. Sc 4, (inv dec 1, sc 8) 5 times, inv dec 1, sc 4. (54 sts)
Round 19. (Inv dec 1, sc 7) 6 times. (48 sts)
Round 20. Sc 3, (inv dec 1, sc 6) 5 times, inv dec 1, sc 3. (42 sts)
Round 21. (Inv dec 1, sc 5) 6 times. (36 sts)
Round 22. Sc 2, (inv dec 1, sc 4) 5 times, inv dec 1, sc 2. (30 sts)
Round 23. (Inv dec 1, sc 3) 6 times. (24 sts)
Round 24. Sc 1, (inv dec 1, sc 2) 5 times, inv dec 1, sc 1. (18 sts)
Round 25. (Inv dec 1, sc 1) 6 times. (12 sts)
Round 26. Inv dec 6. (6 sts)
Fasten off and weave in your ends.
Rays
Crochet in the round in a continuous spiral.
(Make 5 with yellow and 5 with orange)
Make a MC.
Round 1. Sc 6 in MC. (6 sts)
Round 2. (Sc inc 1, sc 2) twice. (8 sts)
Round 3. (Sc inc 1, sc 3) twice. (10 sts)
Round 4. (Sc inc 1, sc 4) twice. (12 sts)
Fasten off leaving a long tail for sewing.
Nose
With yellow, make a MC.
Round 1. Sc 6 in MC. (6 sts)
Round 2. Sc inc 6. (12 sts)
Round 3. Sc around. (12 sts)
Round 4. Inv dec 6. (6 sts)
Fasten off leaving a long tail and sew the last 6 sts closed.
Assembly
Sew a yellow ray on round 11 of the sun as follows:
- Align the last st of round 4 of the ray with st 6 of the same round, and squeeze the ray in half so that you have 6 sts in the front and 6 sts on the back.
- Draw your yarn tail through the last st and st 6 of round 4 of the ray.
- Then, draw the yarn through one of the sts from round 11 of the sun.
- Bring back the yarn through the next corresponding sts on the ray, and then through the next st on round 11 of the sun.
- Continue like this until you sewed all 6 corresponding sts of the ray.
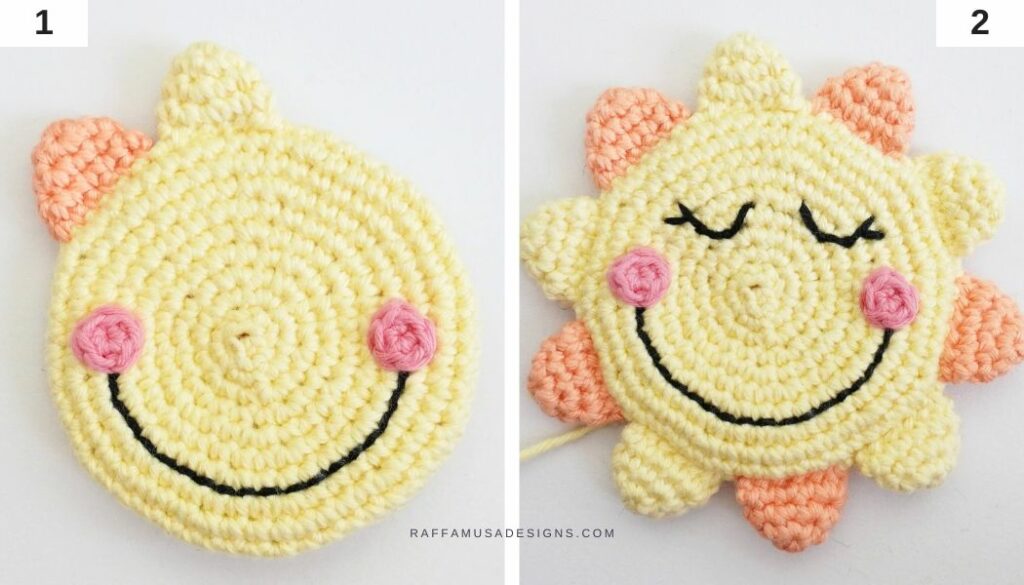
Repeat the same steps to sew one orange ray. Start attaching this new ray to the next st on round 11 of the sun compared to where you finished joining the previous ray (photo 1).
Continue sewing the rays alternating between yellow and orange (photo 2).
Since round 11 of the sun has 60 sts, you’ll cover the entire round with the 10 rays (because each ray comes down to 6 sts).
Weave in all your ends.
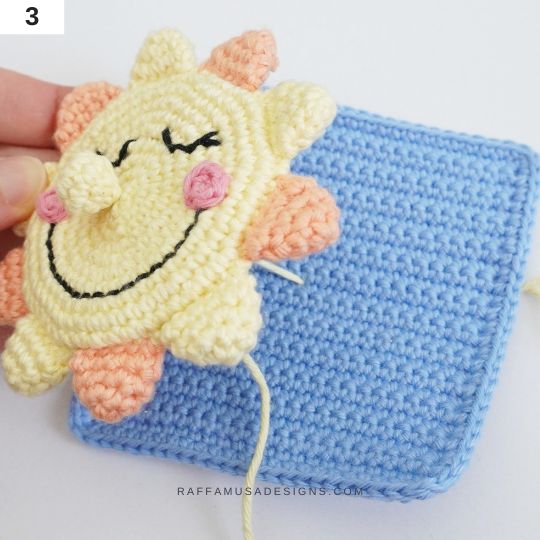
Draw the yarn tail of the nose through the beginning and ending holes on the front and back of the sun, and through the center of one of the light blue cube faces (photo 3) that you made for the weather baby cube.
Pass the yarn around the center of the cube face and the nose several times to secure the nose firmly.
Each time, make sure to go through the holes on the front and the back of the sun so that the sun stays free to rotate around the nose.
Fasten off and weave in your ends.
YOUR CROCHET Sun Sensory Toy IS READY!
I hope you enjoyed this free crochet pattern, and I’d love to see your suns! Please, share a pic of your work on Facebook and Instagram using the hashtag #raffamusadesigns!
Find more Amigurumi to crochet here on the blog…
love this pattern! thank you so much for sharing the wealth.
one question: after round 12 and instructions to sew the cheeks on the sun etc., instruction resume with round 7 . . . I’m confused! tks! : )
Hi, thank you for letting me notice it. I just fixed the numbering of the rounds 🙂