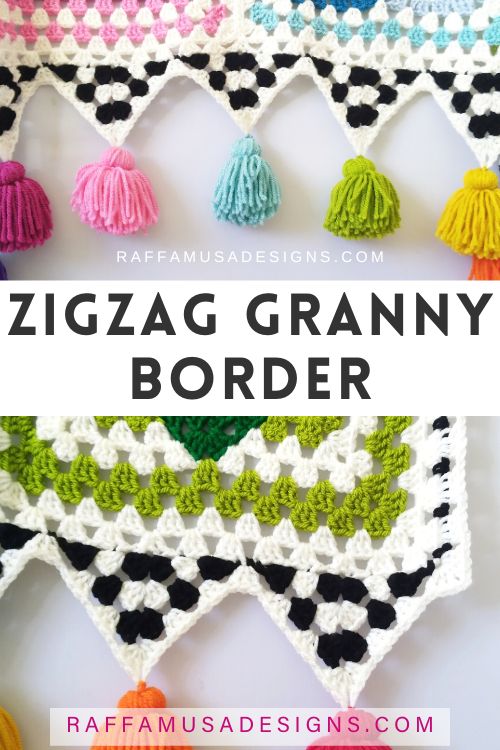
If you’re looking for an original edging for your granny square blanket, this crochet zigzag granny border is the right pattern for you!

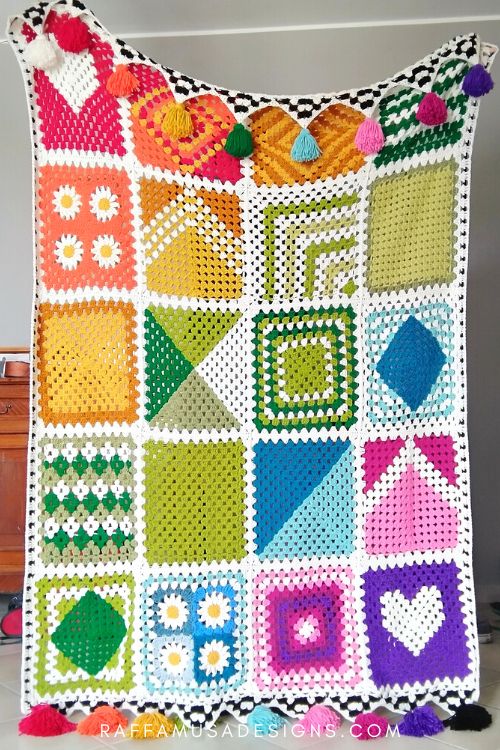
I designed this zigzag border for my Rainbow Granny Blanket, but you can easily adapt it to fit any crochet blanket, especially granny square afghans!
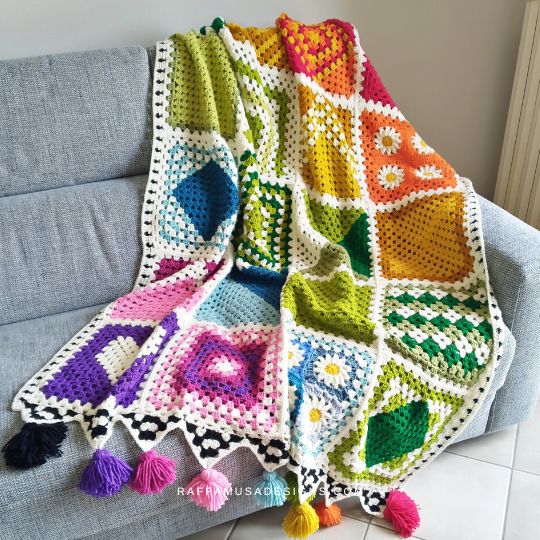
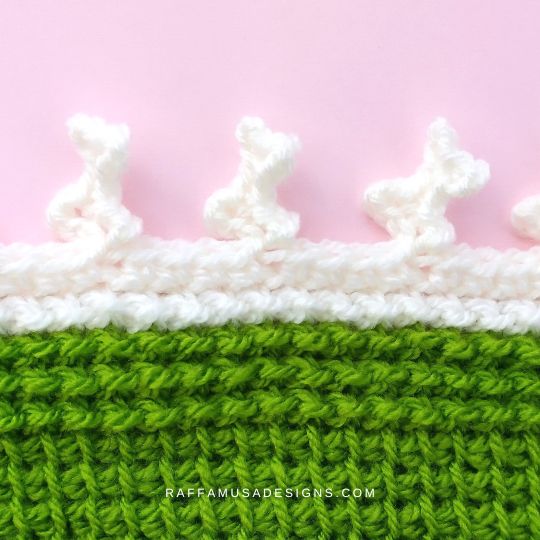
The pattern of the zigzag border has two main parts:
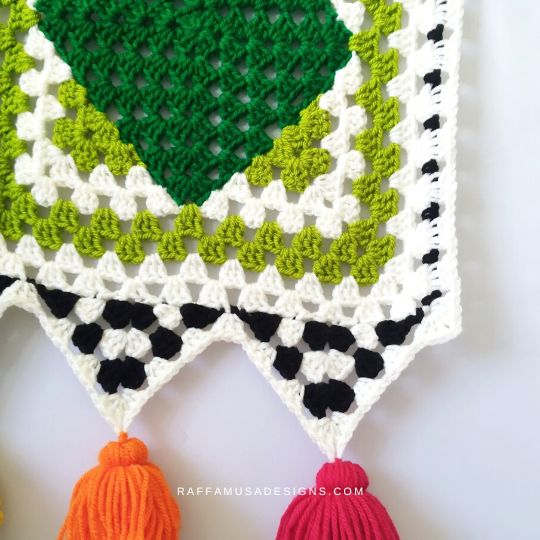
- On the short sides of the blanket, there are the actual granny zigzags;
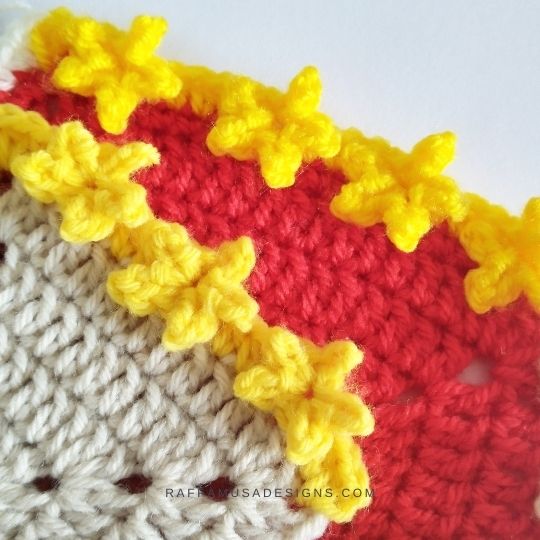
- On the long sides, the border features a simple granny block stitch edge.
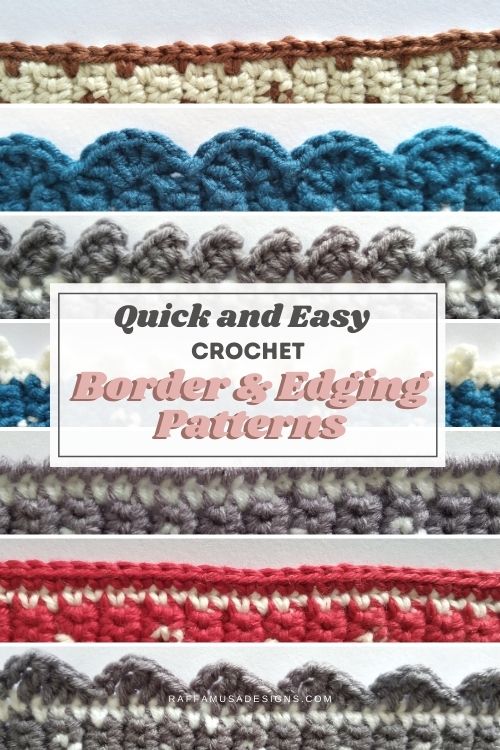
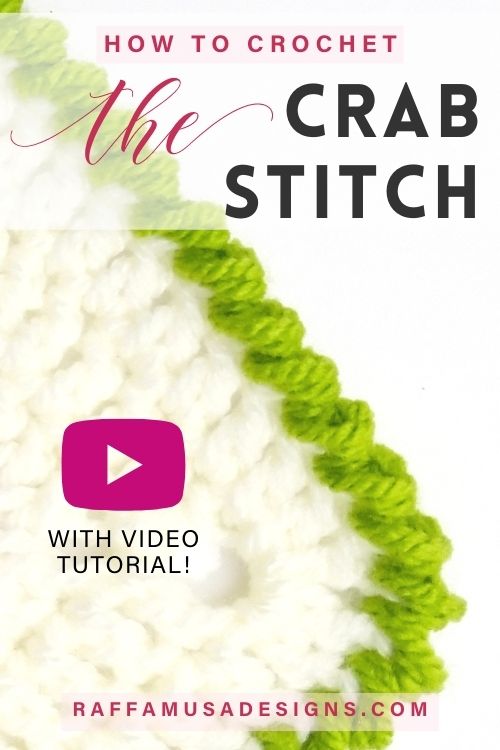
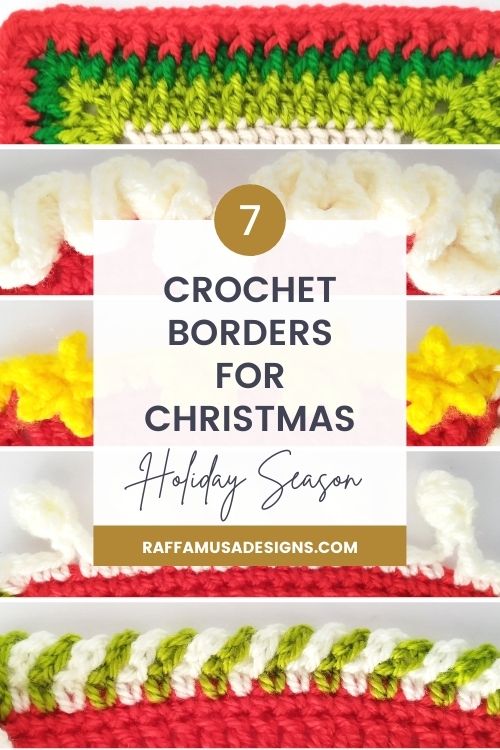
Find more borders and edging ideas here on the blog…
Save this post for later by pinning it to your best crochet board on Pinterest using this pin!
Note: This post contains affiliate links. If you purchase something through the links on my blog, I might earn a commission. This will not have any effect on the price you pay. For more info, please, see my Privacy Policy.
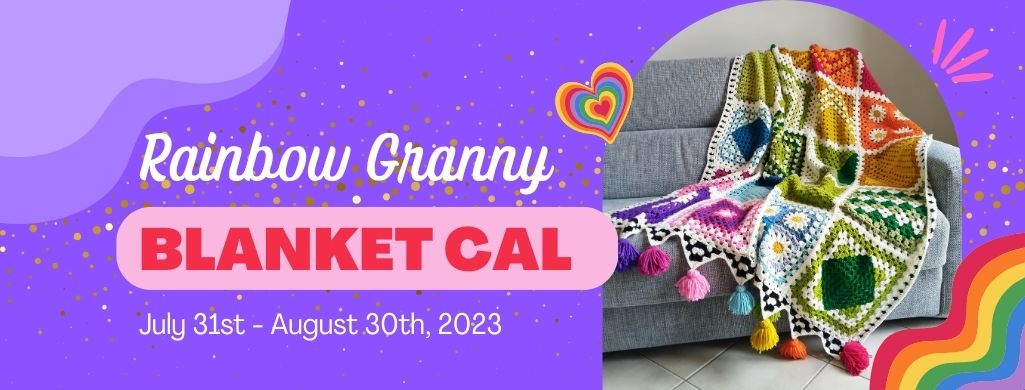
RAINBOW GRANNY BLANKET CAL
The zigzag granny border pattern is part of the Rainbow Granny Blanket CAL.
You can find all the details about the Rainbow Blanket CAL HERE, and get the free PDF of the zigzag granny border HERE or by clicking the button below!
Materials
- Same yarn as for your blanket
- Same hook you used to crochet your blanket
- Tapestry Needle
Abbreviations (US Terms)
- Ch – Chain
- Dc – Double Crochet
- RS – Right Side
- Sc – Single Crochet
- Sk – Skip
- Sl St – Slip Stitch
- Sp – Space
- St – Stitch
- Yo – Yarn Over
Pattern Notes
- If the pattern says “dc 2”, you must crochet 1 dc in each of the next 2 sts.
- (…) – Repeat the instructions within parenthesis for the indicated number of times.
- *…, **…, #…, or ##… – Repeat the instructions from *, **, # or ## for the indicated number of times.
- […] – Crochet the instructions within square brackets all in the same indicated st.
- The st count is indicated within brackets at the end of each round’s instructions.
How to Crochet a Zigzag Granny Border – for Granny Square Blankets
This border pattern is written specifically for the Rainbow Granny Blanket, which is made using 20 granny squares (5 by 4) of 11 rounds, and joined using the slip stitch zipper join method.
RS facing, join cream or your color of choice in any ch-2 corner sp.
Round 1
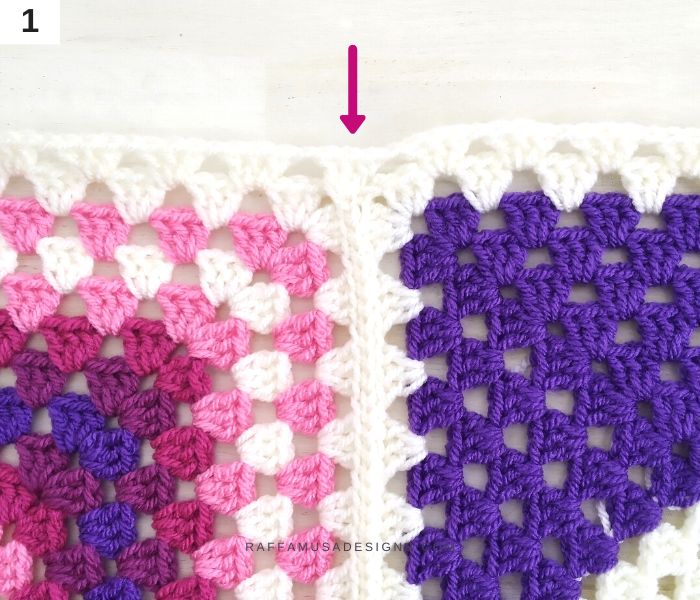
Ch 4 (counts as a dc and a corner sp), [dc 3] in same corner sp. *Ch 1, sk 3, [dc 3] in next ch-1 sp. Repeat from * for each ch-1 sp on each side of the blanket. At the seaming points, sk ch-2 corner sp of current square, [dc 3] on the side of the seam (photo 1), ch 1, sk next ch-2 corner sp of next square, and continue as normal from the next ch-1 sp. At the corners, [dc 3, ch 2, dc 3]. When you’re back at the initial corner sp, [dc 2], and sl st in third-made ch to join. (45 3-dc groups and 44 ch-1 sps on the short sides, 56 3-dc groups and 55 ch-1 sps on the long sides, 1 ch-2 sp at each corner)
Fasten off and weave in your ends.
Zigzag Short Sides
On the short sides of the blanket, RS facing, join black or a color of your choice in the third dc of the second 3-dc group (counting from the top, right corner, photo 2).
Row A. Sk next ch-1 sp and dc, [dc 3, ch 2, dc 3] in next dc, sk next dc and ch-1 sp, sl st in next dc (photo 2). (6 dc sts, 1 ch-2 sp)
Fasten off.
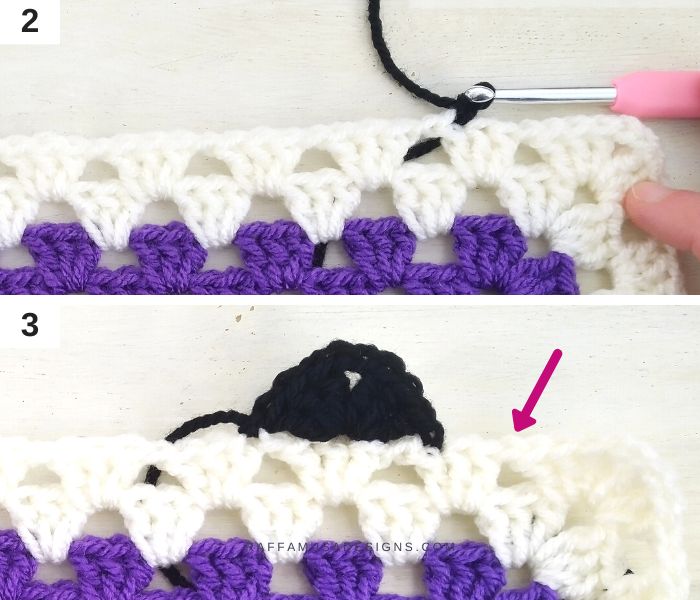
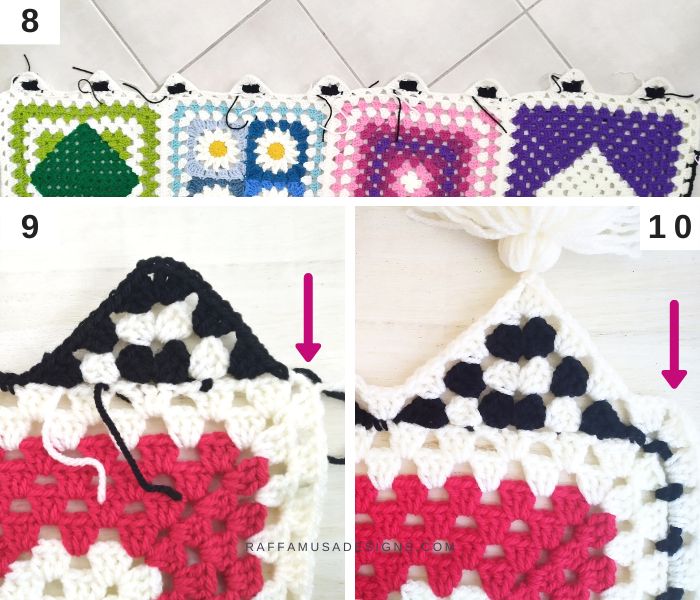
RS facing, sk previous 2 sts from where you started crocheting row A, and join cream or color of choice in next ch-1 sp (see arrow in photo 3)
Row B. [Dc 3] between round 1 of the border and first st of row A. Ch 1, sk 3, [dc 3, ch 2, dc 3] in next ch-2 sp, ch 1, sk 3, [dc 3] between last dc of row A and round 1 of the border. Sk next 2 sts of the border, sl st in next ch-1 sp (photo 4). (12 dc sts, 2 ch-1 sps, 1 ch-2 sp)
Fasten off.
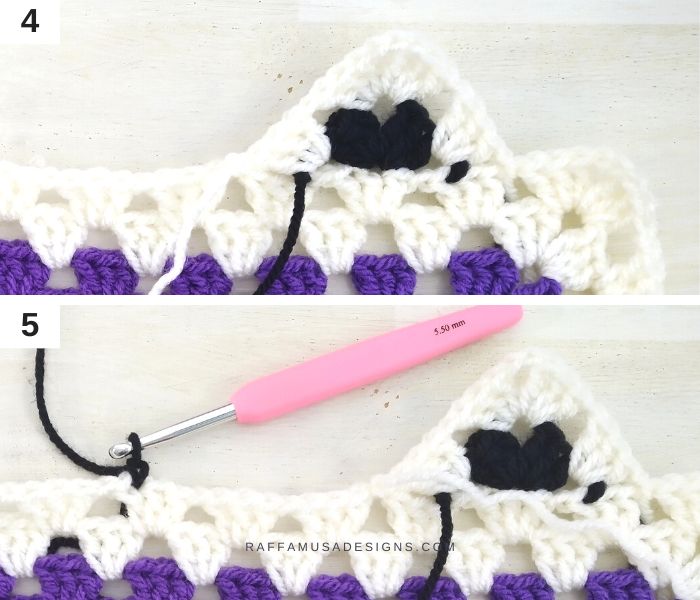
*RS facing, sk 10 sts on round 1 of the border counting from the last sl st of row B, and join black or your color of choice in next st (photo 5).
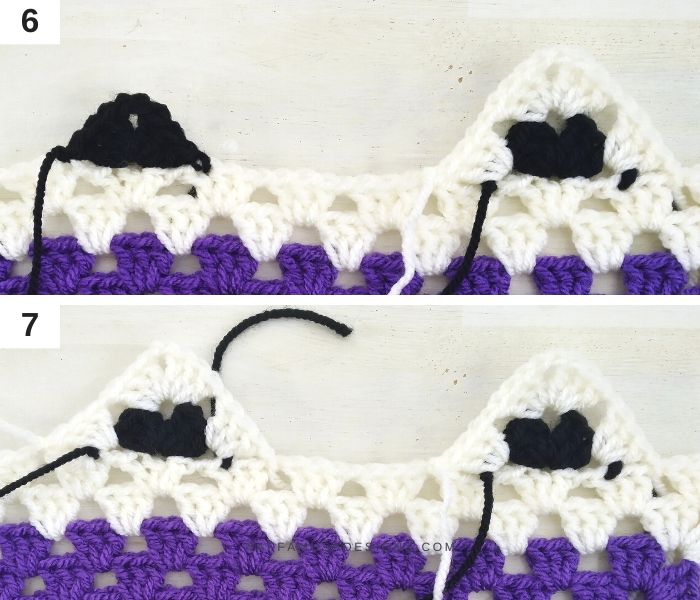
Rows A’ and B’. Repeat rows A and B (photos 6-7).
Repeat from * 8 times.
You will have 9 triangles on each short side of the blanket (photo 8).
Back to the Border
RS facing, join black or color of choice in the first dc of one of the short sides (see arrow in photo 9).
Round 2
*[Dc 3] between round 1 of the border and first st of row B. Ch 1, sk 3, [dc 3] in next ch-1 sp, ch 1, sk 3, [dc 3, ch 2, dc 3] in next ch-2 sp, ch 1, sk 3, [dc 3] in next ch-1 sp, ch 1, sk 3, [dc 3] between last dc of row B and round 1. Sk next 2 sts of the border, sl st in next st, sc 1 in next ch-1 sp, sl st in next st. Repeat from * 8 times. Repeat from * once more ending the repeat at the first sl st. Your hook is now at the last st of the short side.
[Sc 1, ch 2, sc 1] in next ch-2 sp.
**Ch 3, sk 3, sc 1 in next ch-1 sp. Repeat from ** 44 times. Ch 3, sk 3, [sc 1, ch 2, sc 2] in next ch-2 sp.
Sl st in first st of next short side.
Repeat from the beginning of round 2 once more.
(9 triangles and 10 sc on the short sides, 57 sc and 56 ch-3 sps on the long sides, 1 ch-2 sp at each corner)
Fasten off.
RS facing, join cream or color of choice in the top, right ch-2 corner sp of one of the short sides (photo 10).
Round 3
Ch 4 (counts as a dc and a corner sp), [dc 3] in same corner sp. #Ch 1, and sk next sc, sl st, and 3 dc. *[Dc 3] in next ch-1 sp, ch 1, sk 3, [dc 3] in next ch-1 sp, ch 1, sk 3, [dc 3, ch 2, dc 3] in next ch-2 sp, ch 1, sk 3, [dc 3] in next ch-1 sp, ch 1, sk 3, [dc 3] in next ch-1 sp, do NOT ch, sk next 3 dc and sl st, [dc 3] in next sc. Do NOT ch, sk next sl st and 3 dc.
Repeat from * 8 times.
At the last triangle, [dc 3] in next ch-1 sp, ch 1, sk 3, [dc 3] in next ch-1 sp, ch 1, sk 3, [dc 3, ch 2, dc 3] in next ch-2 sp, ch 1, sk 3, [dc 3] in next ch-1 sp, ch 1, sk 3, [dc 3] in next ch-1 sp, ch 1, sk next 3 dc, sl st, and sc, [dc 3, ch 2, dc 3] in next ch-2 sp.
**Ch 1, sk next sc, [dc 3] in next ch-3 sp. Repeat from ** 56 times#. Ch 1, sk next sc, [dc 3, ch 2, dc 3] in next ch-2 sp.
Repeat between # once more.
For the last corner, ch 1, sk next sc, [dc 2] in initial ch-2 sp, sl st in third-made ch to join.
Fasten off and weave in all your ends.
Finishing
Attach a tassel or a pompom to the tip of each triangle on the two short sides of the blanket.
Find more borders and edging ideas here on the blog…
Thank you so much for this wonderful design. I enjoy your granny square designs so much, Thank you!!