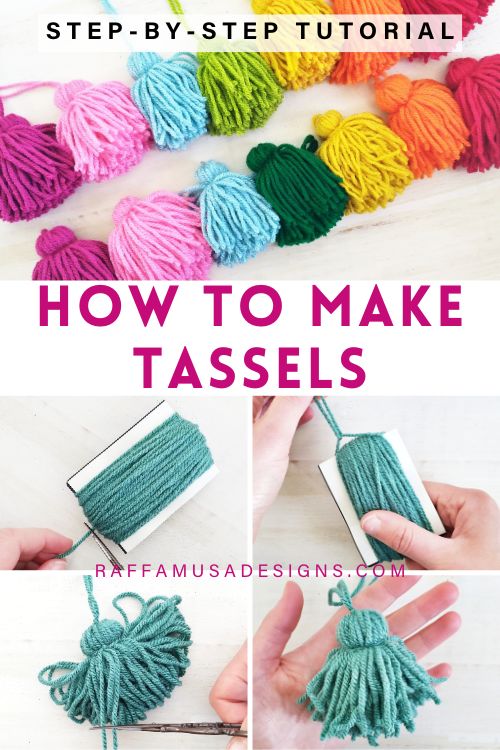
Learn how to make beautiful yarn tassels with this free step-by-step tutorial!
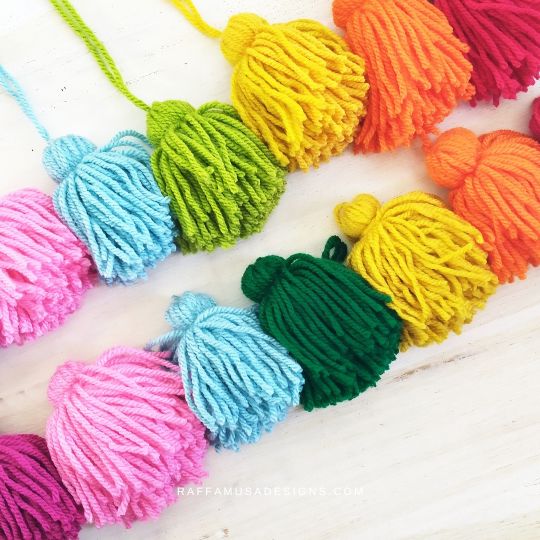
Tassels are a fun finishing touch to add to any handmade project, and they look great on blankets, home decor items, shawls, scarves, bags, etc.
You can even use a simple tassel as a keychain holder or a bookmark.
The possibilities are really endless!
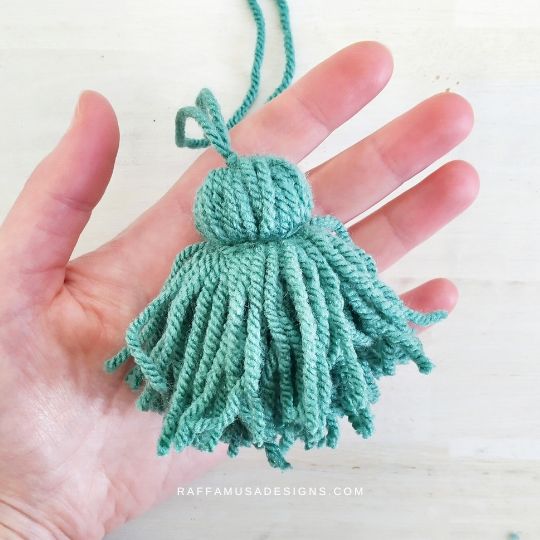
Making yarn tassels is very easy and does not require any special supplies. So, grab some yarn and a piece of cardboard, and let’s get started!
Save this tutorial for later by pinning it to your best DIY board on Pinterest using this pin!
Note: this post contains affiliate links. If you purchase something through the links on my blog, I might earn a commission. This will not have any effect on the price you pay. For more info, please, see my Privacy Policy.
MATERIALS
Any yarn with the appropriate hook. I used:
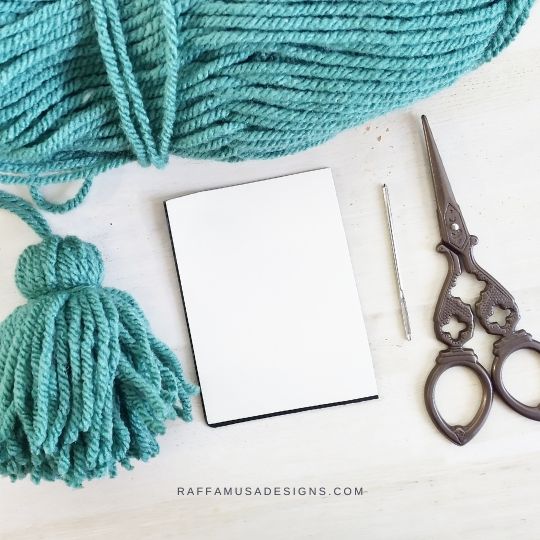
- Any yarn. I used Paintbox Yarns Simply Aran which is an Aran weight (4, Medium) yarn.
- A piece of cardboard
- Scissors
- Tapestry Needle
How to Make a Yarn Tassel – Step-by-Step Tutorial
1. Prepare the cardboard Support
Cut a piece of cardboard to use as support for making the tassel. Keep in mind that the length of the cardboard will also be the approximate length of your tassel.
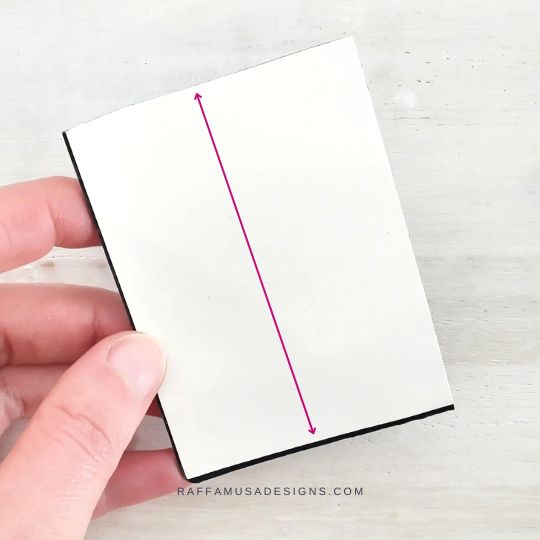
If you do not have any cardboard that you can cut, you could also use the toilet paper roll or the one of the kitchen paper! Just flatten it, cut it to the length you need, and it’s ready to go!
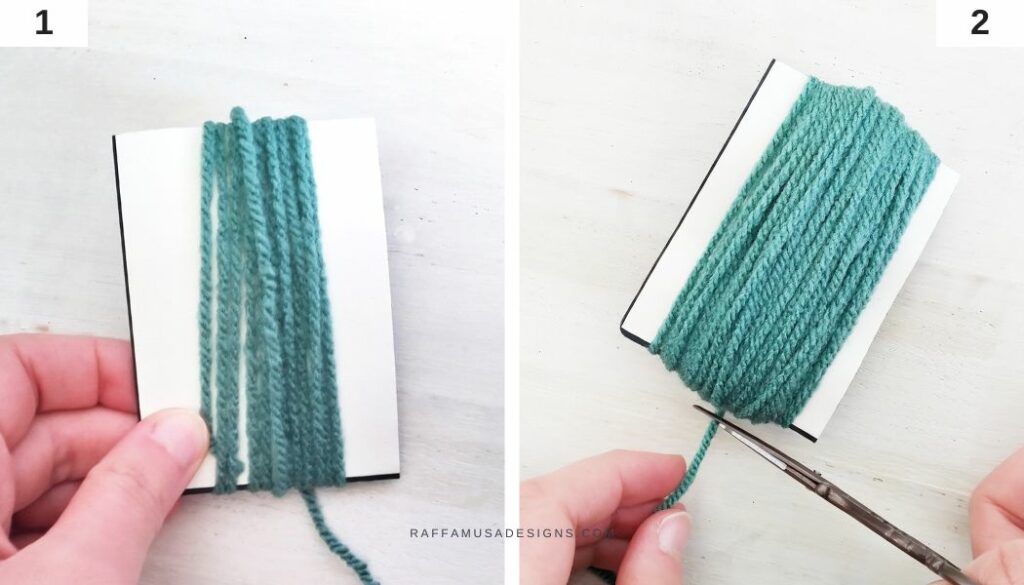
2. Wrap the yarn
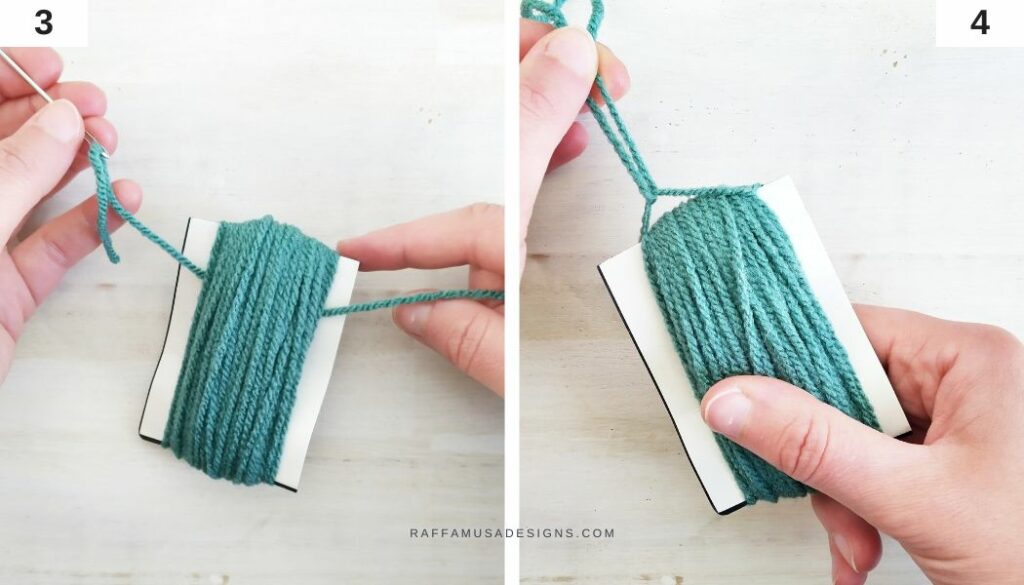
Wrap the yarn around your cardboard. When you’re done wrapping, cut the yarn. Remember that the more wraps you add, the larger will be the tassel.
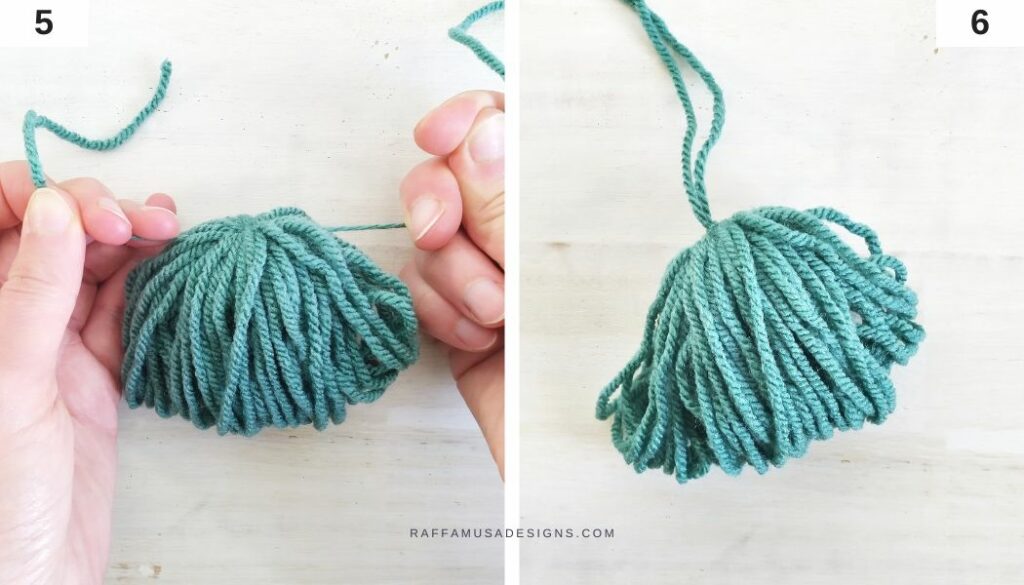
3. Secure the tassel
Draw a length of yarn underneath the wrapped yarn on one side of your cardboard and slide it to the top. Make a knot to secure the tassel.
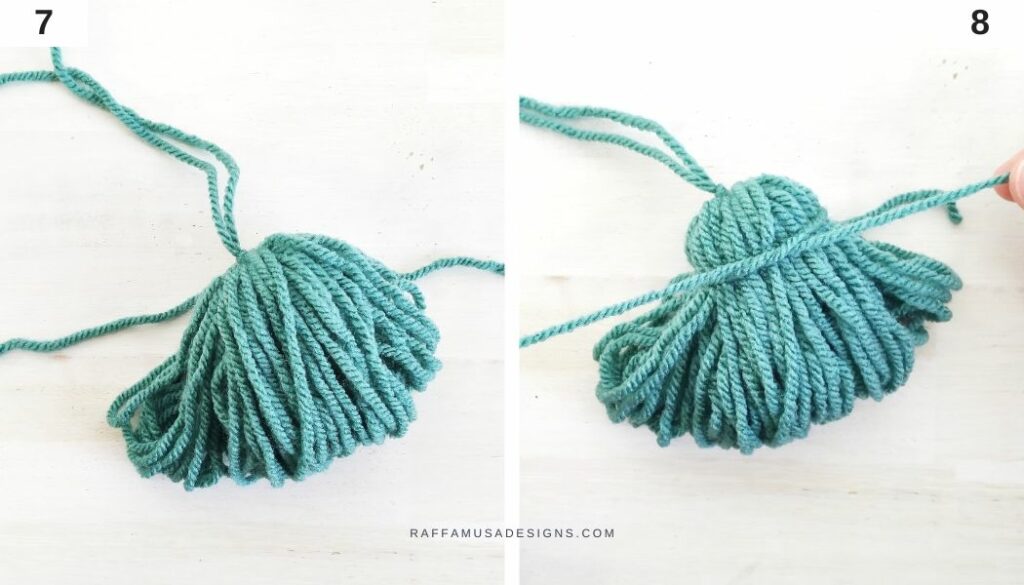
4. Remove the cardboard and tighten the top
Slide the tassel off the cardboard and tighten the knot that you made in the previous step.
5. Make a Knot
With another length of yarn, tie a knot around the tassel leaving about 1″ (2.5 cm) from the top.
6. Cut the bottom
Cut the closed ends of your tassel to open them up.
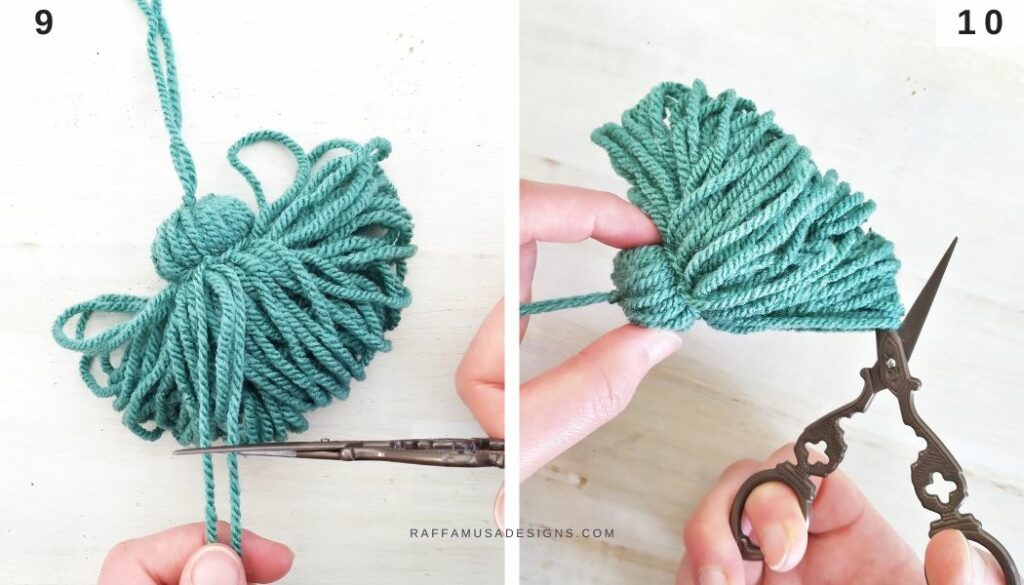
7. Trim & Comb the ends
Trip the ends of your tassel to make them all even. Finally, you can fluff the ends by combing them with a yarn brush.
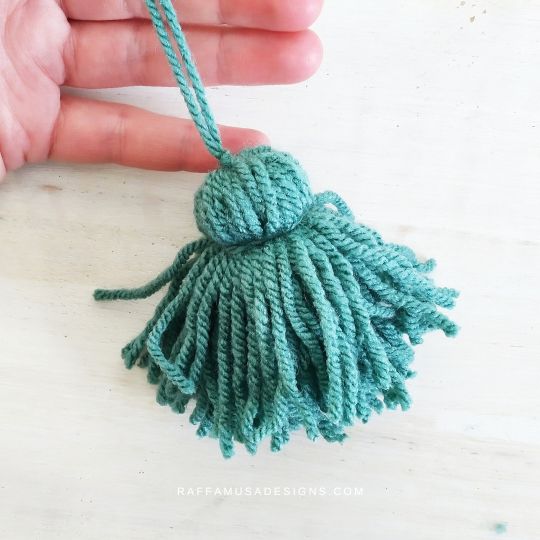
And Your Yarn Tassel is Ready!
I hope you enjoyed this free tutorial! Please, share your projects using tassels on Facebook or Instagram using the hashtag #raffamusadesigns
Find more crochet tutorials here on the blog…
