A crochet Granny Square Pillow can be a great addition to your home decor. Imagine adding a nice touch of color to your living room, kitchen, or even your bedroom with a bunch of happy granny square pillowcases!
The cool thing is that when you’re crocheting a granny square pillow cover, you can customize it so that it fits different pillow shapes and sizes.
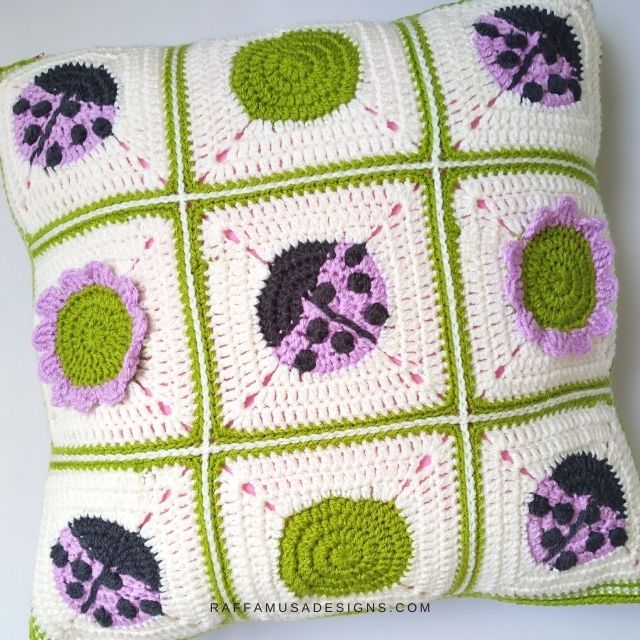
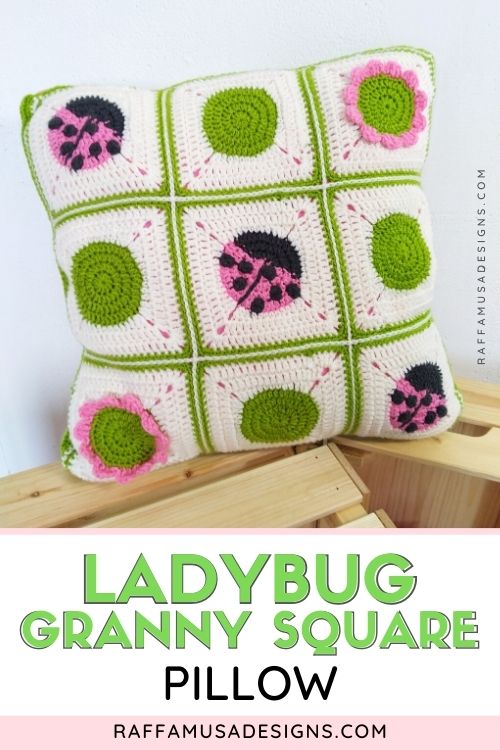
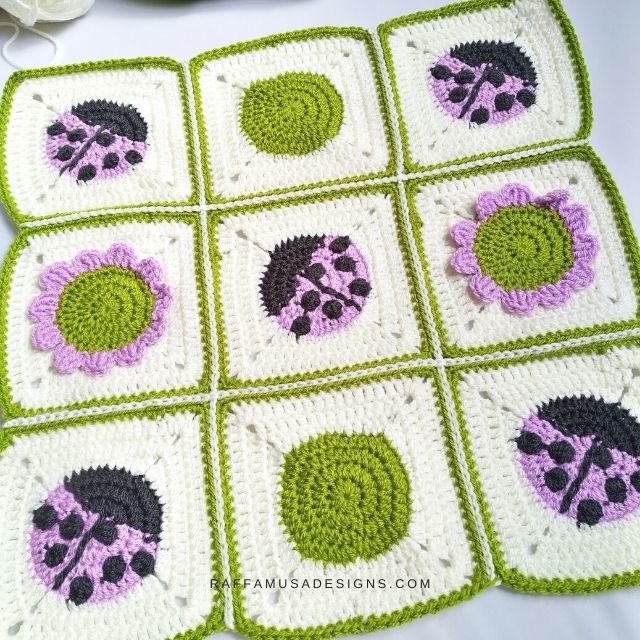
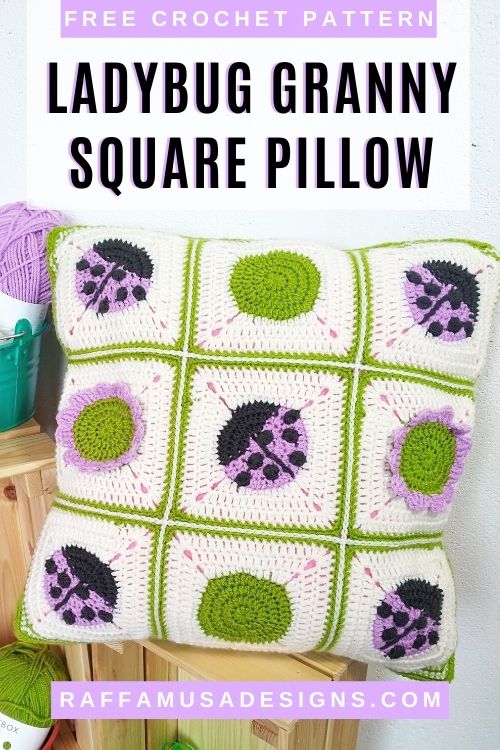
I personally made my Ladybug Granny Square Pillow as a gift for the nursery decor of my niece.
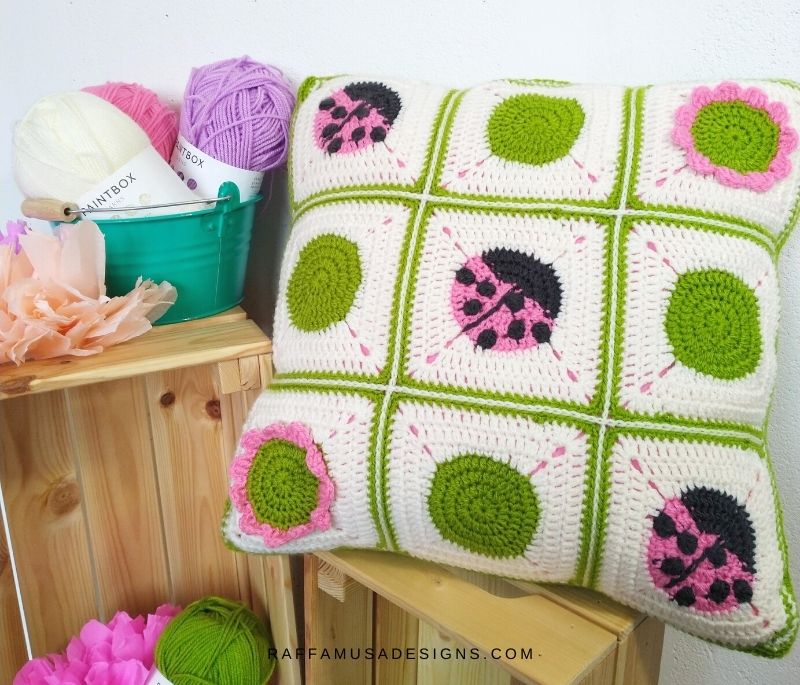
Since I did not have a pillow, I just went to a local home decor store and bought a cheap, square pillow with a side of 17.7″ (45 cm). Then, I removed the cover and used the pillow shape to stuff my ladybird pillowcase.
To crochet my granny square pillow, I used three of the granny squares that I recently shared on the blog.
All these three granny squares are 5.5″ (14 cm), so by joining them in 3 by 3, I could make the perfect size pillowcase for a standard 17.7″ (45 cm) pillow shape.
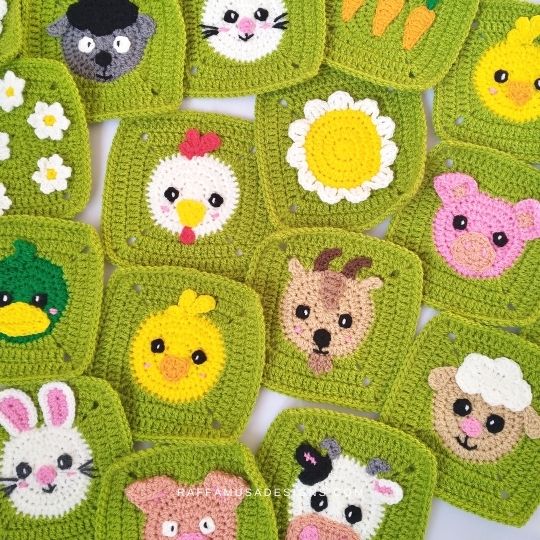
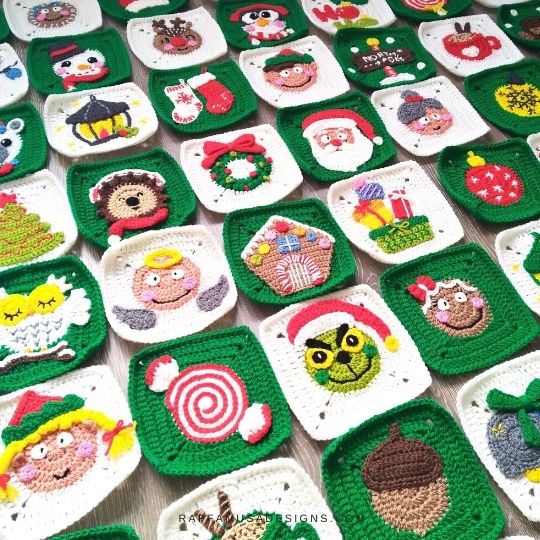
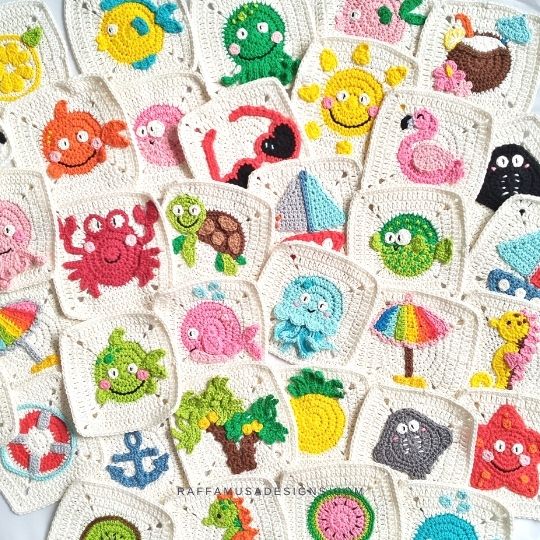
Find more granny squares of the same size…
Note: this post contains affiliate links. If you purchase something through the links on my blog, I might earn a commission. This will not have any effect on the price you pay. For more info, please, see my Privacy Policy.
Materials
- 4.0-mm (G/6 USA, 8 UK) Crochet Hook
- DK (3, Light) Weight Yarn
- Tapestry Needle
- 17.7″ (45-cm) Pillow Shape
- Optional: one 40-cm Zipper
Yarn & Yardage
I used Paintbox Yarns Simply DK in the following colors and amounts:
| Abbreviation | Color | Yardage |
| Color A (CA) | Bubblegum Pink (150) or Tea Rose (142) | 60 m/65.6 yds |
| Color B (CB) | Granite Grey (106) | 44 m/48 yds |
| Color C (CC) | Champagne White (102) | 300 m/328 yds |
| Color D (CD) | Lime Green (128) | 170 m/186 yds |
Abbreviations (US Terms)
Ch – Chain
Sc – Single Crochet
Sl St – Slip Stitch
St – Stitch
Yo – Yarn over
Construction
For the pillowcase in this tutorial, I used:
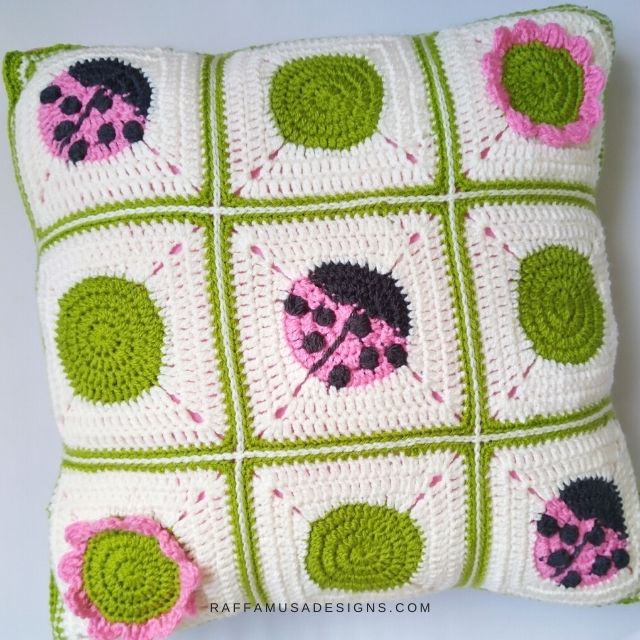
The pillow is created by joining two panels of 3×3 squares. You can personalize your pillow by varying how many Ladybugs, Simple Circles, and Flowers you use in your panels, and where you place them.
* Keep in mind that the yardage indicated in the “Yarn – Colors and Yardage” section refers to a pillow made with 8 ladybugs, 6 simple circles, and 4 simple flowers.
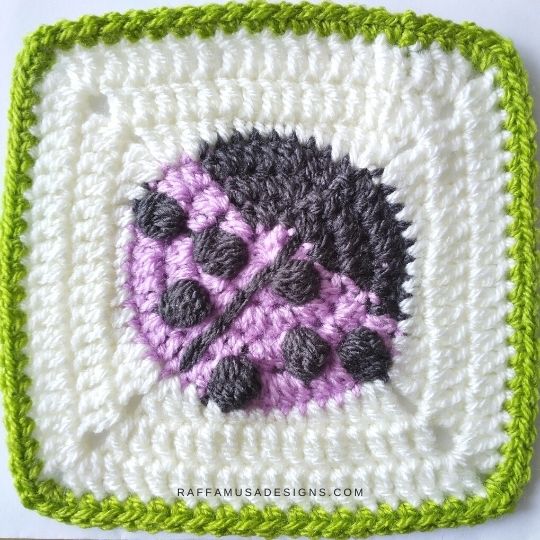
Ladybug Granny Squares
Make 8 Ladybug Granny Squares following the pattern HERE and using the color scheme indicated in the pattern.
Simple Circle Granny Squares
Make 6 Simple Circle Granny Squares following the pattern HERE and using the color scheme:
Rounds 1-4. Use CD yarn.
Rounds 5-7. Use CC yarn.
Round 8. Use CD yarn.
Simple Flower Granny Squares
Make 4 Simple Flower Granny Squares following the pattern HERE and using the following color scheme:
Rounds 1-4. Use CD yarn.
Rounds 5-7. Use CC yarn.
Round 8. Use CD yarn.
Petals. Use CA yarn.
Joining the Squares
With CC, join your squares to form a panel or 3 squares by 3 squares.
You can use your favorite method for joining. I used the slip stitch or zipper join, but you can single crochet or use the mattress st.
Little Tip
If you are using the zipper join, I suggest you go up one or two hook sizes so that the join is not too tight!
I personally used a 5.5 m (I/9 US, 5 UK) hook for joining my squares.
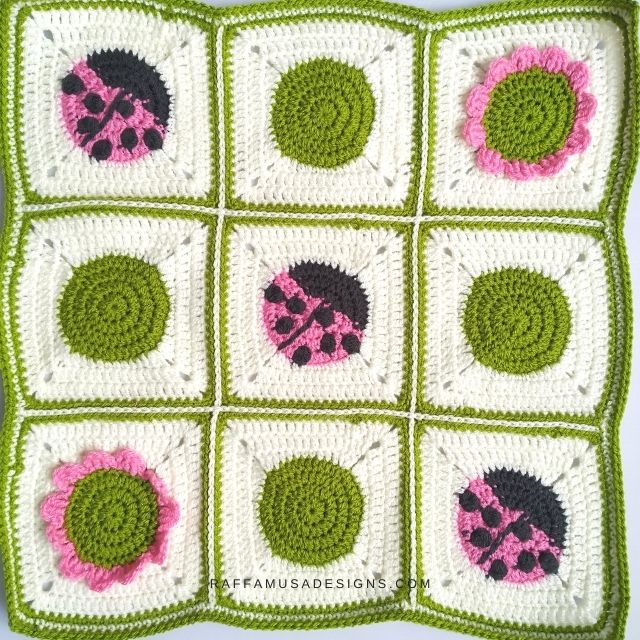
Arrange your squares as you like the most!
Here’s an example.
Border
(Right side facing) Using your 4-mm crochet hook, join CC in any of the sc sts on the edge of your panel.
Round 1. Sc all around your panel. At the corners, (sc, ch 1, sc) all in the ch-1 space. Join with a sl st into the first sc.
Fasten off CC.
Note
If you joined your square using sc or the zipper st, make 1 sc in correspondence with the join.
Join CD in any st from the previous round.
Round 2. [CD] Sc all around your panel. At the corners, (sc, ch 1, sc) all in the ch-1 space. Join with a sl st into the first sc.
Fasten off and weave in all your ends.
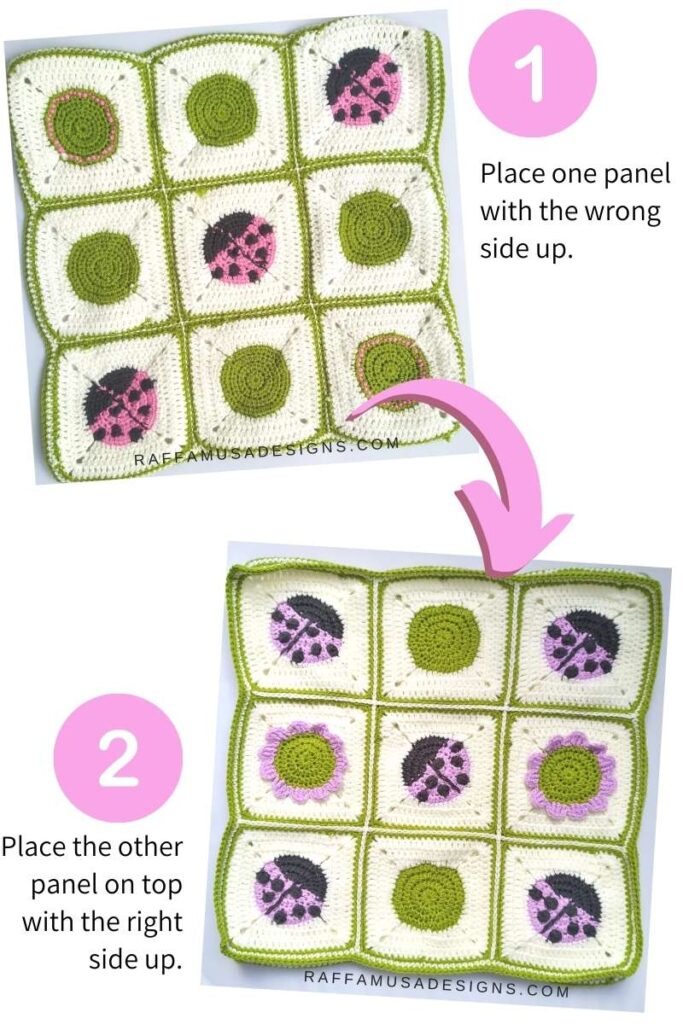
Assembly
Place your panels with the wrong sides facing each other, so that both right sides are outside.
If You Are Not Lining Your Pillowcase…
Join the panels using the zipper st or your preferred method for joining.
Make sure to stitch together the same corresponding sts on each panel. If you are afraid of missing a st, you can help yourself by holding together a few corresponding sts on each side using a st marker.
Before closing the pillowcase completely, insert your 17.7″ (45-cm) pillow shape inside.
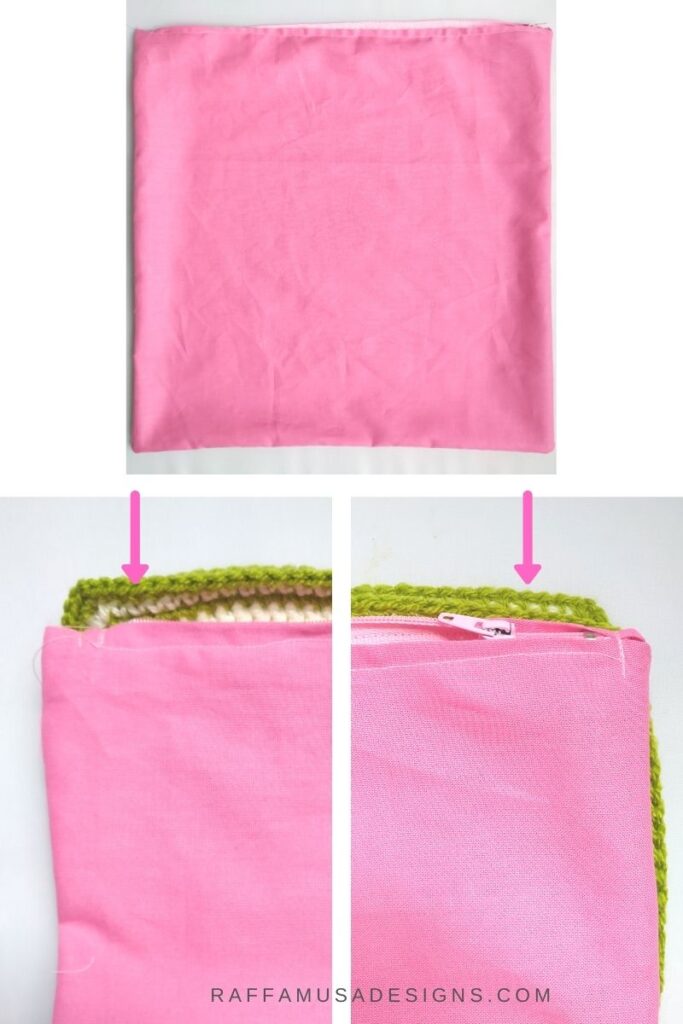
How to Line Your Crochet Pillowcase
If you want to make the pillowcase easier to wash, you could:
- Simply add a zipper on one of the sides;
- Line your pillow.
In both cases, I suggest you hand sew the zipper or the lining to your crochet pillow.
If you decide to use a zipper or line your pillow, here’s my go-to method.
- Decide on which side you want to have your zipper/lining.
- Place the zipper/lining on that side to realize how many stitches to the right and to the left you need to close.
- Start joining your panels from the first st that you decided to close on the left (for right-handed crocheters) or the right (if you are left-handed) of the open side.
- Join all the way around your pillow until you reach the other end of the open side.
- Fasten off leaving a long end of the yarn to hand-sew the zipper or the lining.

Your crochet Crochet Granny Square Pillow is ready!
I hope you liked this tutorial and I’d love to see your finished pillowcases! Please, share your makes on Facebook or Instagram using the hashtag #raffamusadesigns
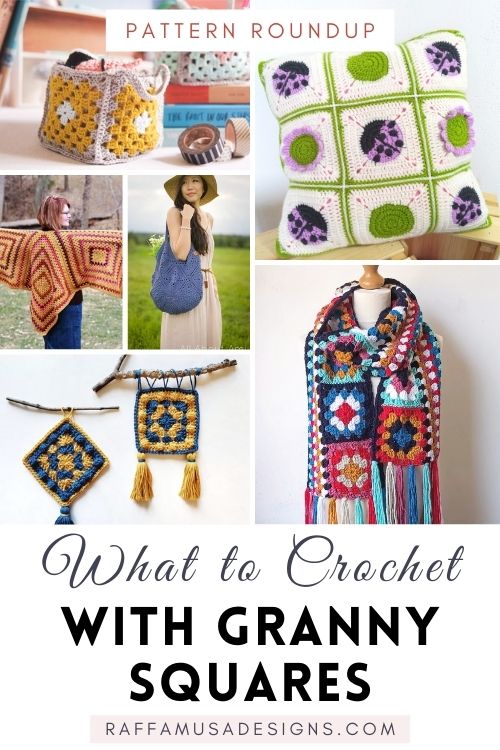
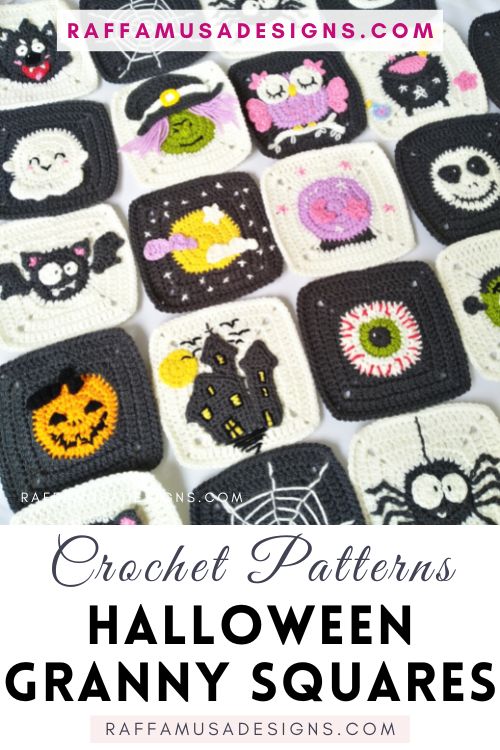
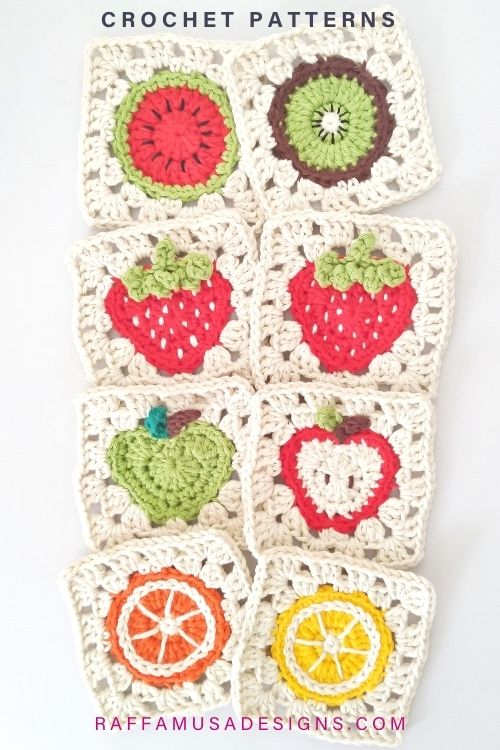
Find more granny square ideas here on the blog…
2 thoughts on “How to Crochet an Easy Granny Square Pillow”