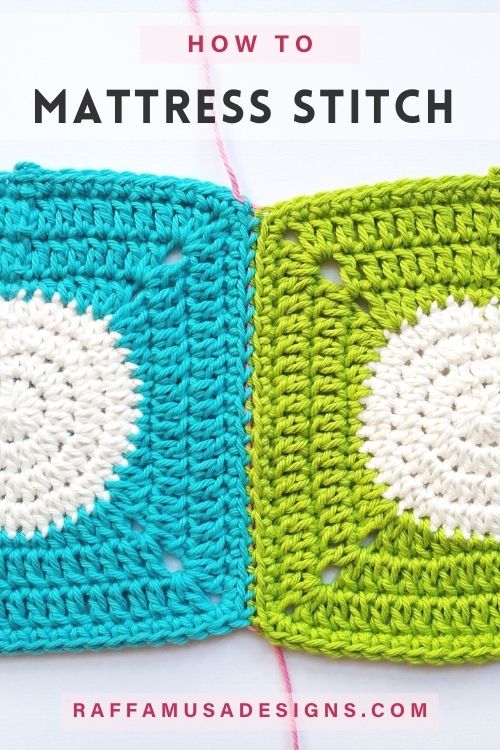
The mattress stitch is a hand-sewing method to join together crochet or knit pieces. But don’t worry, you do not need to be a seamstress to learn how to do it!
Note: this post contains affiliate links. If you purchase something through the links on my blog, I might earn a commission. This will not have any effect on the price you pay. For more info, please, see my Privacy Policy.
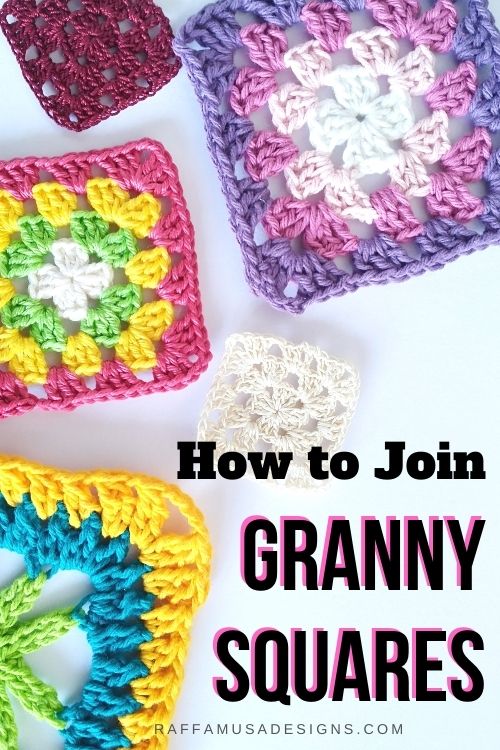
In fact, the mattress stitch is a very easy technique for seaming, and it works on a variety of pieces from granny squares to crochet and knit panels for garments.
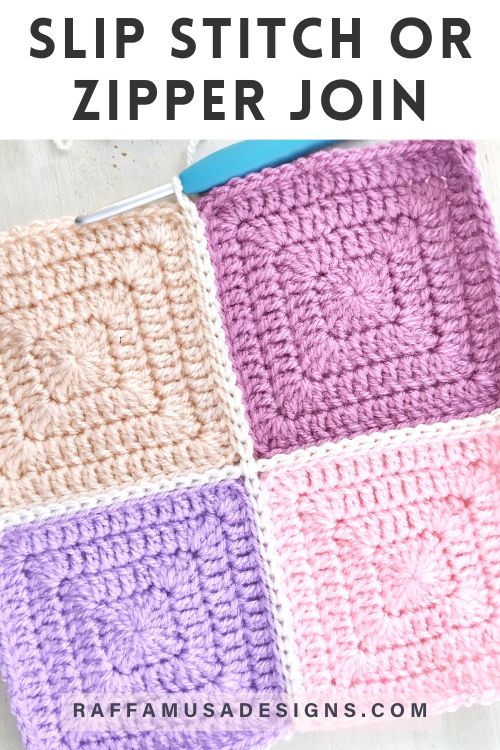
Compared to other seaming techniques, such as single crocheting panels together, or slip stitching them with the zipper join, the mattress stitch has several advantages. Here are a few:
- The mattress stitch is invisible, so it is great for joining panels of different colors.
- The joining point is flat, so you do not have the typical bulky, ridged look of the other methods.
- It works for joining both the top of the rows and the sides of the rows.
- The mattress stitch uses very little yarn and it is very easy to learn.
In this tutorial, we’ll see how to do the mattress stitch using a couple of Simple Circle crochet squares as an example.
How to Join Granny Squares with the Mattress Stitch – Video Tutorial
Mattress Stitch Seaming – STEP-BY-STEP TUTORIAL
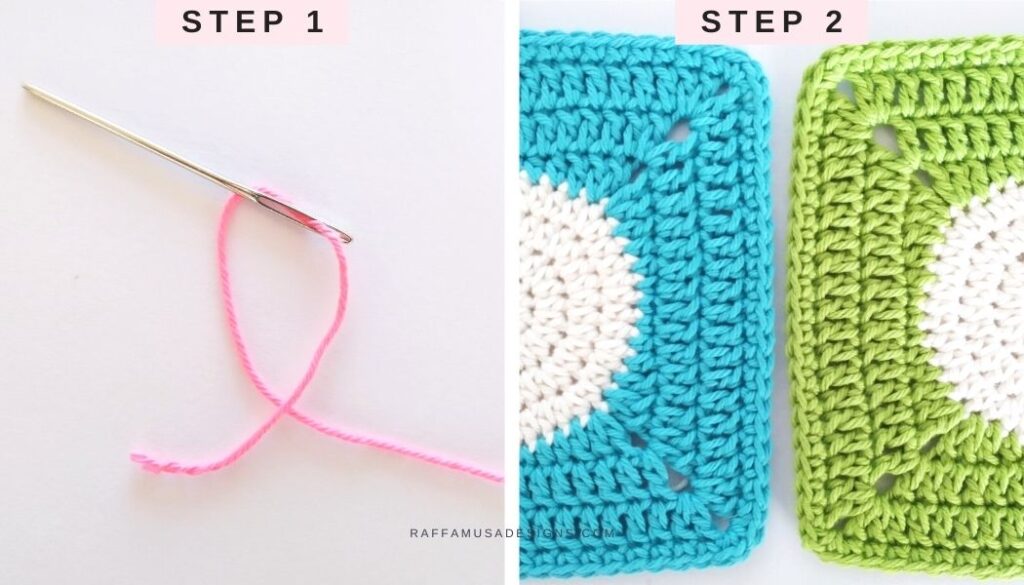
Step 1
Cut an appropriate length of yarn and thread it through a tapestry needle.
I normally use at least three times the length I need to sew, or even more.
Step 2
With all right sides facing up, align the edges of the two pieces that you need to sew, and identify all the corresponding sts.
If needed, mark a couple of corresponding sts with stitch markers. This way, you can double-check that you’re not skipping any sts while sewing.
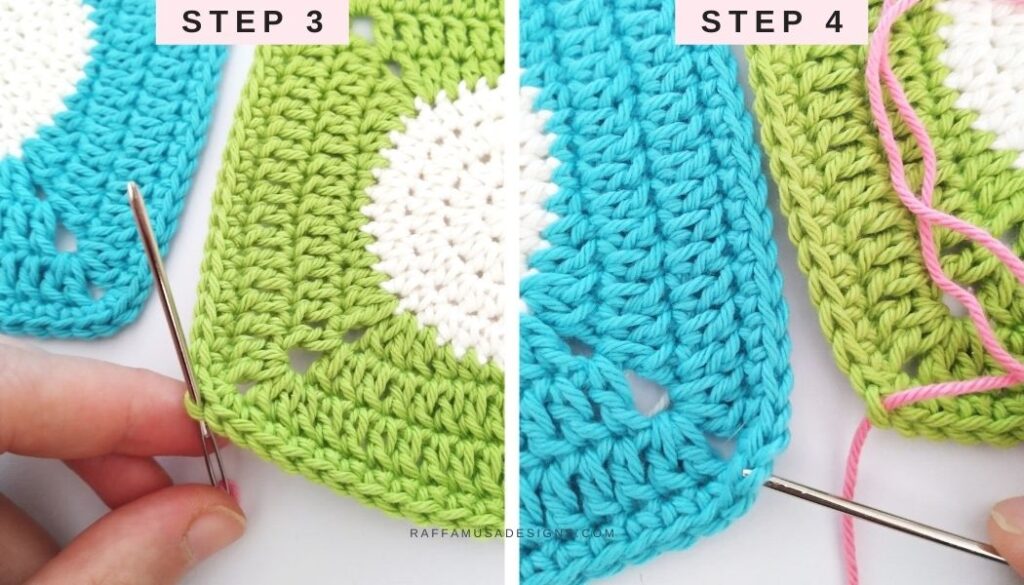
Step 3
On one of the two pieces, insert your needle into the back loop of the first st going from the back of your work to the front. Pull the yarn through until you only have a short tail left.
Step 4
With a movement from back to front, insert your needle into the back loop of the corresponding st on the other piece, and pull the yarn through (you do not need to pull very tight at this stage).
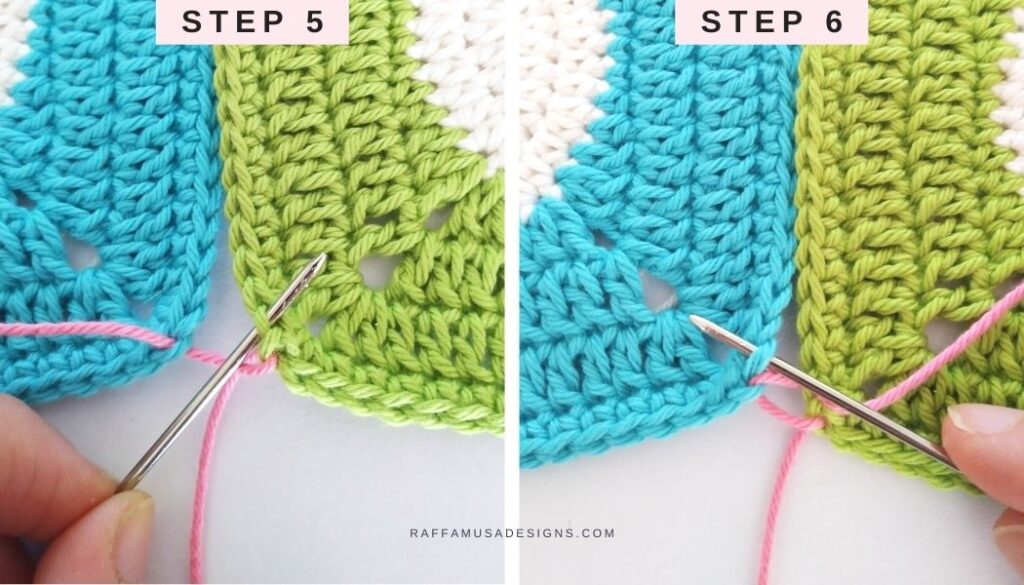
Steps 5-6
On the first piece, insert your needle from back to front into the back loop of the next st. Then, repeat the same movement into the back loop of the next st on the other piece.
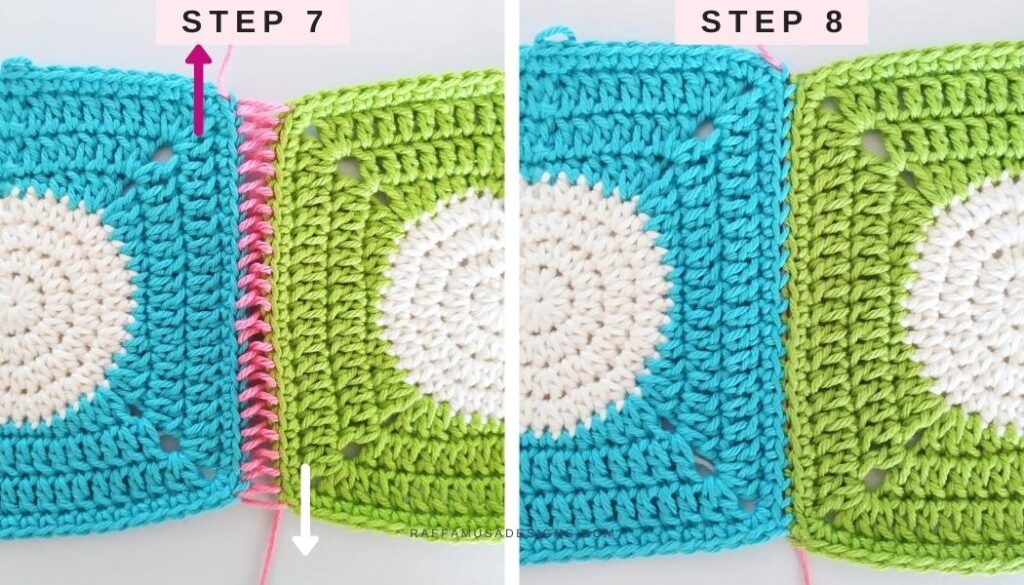
Step 7
Repeat Steps 5-6 until you the end.
Step 8
Pull both ends of the yarn you used for sewing until it is completely hidden between the joined pieces.
WELL DONE, YOU JUST LEARnED HOW TO make an invisible seam with the Mattress Stitch!
I hope you enjoyed this tutorial! Feel free to share your opinions on your favorite joining methods by tagging me on Facebook or Instagram and using the hashtag #raffamusadesigns
Find more tutorials here on the blog…
3 thoughts on “How to Join Crochet with the Mattress Stitch [+ Video Tutorial]”