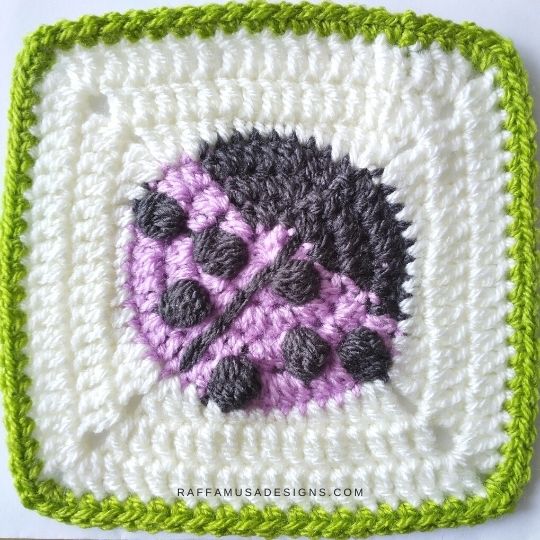
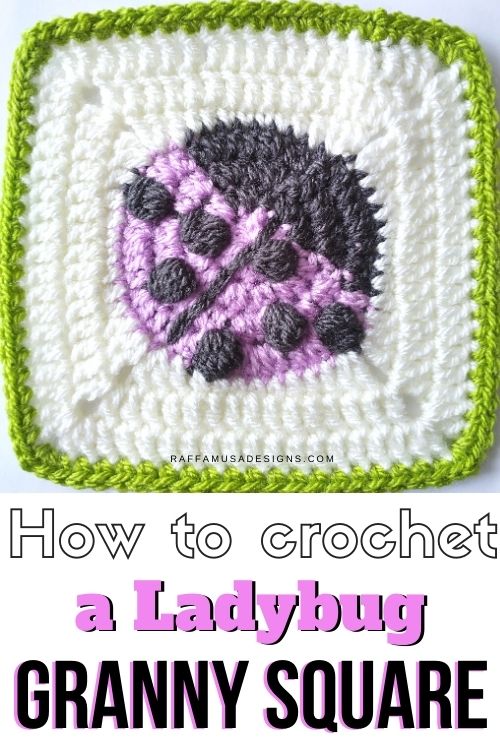
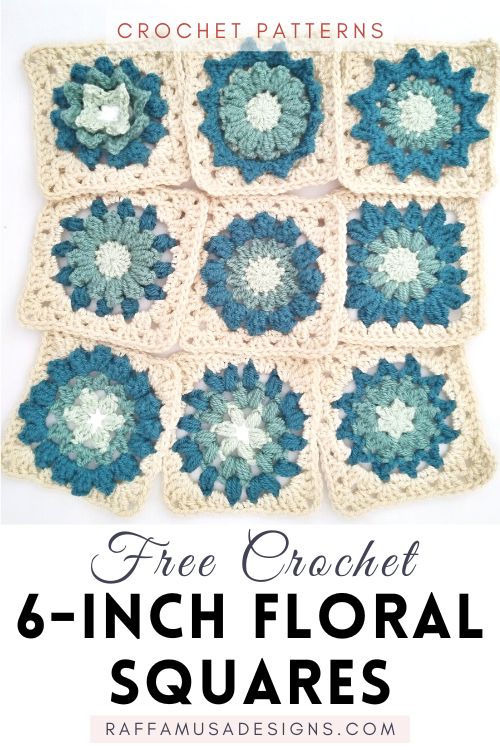
Looking for a lucky ladybug for your craft projects? Here is my Ladybug granny square, perfect for blankets, pillows, and any other project that uses granny squares!
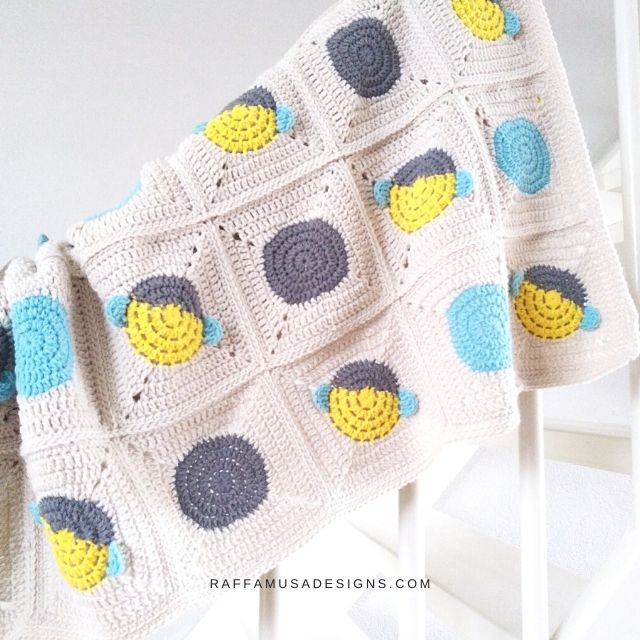
I started thinking about animal crochet squares when Helen from Sunflower Cottage Crochet organized her Preemie Crochet Challenge last August. This ladybug was actually the first thing I came up with as a possible Preemie Bonding Square.
However, I was not so sure about using dark and bright colors for a preemie project. So, after my mum also said that she did not like dark colors for tiny babies, I went on and made a Basketweave Bonding Square for the challenge.
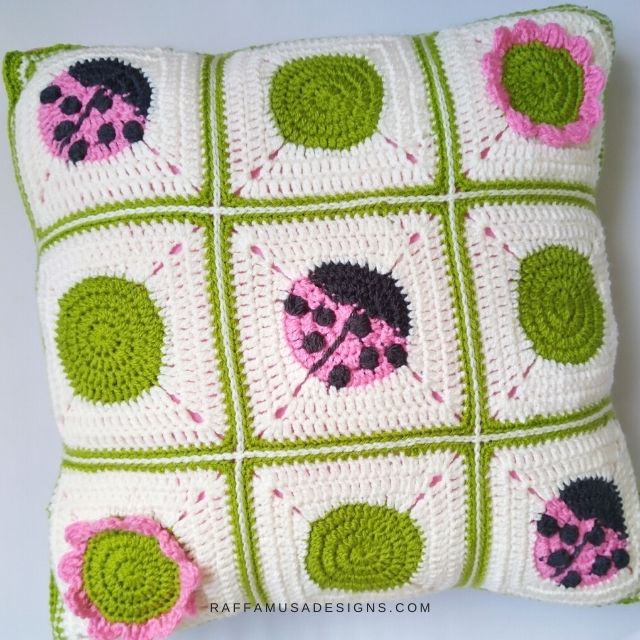
A Ladybug Nursery Pillow
But, I did not abandon the ladybug project and actually added a few more squares to go with this one. The aim was to crochet a granny square pillow!
Last week, I already shared the Simple Circle Granny Square and the Simple Flower Granny Square.
Today, with the Ladybug Granny Square, we’ll have all the squares to crochet the Ladybug Granny Square Pillow.
Free Pattern Download!
The Ladybug Granny Square is one of the crochet blocks that I used for my Ladybug Granny Square Pillow.
Join my e-mail list and receive the Ladybug Granny Square Pillow pattern for free in your inbox!
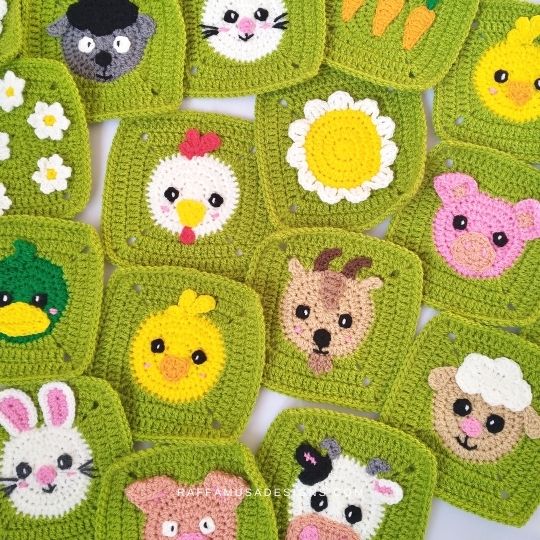
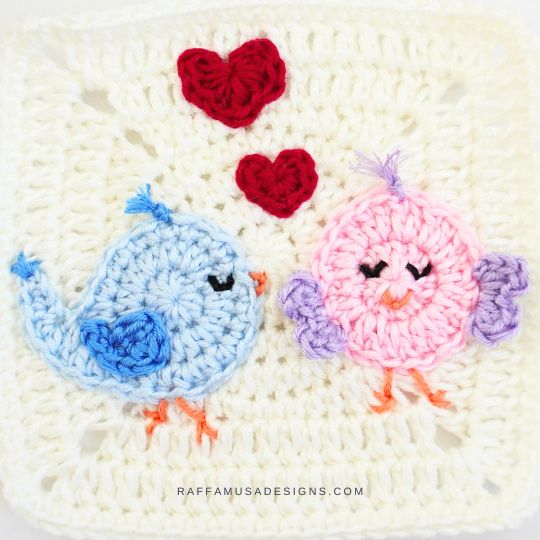
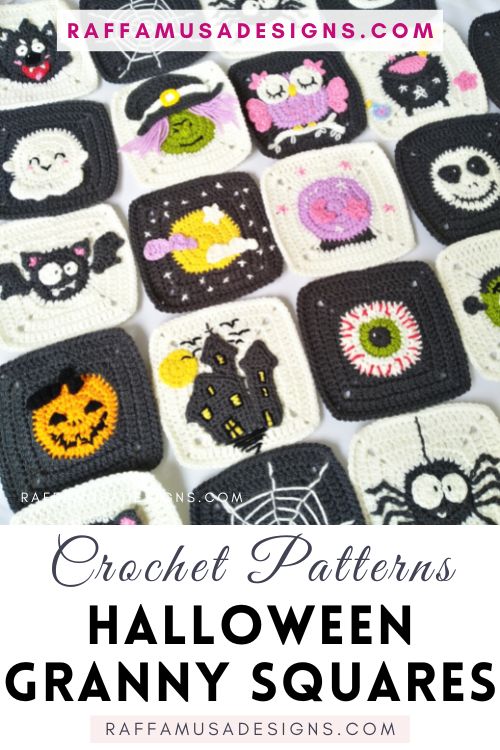
Find more animal squares and appliques here on the blog…
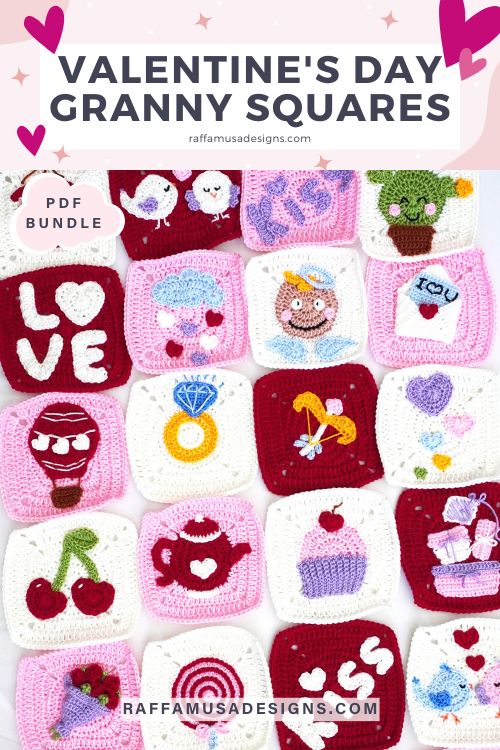
Pin the free pattern of the Ladybug Granny Square to your favorite crochet board on Pinterest!
Note: this post contains affiliate links. This means that if you purchase something through the links on my blog, I might earn a commission. This will not have any effect on the price you pay. For more info, please, see my Privacy Policy.
Materials
- 4.0-mm (G/6 USA, 8 UK) Hook
- Paintbox Yarns Simply DK
- Tapestry Needle
Yarn Colors and Yardage
| Abbreviation | Color | Yardage |
| Color A (CA) | Bubblegum Pink (150) or Tea Rose (142) | 5 m/5.5 yds |
| Color B (CB) | Granite Grey (106) | 5.5 m/6 yds |
| Color C (CC) | Champagne White (102) | 16.6 m/18.1 yds |
| Color D (CD) | Lime Green (128) | 5 m/5.5 yds |
Abbreviations (US Terms)
Bobble – Bobble Stitch
Ch – Chain
Dc – Double Crochet
Hdc – Half Double Crochet
Inc – Increase
MC – Magic Circle
Sc – Single Crochet
Sl St – Slip Stitch
St – Stitch
Tr – Treble Crochet
Yo – Yarn over
Special Stitches
Bobble Stitch (Bobble)
Yo, insert your hook into the indicated st, yo, and pull up a loop (three loops on your hook). Yo, draw through two loops on your hook (two loops on your hook). Repeat from the beginning four times more, inserting your hook into the same st (six loops on your hook). Yo and draw through all six loops on your hook.
Increase (Inc)
One increase consists of 2 sts crocheted into the same indicated st.
Magic Circle (MC)
To learn how to crochet the magic circle, please, check out this step-by-step tutorial.
Pattern Notes
- If the pattern says “hdc 2”, it means that you have to crochet 1 hdc into each of the next 2 sts.
- (…) – Repeat the instruction within brackets for the indicated times.
- Join each round with a sl st between the last and first st of the round (not on top of the initial chains!).
- The stitch count is indicated within brackets at the end of each round’s instructions.
- The initial chains are not included in the stitch count.
- [CA] and [CB] indicate that you have to crochet the next series of sts using either color A or B.
- [CA/CB] indicates a hdc increase crocheted using CA for the first st and CB for the second st. Similarly, [CB/CA] indicates a hdc inc in which the first st is crocheted with CB and the second with CA.
- Scroll to the end of this page for how to change colors!!!
Granny Square Size
The Ladybug Granny Square measures 5.5” (14 cm).
Gauge
Using your 4-mm crochet hook, make a MC.
Round 1. Ch 2, hdc 11 in the MC. Join the round with a sl st into the first hdc. (11 sts)
Round 2. Ch 1, hdc inc 11. Sl st to join. (22 sts)
Round 3. Ch 1, (hdc inc 1, hdc 1) 11 times. Sl st to join. (33 sts)
You three rounds should measure 2.25″ (5.5. cm).
Ladybug Granny Square Pattern
Using your 4-mm crochet hook and CA, make a MC.
Round 1
[CA] Ch 2, hdc 7 in the MC, [CB] bobble 1, [CA], hdc 3. Close the last st with CB. Join the round with a sl st into the first hdc. (11 sts)
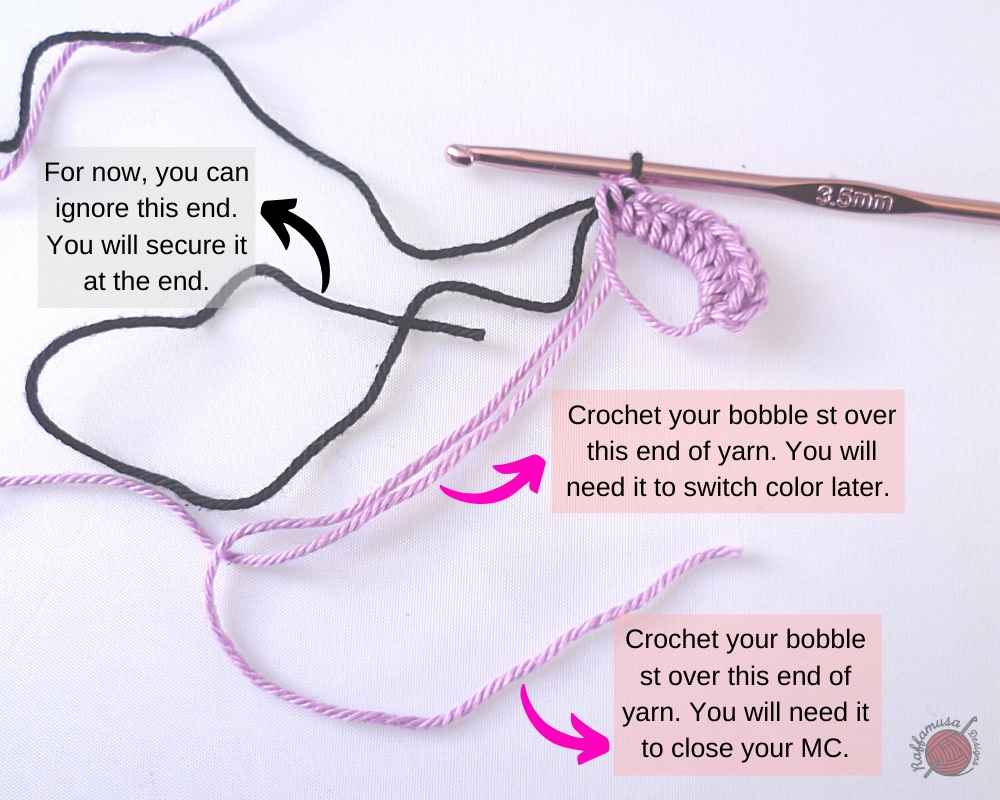
Note
When making the bobble with CB, make sure to carry both strands of color A inside your stitches. You will need both strands to close the MC and to switch color back to A!
Round 2
[CB] Ch 1, hdc inc 1. [CB/CA] hdc inc 1. In the next st, [CA] hdc 1 and [CB] bobble 1 all in the same st. [CA] Hdc inc 6. [CB] hdc inc 2. Join with a sl st into the first hdc. (22 sts)
Round 3
[CB] Ch 1, (hdc inc 1, hdc 1) twice. [CA] (Hdc inc 1, hdc 1) twice. In the next st, [CA] hdc 1 and [CB] bobble 1 all in the same st. [CA] Hdc 1, (hdc inc 1, hdc 1) twice. In the next st, [CB] bobble 1 and [CA] hdc 1 all in the same st. [CA] hdc 1, hdc inc 1, hdc 1. [CB] (hdc inc 1, hdc 1) twice. Join with a sl st into the first hdc. (33 sts)
Round 4
[CB] Ch 1, (hdc 2, hdc inc 1) twice, hdc 1. [CA] hdc 1, hdc inc 1. [CB] bobble 1. [CA] Hdc 1, (hdc inc 1, hdc 2) twice, hdc inc 1. [CB] Bobble 1. [CA] hdc 1, hdc inc 1, hdc 2, hdc inc 1. [CB] bobble 1. [CA] hdc 1. [CA/CB] hdc inc 1. [CB] (hdc 2, hdc inc 1) twice. Close the last st with CC. Sl st in the first hdc to join. (44 sts)
Round 5
[CC] Ch 2, dc 1 in the first st, (dc 1, hdc 2, sc 3, hdc 2, dc 1, dc inc 1, ch 2, dc inc 1) three times. Dc 1, hdc 2, sc 3, hdc 2, dc 1, dc inc 1, ch 2, dc 1 into the beginning st. Sl st into the first dc. (13 sts on each side and ch-2 at the corners)
Note
It will be a bit difficult to do the last dc in the first st because there are already the starting ch-2 and the first dc. But try your best, that’s where it’s supposed to go!
Alternatively, you can start the round with ch 3 and finish with a sl st on the third initial ch.
Round 6
[CC] Ch 2, dc 12. (In the ch-2 corner, [dc 1, ch 2, dc 1]. On the next side, dc 13) three times. [dc 1, ch 2, dc 1] into the last corner, dc 1. Sl st into the first dc to join. (15 sts on each side and ch-2 at the corners)
Round 7
[CC] Ch 2, dc 13. (In the ch-2 corner, [dc 2, ch 1, dc 2]. On the next side, 15 dc) three times. [Dc 2, ch 1, dc 2] into the last corner, dc 2. Join the round with a sl st into the first dc. (19 sts on each side and ch-1 at the corners)
Round 8
[CD] Ch 1, sc 15. (In the ch-1 corner, [sc 1, ch 1, sc 1]. On the next side, sc 19) three times. [Sc 1, ch 1, sc 1] into the last corner, sc 4. Join the round with a sl st into the first sc. (21 sts on each side and ch-1 at the corners).
Fasten off and weave in all your ends.
Finishing
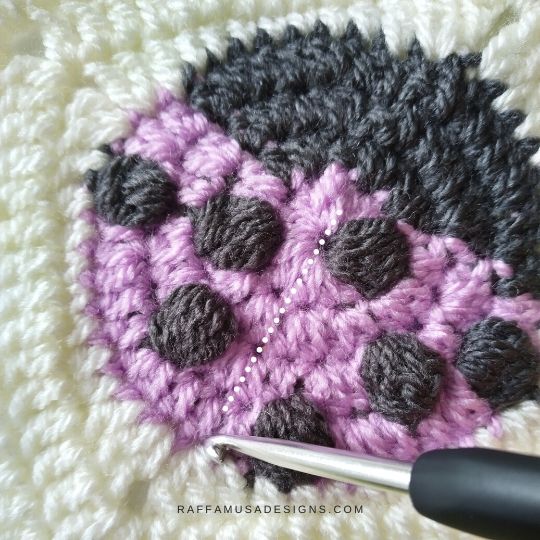
Using your 4-mm crochet hook and CB yarn, surface crochet a straight line in the middle of your ladybug.
Draw an imaginary line crossing the body of the ladybug and identify the sts on that line. The first point of the line is the st of round 4 that is just to the right of the bottom, left corner.
Step 1. (Right side facing) Holding your square with the ladybug pointing up/right, insert your hook from front to back into the first st you identified on round 4.
Step 2-3. Grab your yarn on the back of the work and pull it to the right side.
Step 4. Insert your hook from front to back into the next st on the line on round 3 of the ladybug, pick up a loop, and bring it to the right side of your work.
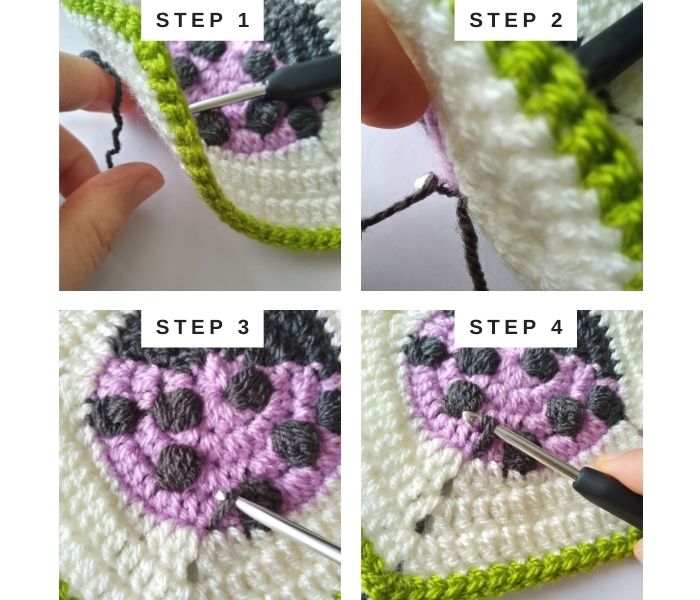
Step 5. Sl st the new loop on your hook through the loop you made in step 3.
Step 6-8. Repeat the same steps until you reach the head of the ladybug.
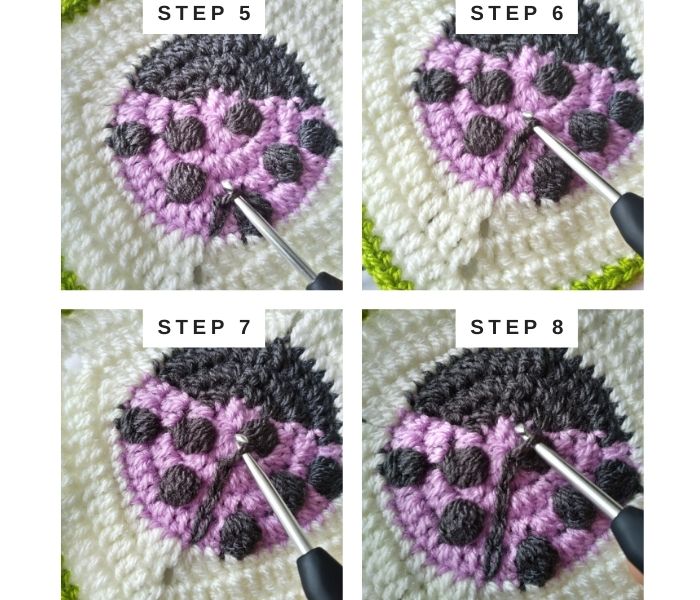
Fasten off and weave in all your ends.
Your crochet Ladybug Granny Square is ready!
I hope you liked this pattern and I’d love to see your version of it! Please, share it on Facebook or Instagram using the hashtag #raffamusadesigns
Find more granny square patterns here on the blog…
How to Change Colors
In this pattern, all color changes are made in the middle of a stitch.
Let’s see how in the different situations!
1. [CA] Hdc 1, [CB] bobble 1
(either in the same st or in two different sts)
Step 1. With CA, yo, insert your hook into the indicated st, yo and pull up a loop (three loops on your hook). This is the first half of your hdc.
Step 2. Switch to CB and yo (3).
Step 4. Pull through all three loops.
You just changed color in the middle of your hdc st!
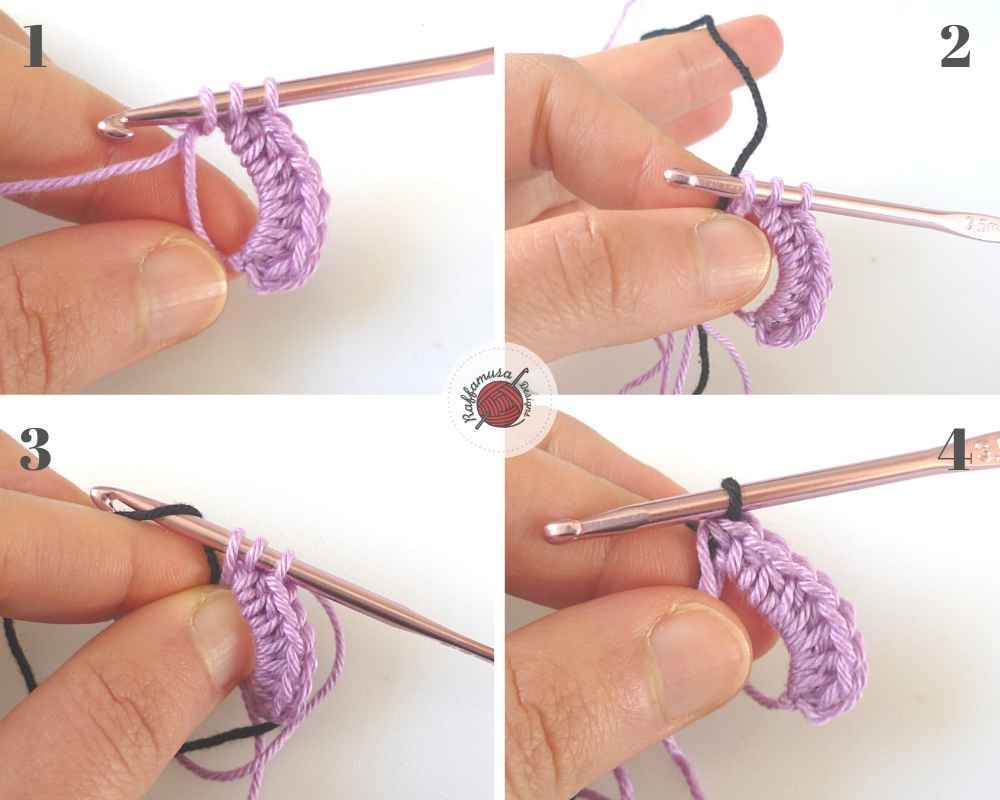
2. [CB] Bobble 1, [CA] Hdc 1
(either in the MC, or in the same st, or in two different sts)
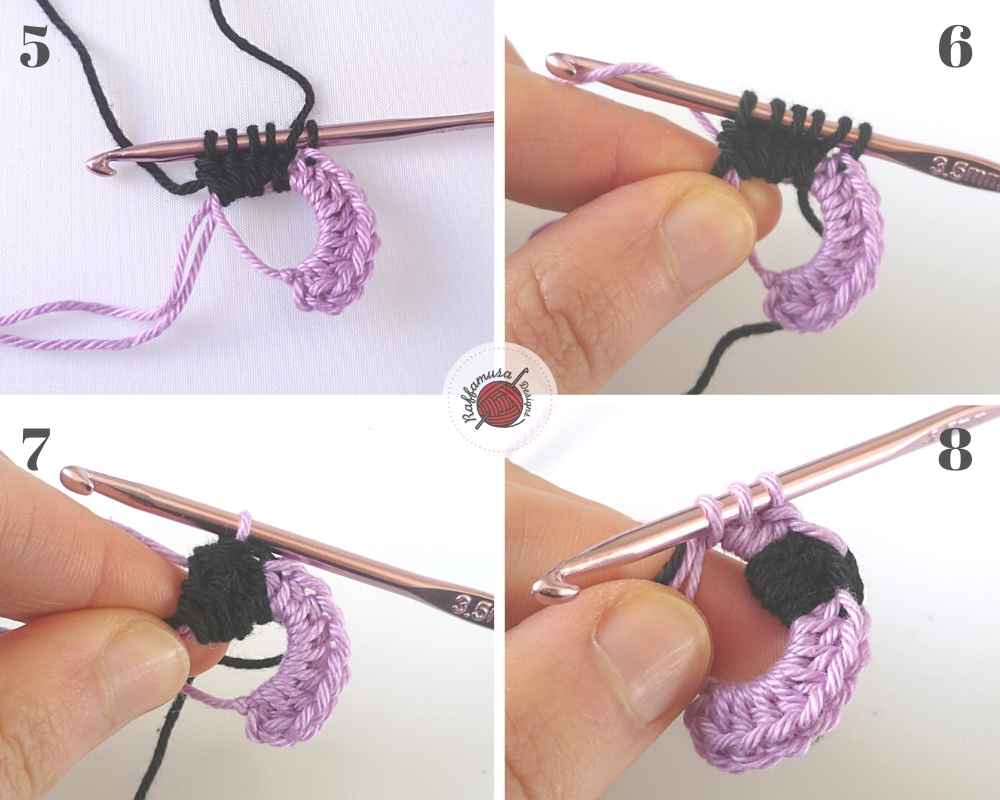
Step 5. With CB, start making your bobble.
Step 6. When you’ve completed all 5 dc (6 loops on your hook), switch to CA and yo.
Step 7. Pull through all six loops to close your bobble.
Step 8. Continue crocheting with CA.
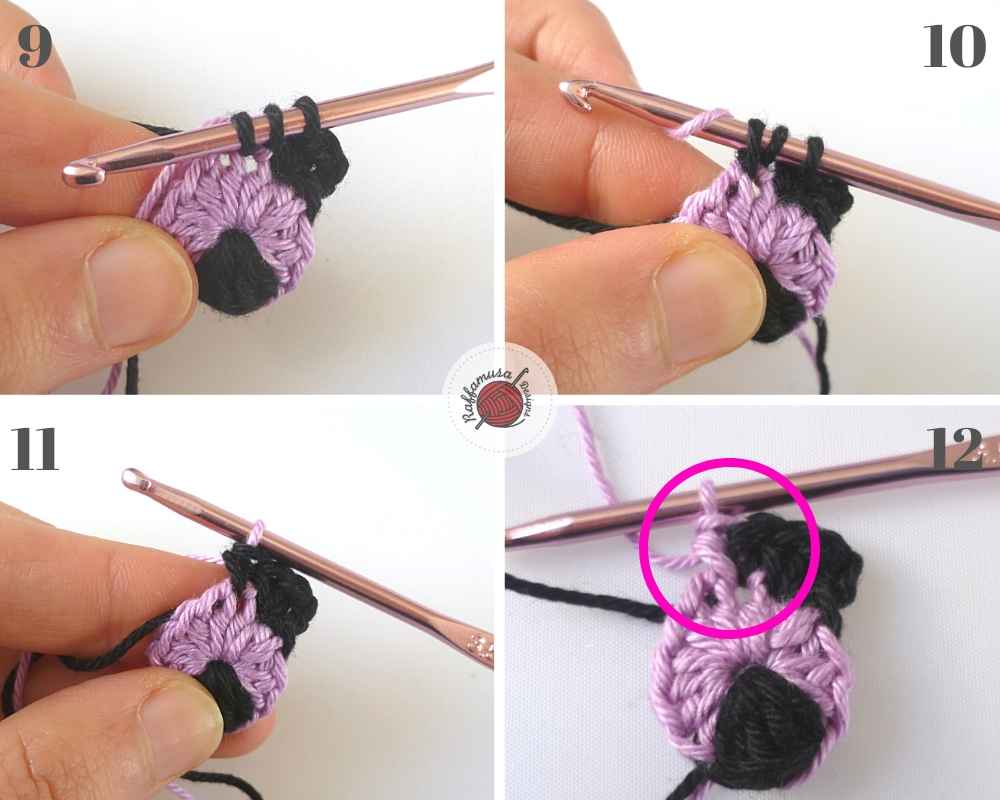
3. [CB/CA] Hdc Inc 1
Step 9. With CB, yo, insert your hook into the indicated st, yo and pull up a loop (three loops on your hook). This is the first half of your hdc.
Step 10. Switch to CA and yo.
Step 11. Pull through all three loops to close the hdc in CB.
Step 12. Hdc 1 in the same st using CA.