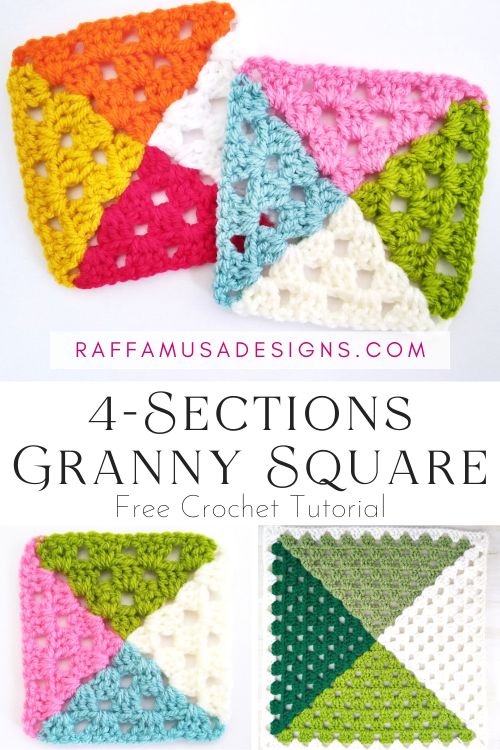
Learn how to crochet a four sections granny square with this step-by-step photo and video tutorial!
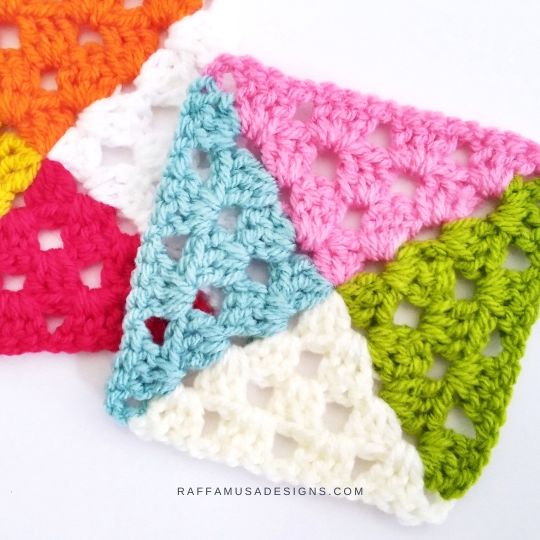
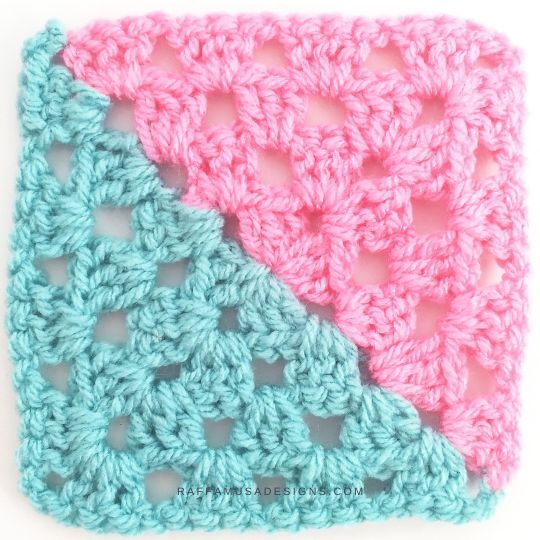
The four sections granny square is a variation of the half-and-half granny square.
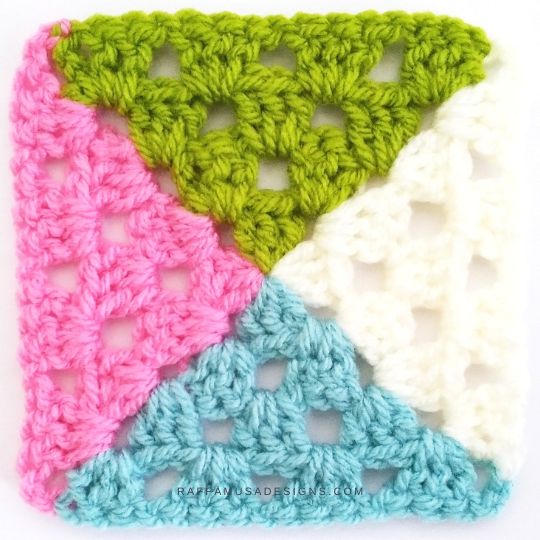
While in the half-and-half granny square, color changes always happen along one of the diagonals of the square, in the four-section granny square, color changes happen at each corner.
The result is a colorful block that is perfect for Afghans, blankets, and any other creations using granny squares.
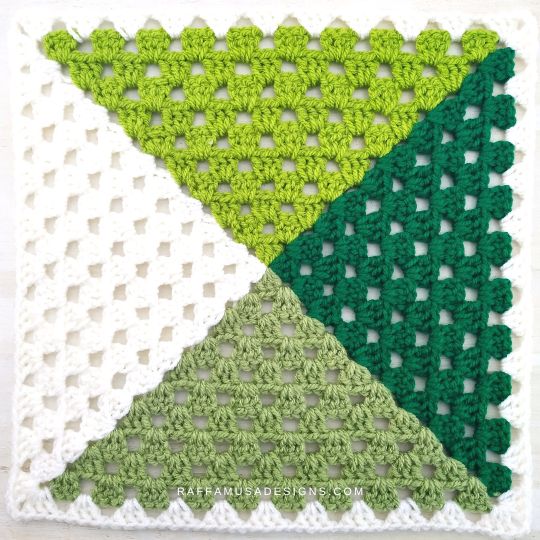
Crocheting the 4-section granny square is not difficult but it does require you to handle 4 balls of yarn at the same time (unless you want to weave in a lot of ends…).
So, it might be a good idea to first practice with the half-and-half granny square, and then, step up the game with the four sections granny square.
If you’re ready to give this square a go, grab your favorite 4 colors and let’s get crocheting!
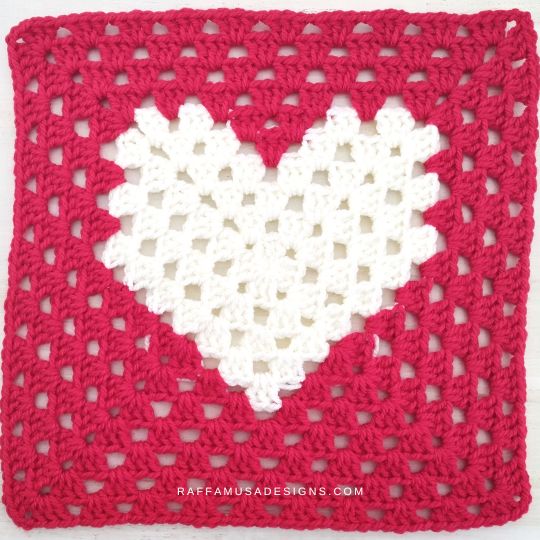
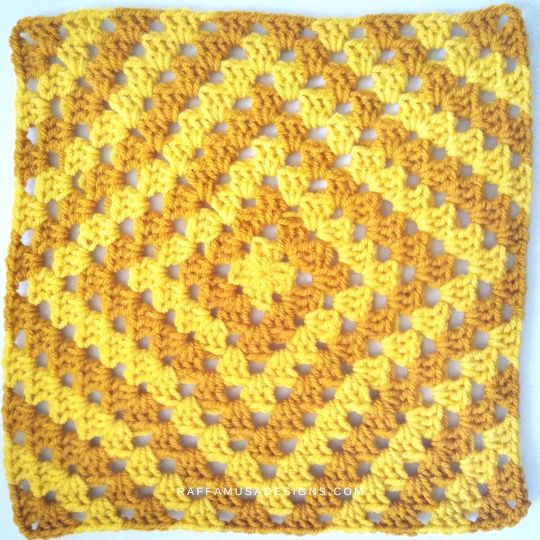
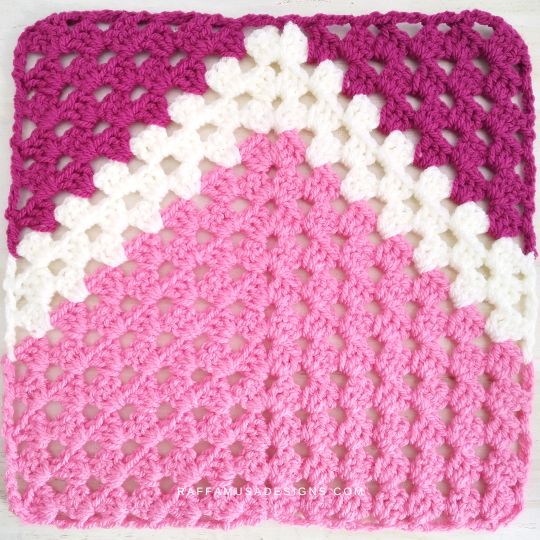
Find more granny square tutorials here on the blog…
Save this tutorial for later by pinning it to your favorite crochet board using this pin.
Note: this post contains affiliate links. If you purchase something through the links on my blog, I might earn a commission. This will not have any effect on the price you pay. For more info, please, see my Privacy Policy.
4-Section Granny Square – Video Tutorial
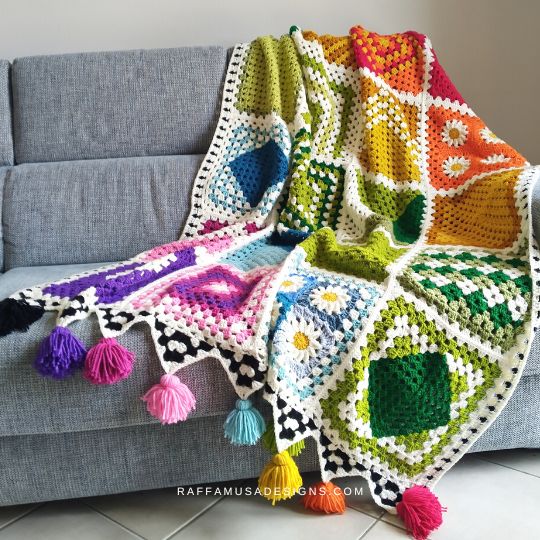
Rainbow Granny Blanket CAL
The 4-section granny square is part of the Rainbow Granny Blanket CAL!
If you’re participating in the Rainbow Blanket CAL, crochet a 4-section granny square with 10 rounds!
MATERIALS
You can use any yarn with the appropriate hook. I used:
- 5.5-mm (I/9 USA, 5 UK) Hook
- Aran-Weight (4) Yarn in 4 colors. I used Paintbox Yarns Simply Aran.
- Tapestry Needle
ABBREVIATIONS (US TERMS)
Ch – Chain
Dc – Double Crochet
MC – Magic Circle
RS – Right Side
Sl St – Slip Stitch
Sp – Space
St – Stitch
WS – Wrong Side
Yo – Yarn over
PATTERN NOTES
- If the pattern says “dc 2”, you need to crochet 1 dc in each of the next 2 sts.
- (…) – Repeat the instructions within brackets for the indicated number of times.
- […] – Crochet the instructions within brackets in the same indicated st.
- This square is crocheted with 4 colors A, B, C, and D working in rounds and turning at each round.
- The yarn color to use is indicated within brackets as [A], [B], [C], and [D].
- There will be a RS and a WS. Always change colors on the WS.
four-Sections Granny Square – Free Crochet Pattern
With A, make a MC.
Round 1 (RS)
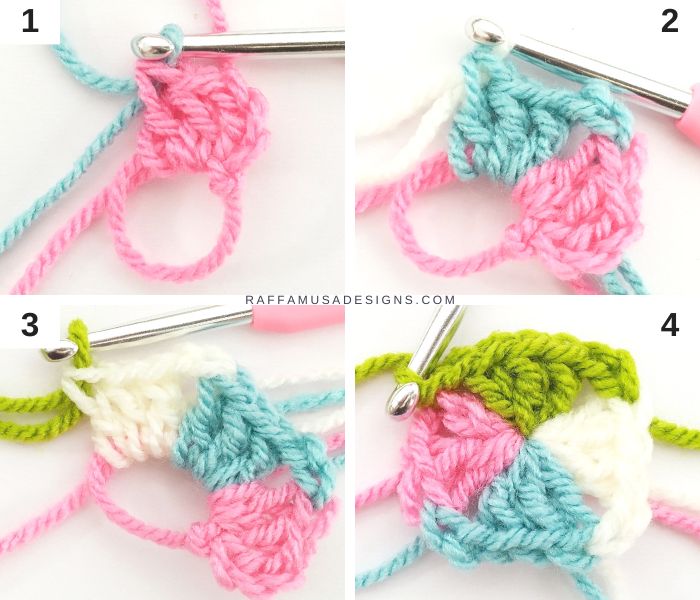
[A] Ch 3 (counts as a dc), dc 2 closing last dc with B (photo 1). [B] Ch 2, dc 3 closing last st with C (photo 2). [C] Ch 2, dc 3 closing last st with D (photo 3). [D] Ch 2, dc 3, ch 1 (counts as a ch-2 sp), sl st in third-made ch to join (photos 4). (3 dc sts per side, 1 ch-2 sp at each corner)
Round 2 (WS)
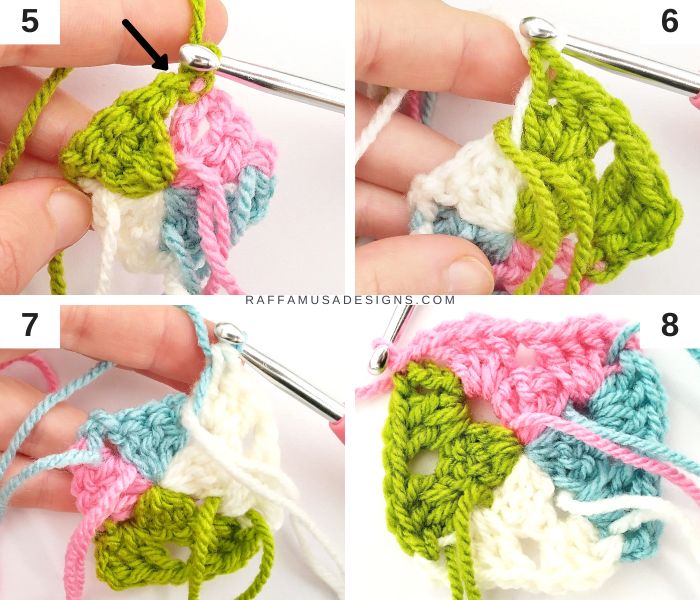
Take a look at the pattern of the half-and-half granny square HERE to learn how to make invisible color changes on the WS.
[D] Ch 1, turn, sl st in first corner sp (indicated by the arrow in photo 5), ch 3 (counts as a dc). [Dc 2] in the same ch-2 sp, ch 1, [dc 3] in the next ch-2 sp closing the last st with C (photo 6). [C] Ch 2, [dc 3] in the same ch-2 sp as the last 3 sts, ch 1, [dc 3] in the next ch-2 sp closing the last st with B (photo 7).
[B] Ch 2, [dc 3] in the same ch-2 sp as the last 3 sts, ch 1, [dc 3] in the next ch-2 sp closing the last st with A. [A] Ch 2, [dc 3] in the same ch-2 sp as the last 3 sts, ch1, [dc 3] in the next ch-2 sp, ch 1 (counts as a ch-2 sp), sl st in third made ch to join (photo 8). (6 dc sts and 1 ch-1 sp per side, 1 ch-2 sp at each corner)
Round 3 (RS)
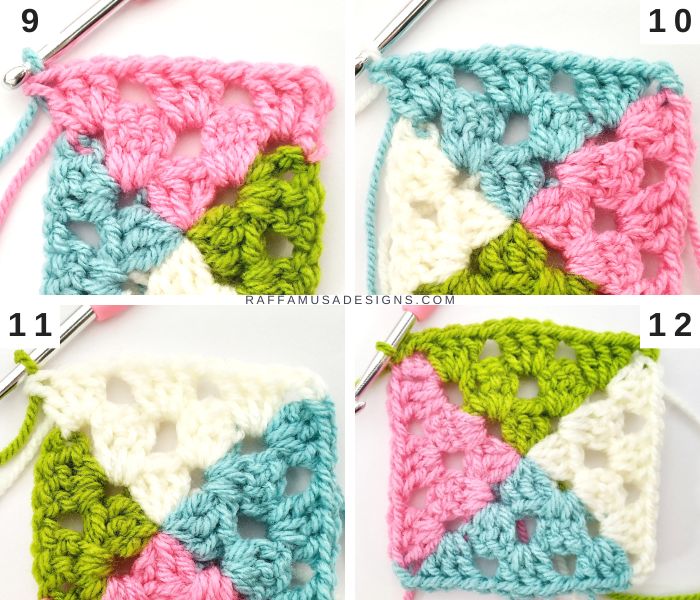
[A] Ch 1, turn, sl st in first corner sp, ch 3 (counts as a dc). [Dc 2] in same ch-2 sp, ch 1, [dc 3] in next ch-1 sp, ch 1, [dc 3] in the next ch-2 sp closing the last st with B (photo 9). [B] Ch 2, [dc 3] in the same ch-2 sp as the last 3 sts, ch 1, [dc 3] in the next ch-1 sp, ch 1, [dc 3] in the next ch-2 sp closing the last st with C (photo 10).
[C] Ch 2, [dc 3] in the same ch-2 sp as the last 3 sts, ch 1, [dc 3] in next ch-1 sp, ch 1, [dc 3] in the next ch-2 sp closing the last st with D (photo 11). [D] Ch 2, [dc 3] in the same ch-2 sp as the last 3 sts, ch 1, [dc 3] in the next ch-1 sp, ch 1, [dc 3] in initial corner sp, ch 1 (counts as a ch-2 sp), sl st in third made ch to join (photo 12). (9 dc sts and 2 ch-1 sp per side, 1 ch-2 sp at each corner)
Round 4 (WS)
[D] Ch 1, turn, sl st in first corner sp, ch 3 (counts as a dc). [Dc 2] in the same ch-2 sp, ch 1, *[dc 3] in the next ch-1 sp, ch 1. Repeat from * twice. [Dc 3] in the next ch-2 sp closing the last st with C. [C] Ch 2, [dc 3] in the same ch-2 sp as the last 3 sts, ch 1, **[dc 3] in the next ch-1 sp, ch 1. Repeat from ** twice. [Dc 3] in next ch-2 sp closing the last st with B.
[B] Ch 2, [dc 3] in the same ch-2 sp as the last 3 sts, ch 1, ≈[dc 3] in the next ch-1 sp, ch 1. Repeat from ≈ twice. [Dc 3] in the next ch-2 sp closing the last st with A. [A] Ch 2, [dc 3] in the same ch-2 sp as the last 3 sts, ch 1, ≈≈[dc 3] in the next ch-1 sp, ch 1. Repeat from ≈≈ twice. [Dc 3] in the next ch-2 sp, ch 1 (counts as a ch-2 sp), sl st in third made ch to join. (12 dc sts and 3 ch-1 sp per side, 1 ch-2 sp at each corner)
Round 5 (RS)
[A] Ch 1, turn, sl st in first corner sp, ch 3 (counts as a dc). [Dc 2] in the same ch-2 sp, ch 1, *[dc 3] in the next ch-1 sp, ch 1. Repeat from * 3 times. [Dc 3] in the next ch-2 sp closing the last st with B. [B] Ch 2, [dc 3] in the same ch-2 sp as the last 3 sts, ch 1, **[dc 3] in the next ch-1 sp, ch 1. Repeat from ** 3 times. [Dc 3] in the next ch-2 sp closing the last st with C.
[C] Ch 2, [dc 3] in the same ch-2 sp as the last 3 sts, ch 1, ≈[dc 3] in the next ch-1 sp, ch 1. Repeat from ≈ 3 times. [Dc 3] in the next ch-2 sp closing the last st with D. [D] Ch 2, [dc 3] in the same ch-2 sp as the last 3 sts, ch 1, ≈≈[dc 3] in the next ch-1 sp, ch 1. Repeat from ≈≈ 3 times. [Dc 3] in the next ch-2 sp, ch 1 (counts as a ch-2 sp), sl st in third made ch to join. (15 dc sts and 4 ch-1 sp per side, 1 ch-2 sp at each corner)
Keep growing your granny square using the same pattern logic as for rounds 4 and 5.
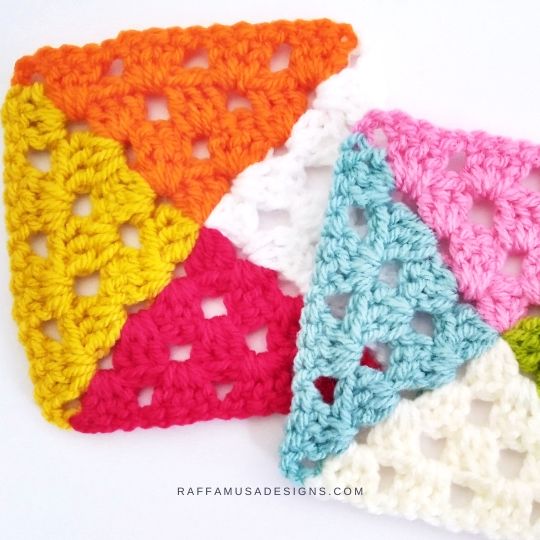
Your four Sections Granny Square is Ready!
I hope that you enjoyed this crochet tutorial! Please, share your projects using granny squares on Facebook or Instagram using the hashtag #raffamusadesigns
Find more granny squares here on the blog…
