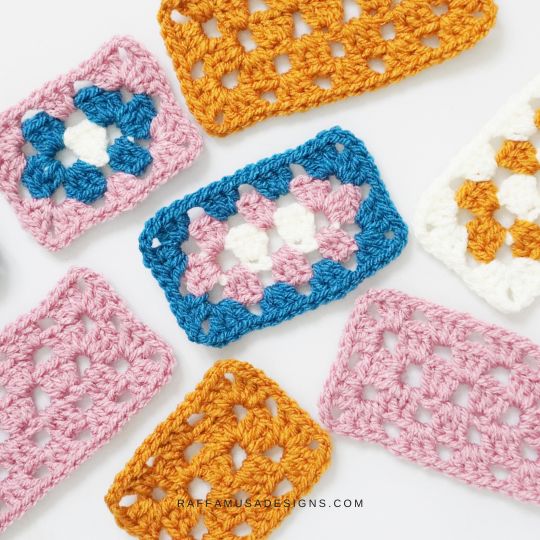
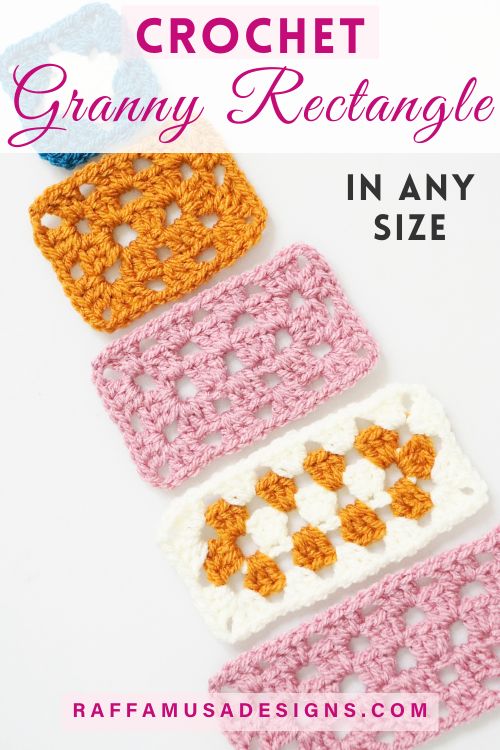
Learn how to crochet a granny stitch rectangle of any size with this free pattern and step-by-step tutorial!
The basic stitches and techniques are the same as for a classic granny square, i.e. you’ll use the granny stitch in the round. However, the way you set up your work is different so that you’ll get a rectangle instead of a square.
There are several methods to crochet a granny rectangle, and the main difference between these methods is in the way you crochet the very center of your rectangle.
Let’s take a look at what I mean.
- Method 1 – Chain and crochet on both sides of the chain. Get the complete pattern on Junipers & Oakes HERE.
- Method 2 – Single crochet row. You can find how to crochet this rectangle on Nana’s Crafty Home HERE.
- Method 3 – Chain and crochet only on one side of the chain. This is the method that I’ll show you in this blog post!
WHAT TO CROCHET WITH Granny Rectangles
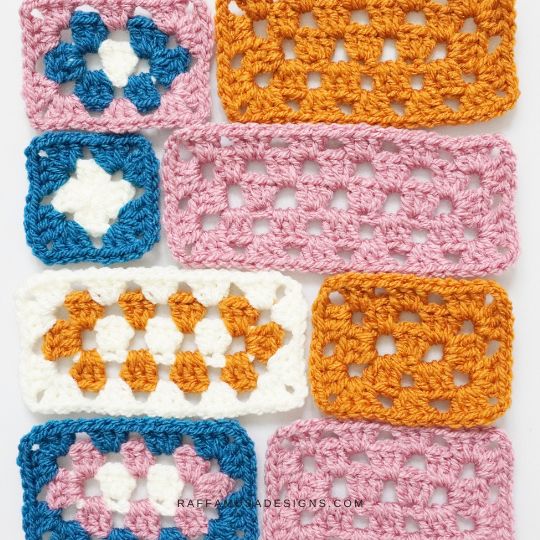
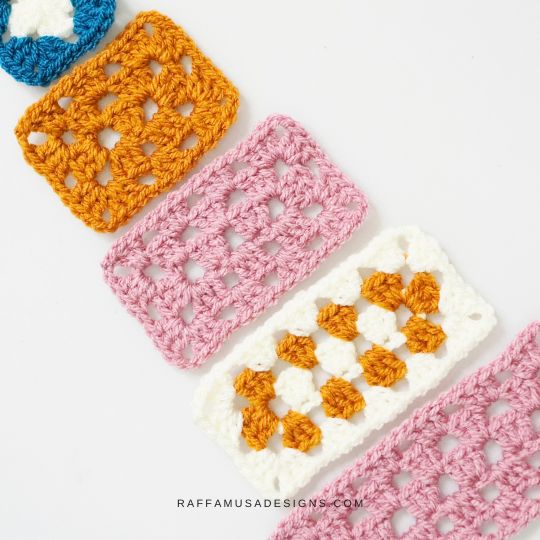
You can use your granny stitch rectangles to crochet anything that you’d normally make using rectangles. Here are a few examples:
- Sweaters, cardigans, cocoons, and other garments that use rectangles as a basic design shape
- Scarves, wraps, and shawls
- Blankets…
- …or creative Afghan blocks like the Rectangle Patchwork Square (coming soon)!
- Throw Pillows
- Dishcloths and kitchen towels
- Bags and zipper purses
- Curtain toppers
- and so much more!
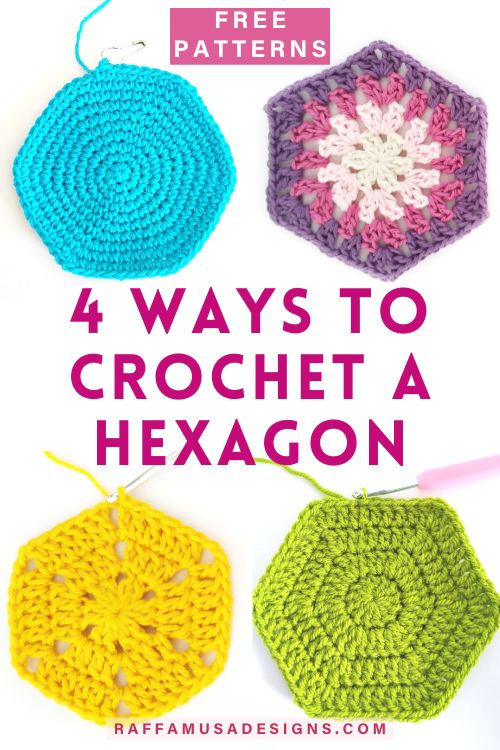
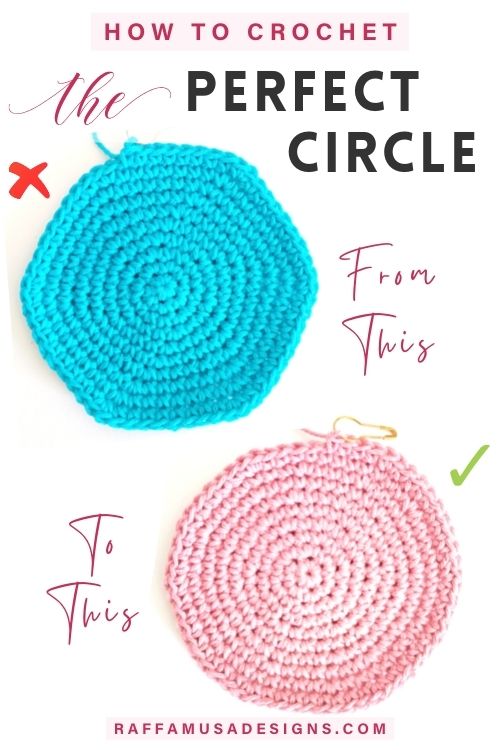
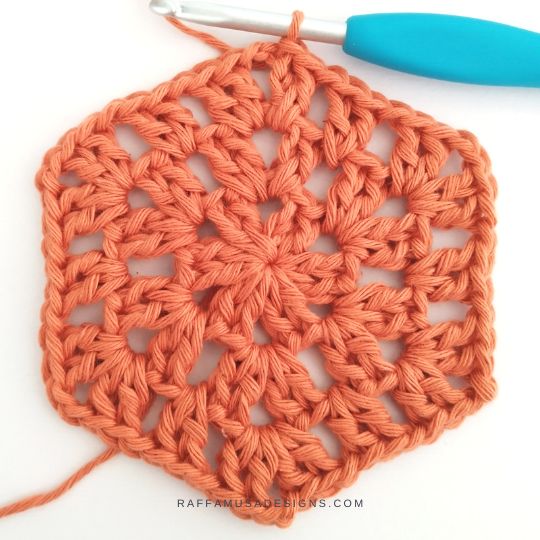
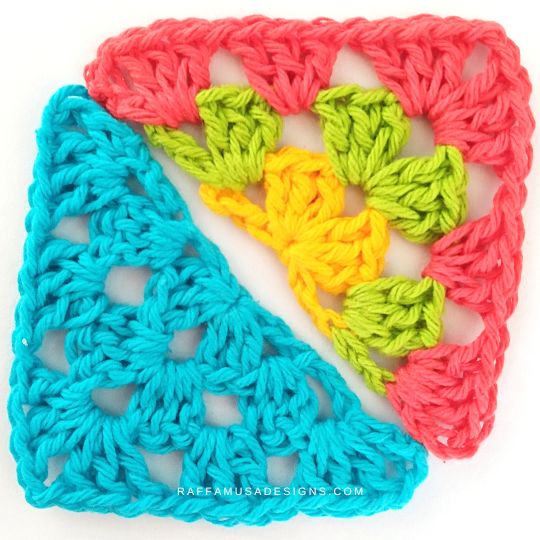
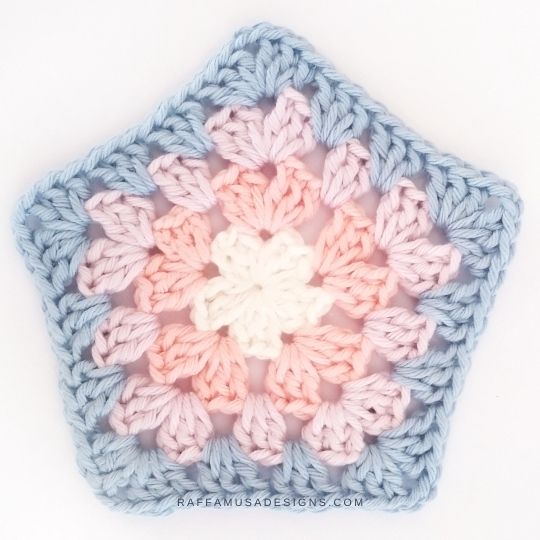
Find more geometric shapes to crochet using the granny stitch here on the blog…
Save this crochet tutorial for later by pinning it to your favorite crochet board using this pin!
Note: This post contains affiliate links. This means that if you purchase something through the links on my blog, I might earn a commission. This will not have any effect on the price you pay. For more info, please, see my Privacy Policy.
MATERIALS
- Yarn of choice
- Appropriate hook size
For this tutorial, I used Aran-weight acrylic yarn (Paintbox Yarns Simply Aran) and a 5.0 mm (H/8 US, 6 UK) crochet hook.
ABBREVIATIONS (US TERMS)
- Ch – Chain
- Dc – Double Crochet
- Sk – Skip
- Sp – Space
- St – Stitch
- Yo – Yarn over
PATTERN NOTES
- If the pattern says “dc 2”, you have to crochet 1 dc in each of the next 2 sts.
- (…) – Repeat the instructions within parenthesis for the indicated number of times.
- *…, **…, or ***… – Repeat the instructions from *, **, or *** for the indicated number of times.
- […] – Crochet the instructions within square brackets all in the same indicated st.
Crochet Granny STITCH Rectangles – QUICK PATTERN
Chain 10 + a multiple of 4.
Row 1. [Dc 3] in seventh ch from hook, *ch 1, sk 3, [dc 3] in next st. Repeat from * until you have 3 chs remaining. Ch 1, sk 2, dc 1 in last ch.
Round 2. Ch 4 (counts as a dc and a ch-2 sp here and throughout), [dc 3] around the post of last dc of row 1, ch 2, [dc 3] in next ch-2 sp, ch 1. [Dc 3, ch 1] in each ch-3 sp from row 1 until you reach the ch-6 sp. Working in next ch-6 sp, [(dc 3, ch 2) twice, dc 3]. Ch 1, *sk 3, [dc 3, ch 1]. Repeat from * in each ch-1 sp from row 1 until the sp before the initial one. [Dc 2] in next ch-1 sp, sl st in third-made ch to join the round.
Round 3. Sl st in next ch-2 sp, ch 4, [dc 3] in same ch-2 sp. Ch 1, sk 3, [dc 3, ch 2, dc 3] in next ch-2 sp, ch 1. *Sk 3, [dc 3] in next ch-1 sp, ch 1. Repeat from * until you reach the next ch-2 corner sp. **Sk 3, [dc 3, ch 2, dc 3] in next ch-2 sp, ch 1. Repeat from ** twice. ***Sk 3, [dc 3] in next ch-1 sp, ch 1. Repeat from *** until you reach the initial ch-2 sp. Sk 3, [dc 2] in initial ch-2 sp. Sl st in third-made ch to join.
Continue to grow your granny rectangle starting as follows:
- Beginning – as for round 3 – Sl st in next ch-2 sp, ch 4, [dc 3] in same ch-2 sp
- Sizes – [dc 3], ch 1 in each ch-1 sp from the previous round
- Corners – [dc 3, ch 2, dc 3], ch 1 in each ch-2 sp (except the first corner)
- End – as for round 3 – [dc 2] in initial ch-2 sp. Sl st in third-made ch to join.
Granny STITCH Rectangle – STEP-BY-STEP CROCHET TUTORIAL
Steps 1 and 2 – Row 1
Ch 10 plus a multiple of 4. For this tutorial, I chained (10 + 4 + 4) = 18.
[Dc 3] in the seventh ch from hook (indicated by the pink arrow in photo 1).
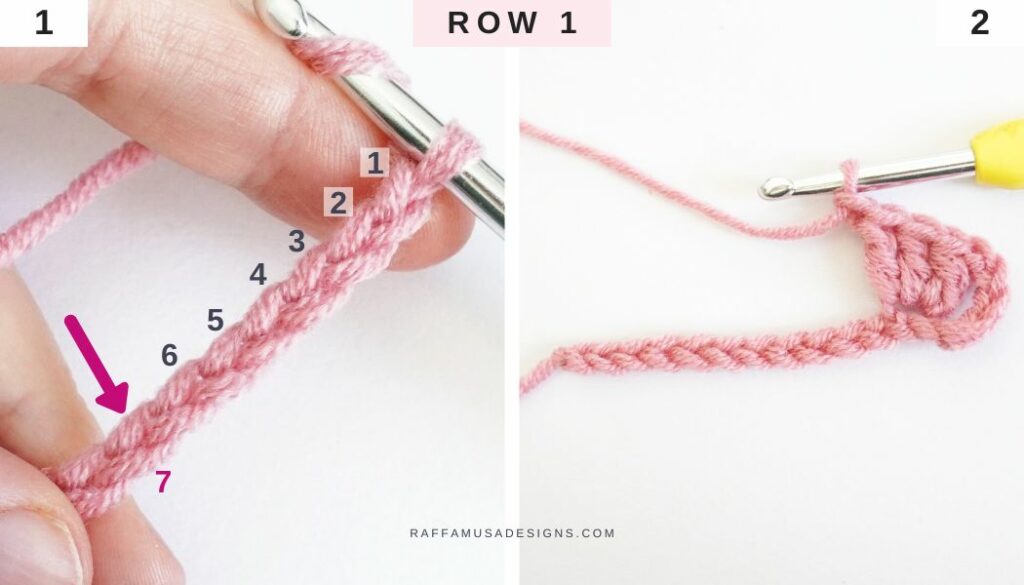
*Ch 1 (photo 2), sk 3 chs, [dc 3] in the next ch (indicated by the pink arrow in photo 2).
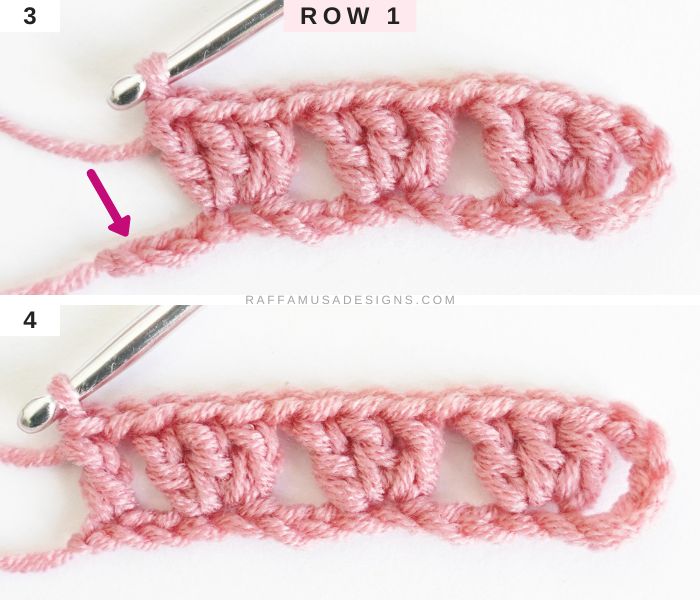
STEPs 3 and 4
Repeat from * twice (photo 3). Ch 1, sk 2, dc 1 in the last ch (photo 4).
Steps 5 and 6 – Round 2
Ch 4 (counts as a dc and a ch-2 sp here and throughout), [dc 3] around the post of the last dc of row 1 (indicated by the arrow in photo 5), ch 2, [dc 3] in the next ch-2 sp (indicated by the arrow in photo 6).

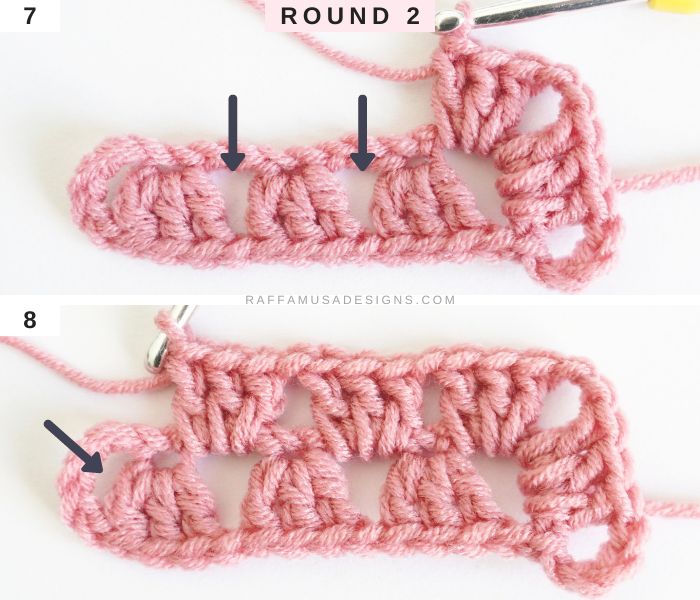
Steps 7 and 8
*Ch 1, [dc 3] in the next ch-3 sp (indicated by the arrow on the right in photo 7). Repeat from * twice (placing the second group of 3-dc in the next ch-1 sp, indicated by the arrow on the left in photo 7).
Ch 1. Working in the next ch-6 sp (indicated by the arrow in photo 8), [(dc 3, ch 2) twice, dc 3].
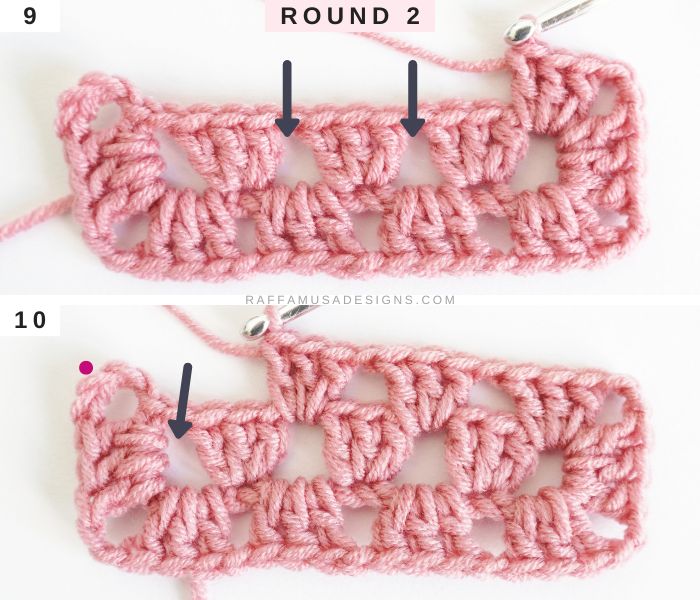
Steps 9-11
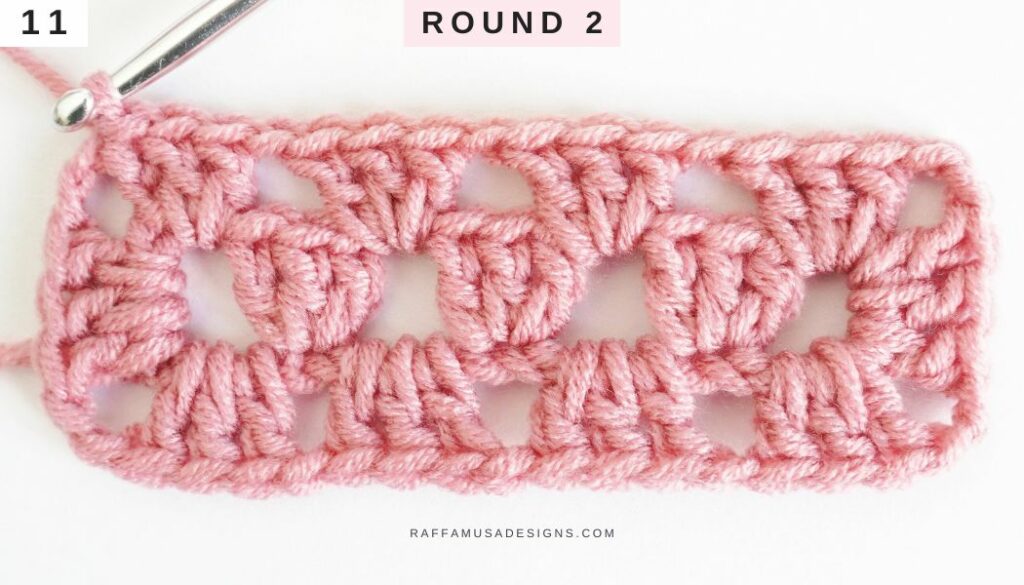
**Ch 1, sk 3, [dc 3] in the next ch-1 sp. Repeat from ** twice (the groups of 3-dc go in the sps indicated by the arrows in photo 9). Ch 1, sk 3, [dc 2] in the next ch-1 sp (see arrow in photo 10), sl st in the third-made ch (indicated by the pink dot in photo 10) to join the round (photo 11).
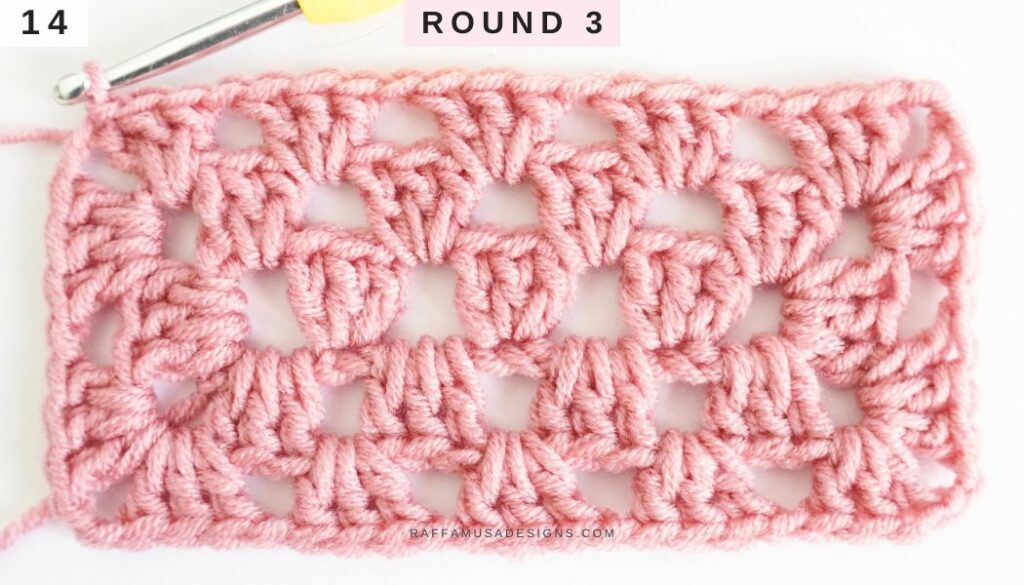
Steps 12-14 – Round 3
Sl st in the next ch-2 sp, ch 4, [dc 3] in the same ch-2 sp (photo 12). Ch 1, sk 3, [dc 3, ch 2, dc 3] in the next ch-2 sp (photo 13).
*Ch 1, sk 3, [dc 3] in the next ch-1 sp. Repeat from * 3 times (the groups of 3-dc go in the sps indicated by the bottom, grey arrows in photo 13).
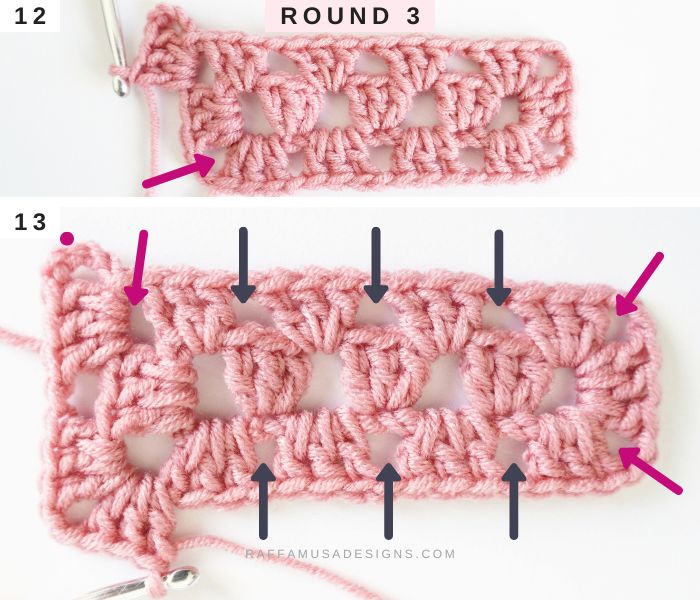
**Ch 1, sk 3, [dc 3, ch 2, dc 3] in the next ch-2 sp. Repeat from ** twice (these are the two corners indicated by the pink arrows on the right in photo 13).
***Ch 1, sk 3, [dc 3] in the next ch-1 sp. Repeat from *** 3 times (the groups of 3-dc go in the sps indicated by the top, grey arrows in photo 13).
Ch 1, sk 3, [dc 2] in the initial ch-2 sp (indicated by the pink arrow on the top, left in photo 13). Sl st in the third-made ch (see pink dot in photo 13) to join (photo 14).
If you want to keep growing your granny rectangle, see the quick rules at the bottom of the quick pattern here.
CROCHET Granny STITCH Rectangle – STITCH CHART
The chart below is for the granny rectangle that I showed in the step-by-step tutorial and that starts with an initial chain of 18.

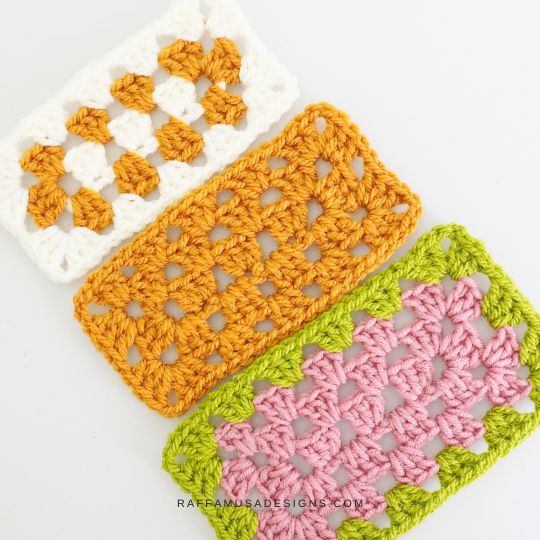
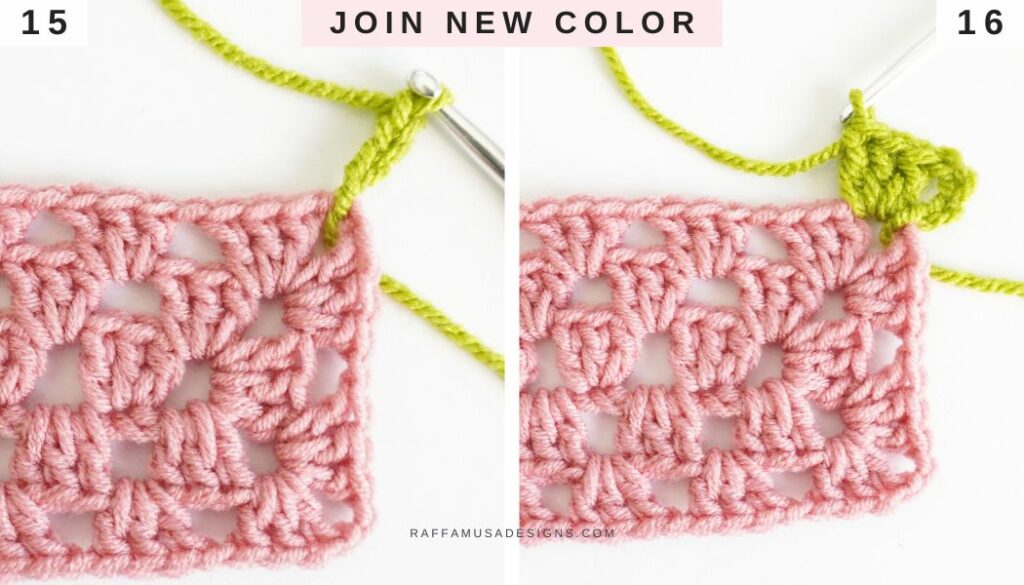
How to Crochet a Granny Rectangle in Multiple Colors
If you want to crochet granny rectangles in multiple colors, you can simply fasten off the old color and join the new yarn in any of the corners as follows:
- Hold the new yarn to the back of your work near one of the ch-2 corner sps.
- Ch 4 (photo 15). The initial ch-5 counts as your first dc and ch-2 sp.
- Working in the same ch-2 corner sp, [dc 3] (photo 16).
- Ch 1, and continue to crochet the round as normal.
- When you get back to the initial corner, [dc 2] in the first ch-2 corner sp and sl st in third-made ch to join the round.
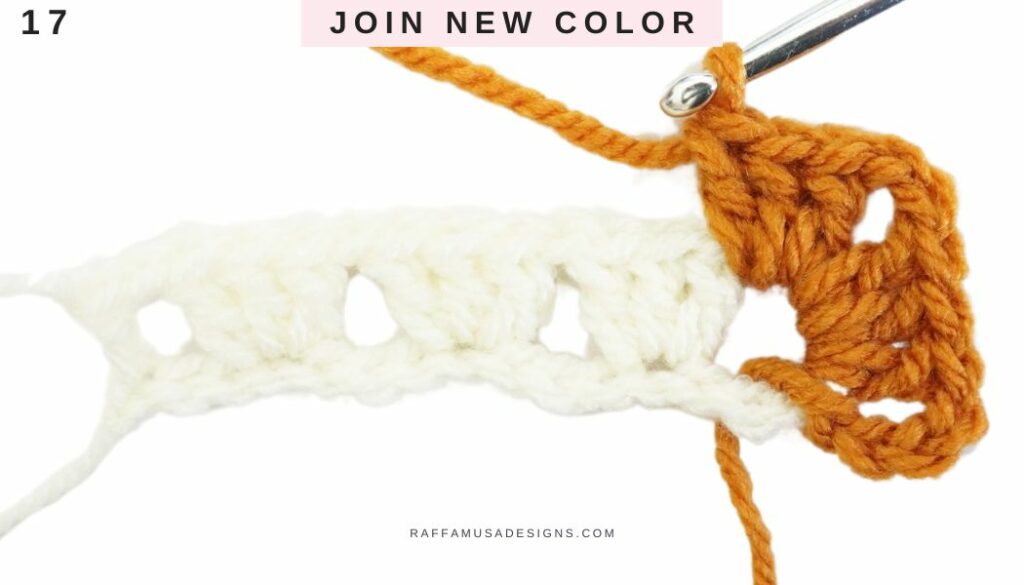
If you’d like to change color after the first row of the granny rectangle, join the new color in the ch-6 sp at one end of your row 1 as follows:
- Ch 4 (counts as a dc and a ch-2 corner sp), [dc 3, ch 2, dc 3] in same ch-6 sp.
- *Ch 1, sk 3, [dc 3] in next ch-1 sp. Repeat from * for each ch-1 sp until you have one left.
- Then, working in the sp created by the next ch-1 sp, the next dc, and the ch-2 sp at the beginning of your foundation chain, ch 1, [(dc 3, ch 2) twice, dc 3].
- *Ch 1, [dc 3] in next ch-3 sp. Repeat from * for each ch-3 sp.
- When you get back to the initial ch-6 sp, dc 2 and sl st in third-made ch to join the round.
I HOPE YOU ENJOYED THIS STEP-BY-STEP TUTORIAL ON HOW TO CROCHET A Granny Stitch Rectangle in any Size!
I’m looking forward to seeing your creations using granny rectangles! Please, share a pic of your work on Facebook and Instagram using the hashtag #raffamusadesigns!
Find more geometric shapes to crochet here on the blog…