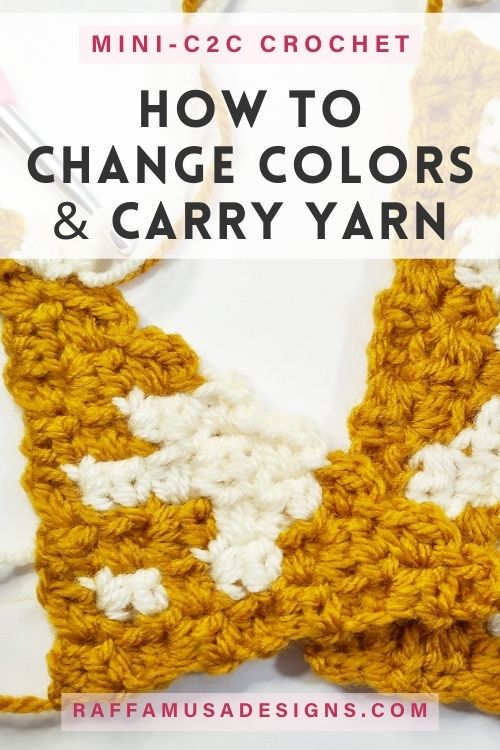
After last week’s tutorial on how to crochet a simple mini corner to corner (Mini-C2C) square, today it’s time to add a little bit of color and learn how to change colors and carry yarn in mini-C2C crochet!
Click HERE to skip directly to the video tutorial!
For sure, the mini-C2C stitch already looks absolutely wonderful in one solid color.
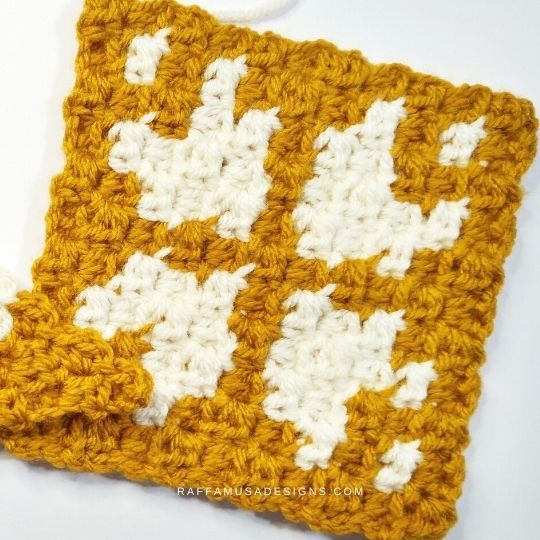
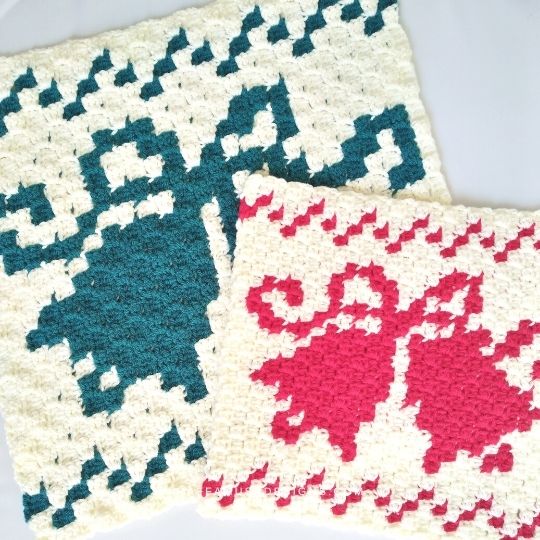
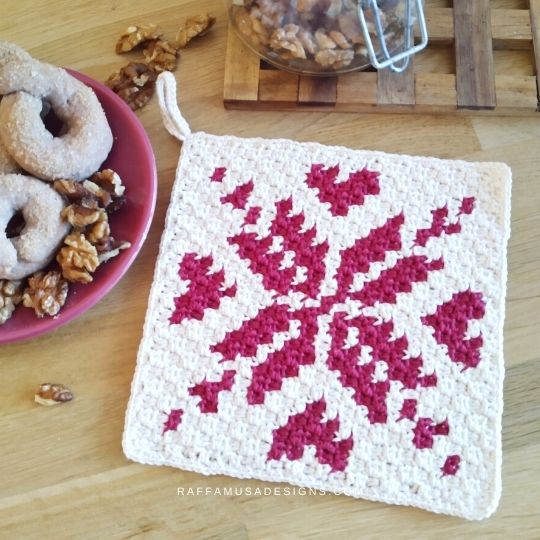
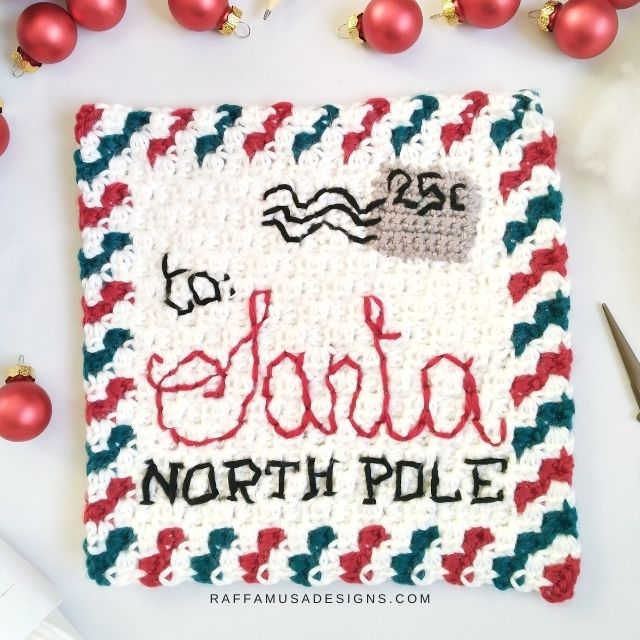
However, the real reason why you might want to learn the mini-C2C is to create more interesting projects, afghans with pictures, a.k.a. graphgans, or something like the Nordic Christmas Potholder.
So, for that, you will need to learn how to handle multiple strands of yarn while crocheting the mini-C2C stitch.
There are mainly three things that you’ll need to learn, which are:
- How to change color from one block to the other both on the right and wrong side of you project;
- How to organize your yarn and avoid ending up with a big, tangled mess of yarn
- And how to carry yarn (when possible) so that you won’t have way too many ends to weave in at the end of your project.
In this post, I’ll try to cover all the points listed above by showing you how to crochet a real yet easy mini-C2C square graph.
This graph that we’ll crochet together in this tutorial is small and only requires two colors. So, it is a quick and easy chart to get familiar with color changes.
And trust me, you’ll want to practice a bit before jumping into something larger and more complex.
Before we dive into our first mini-C2C graph, let’s see a few general rules on how to change colors and carry yarn.
How to Change Colors in Mini-Corner to Corner Crochet
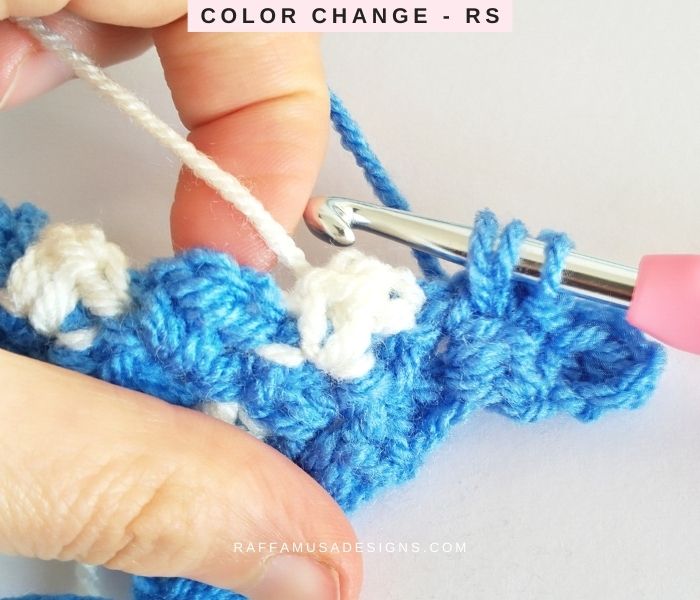
Just as in regular crochet, in mini-C2C crochet, you always change color with the last yarn over of the last block in the current color.
What that means is that when you are at the last square in one color:
- Do not complete the last hdc of the block but leave your 3 loops on the hook;
- Yo with the new color, and complete the hdc by drawing the yarn through all the loops on your hook
- Slip stitch into the next ch-1 space and continue as normal with the new color.
When you are working on the right side of your project, color changes are very easy because the switch between the two strands of yarn happens and stays on the back of your work.
However, if you are crocheting one row on the wrong side, then, you’ll have to pay attention to bringing all the tails to the side of the work facing you, which is the wrong side!
In the example shown below, you can see the first color change on row 3 of the chart that you’ll find further down in this tutorial.
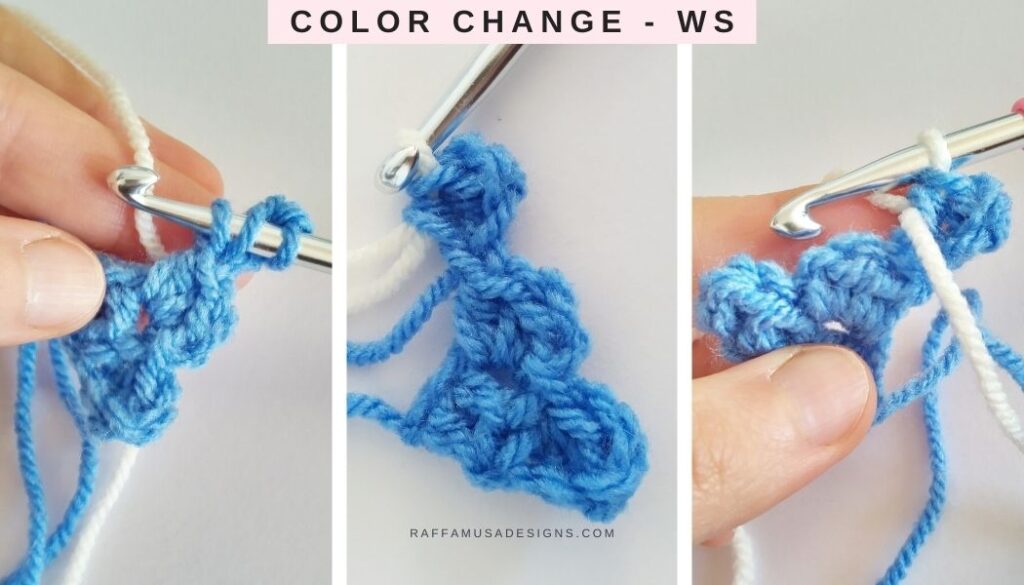
The difficulty with this color change is that it happens on the wrong side immediately after the first block of the row.
This means that you’ll first need to complete the last half double crochet of the first block with the new yarn, then, flip the first two rows up, and bring all the tails to the wrong side (facing you).
Then, slip stitch into the next book to go on with the pattern.
How Carry Yarn to minimize ends to weave in
The easiest way to minimize the number of ends to weave in is to carry the yarn inside your stitches.
So, if on a row, you need to crochet a few blocks with color A, then a couple of blocks with color B, and again more blocks with color A, the easiest way is to carry color A inside the stitches of the two blocks in B.
Of course, if you want to have a clean wrong side to your project, then, carrying yarn for too many blocks is not ideal.
Also, to avoid having yarn peeking through the blocks, it’s good to minimize the space between the blocks.
This is the reason why I prefer working the mini-C2C stitch starting with a chain of 3 at the beginning of each increase row and a chain 1 to start each new block, as I showed in my mini-C2C tutorial.
If you do the mini-C2C stitch using a chain of 4 at the beginning of each increase row and a chain of 2 for each block, you’ll definitely have more risk of yarn peeking through your blocks.
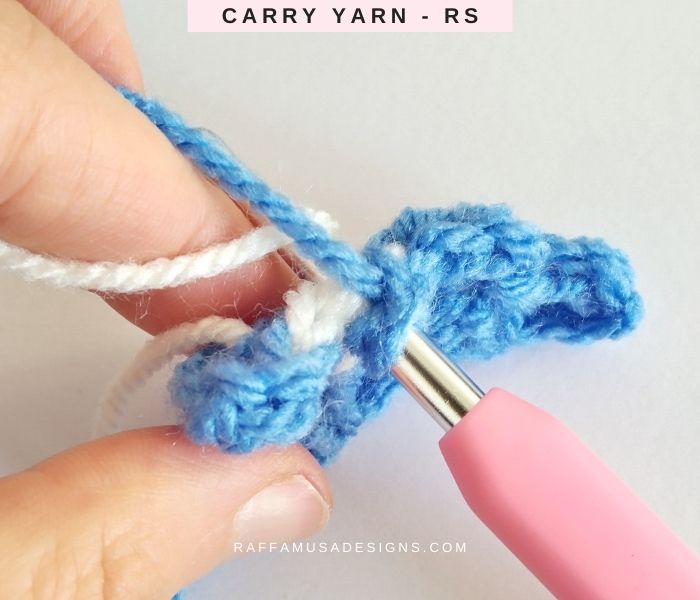
How to Carry YArn in MIni-C2C Crochet
To carry yarn when working rows on the right side, after you insert your hook into the ch-1 space of the current block, simply keep the carried yarn above your hook before you yarn over and complete your stitch.
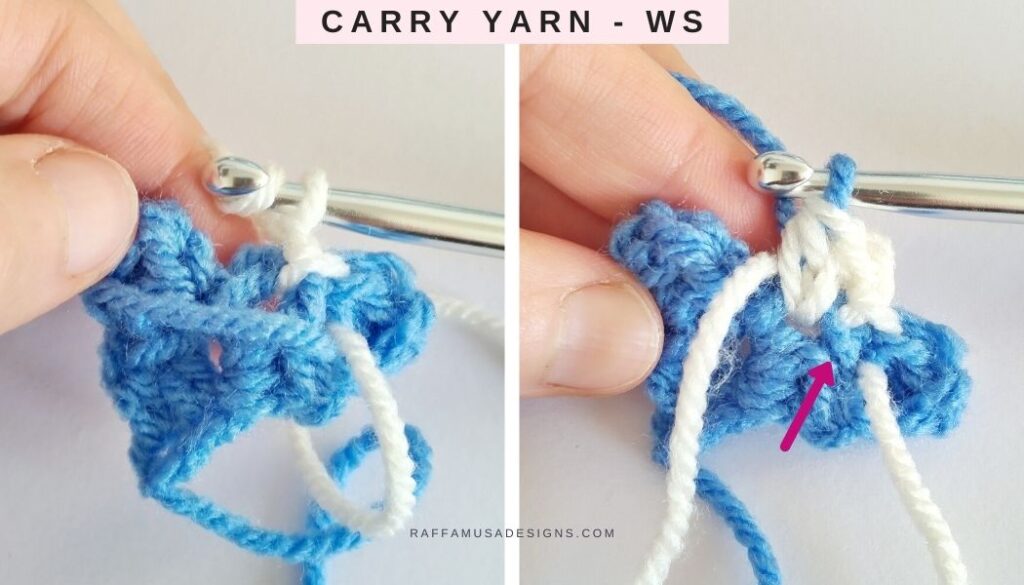
On the wrong-side rows, the situation is similar but the carried yarn will be facing you and you need to place it above your hook before you insert it into the ch-1 space of the current block.
For a more extensive explanation on how to carry yarn, please, check out my video tutorial HERE!
I hope these tips were useful for understanding how to change colors and carry yarn in mini-C2C crochet!
Now, let’s try to crochet together a little chart. If you need any help, make sure to watch the video where I show you step-by-step how to crochet the first few rows!
How to Change Colors & Carry Yarn in Mini-C2C Crochet – Video Tutorial
Mini-C2C Snowflake Color Chart
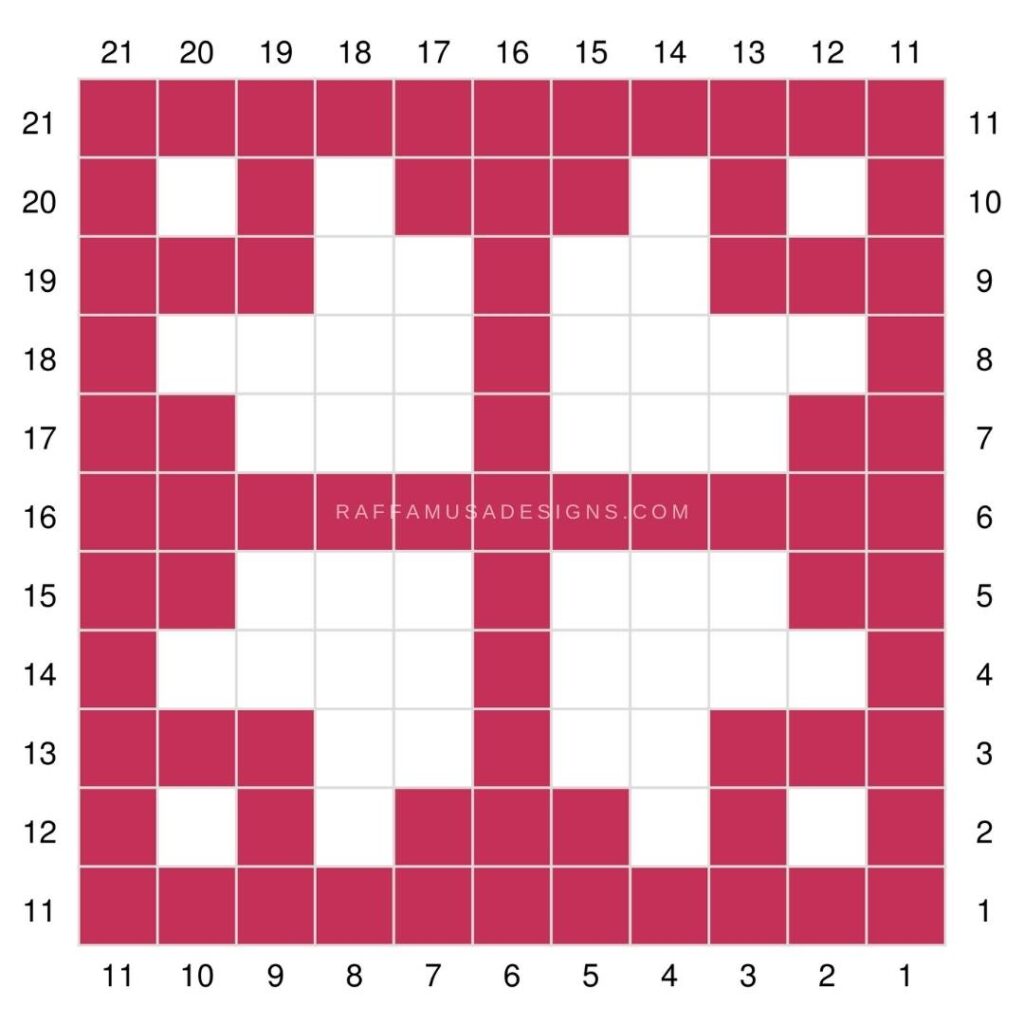
Note. If you crochet this chart using Aran-weight cotton and a 3.5 mm hook, you can also make your practice swatch into a fun coaster or mug rug.
Materials
- 5.5-mm (I/9 US, 5 UK) Crochet Hook
- Aran (4, Medium) Weight Yarn
- Tapestry Needle
Pattern Notes
- The written instructions indicate row by row, the number of blocks to work in each color.
- For example, “(A) 2, (B) 4″ means that you first need to work 2 blocks with color A and then, 4 blocks in color B.
- The total number of blocks per row is indicated within brackets at the end of each row’s instructions.
Mini-C2C Snowflake Square – Free Pattern
↗ Row 1 (WS). (A) 1. (1)
↙ Row 2 (RS). (A) 2. (2)
↗ Row 3 (WS). (A) 1, (A) 1, (A) 1. (3)
↙ Row 4 (RS). (A) 4. (4)
↗ Row 5 (WS). (A) 1, (A) 1, (A) 1, (A) 1, (A) 1. (5)
↙ Row 6 (RS). (A) 2, (A) 2, (A) 2. (6)
↗ Row 7 (WS). (A) 2, (A) 3, (A) 2. (7)
↙ Row 8 (RS). (A) 3, (A) 2, (A) 3. (8)
↗ Row 9 (WS). (A) 1, (A) 2, (A) 1, (A) 1, (A) 1, (A) 2, (A) 1. (9)
↙ Row 10 (RS). (A) 2, (A) 2, (A) 2, (A) 2, (A) 2. (10)
↗ Row 11 (WS). (A) 1, (A) 1, (A) 1, (A) 2, (A) 1, (A) 2, (A) 1, (A) 1, (A) 1. (11)
CORNER
↙ Row 12 (RS). (A) 2, (A) 2, (A) 2, (A) 2, (A) 2. (10)
↗ Row 13 (WS). (A) 1, (A) 2, (A) 1, (A) 1, (A) 1, (A) 2, (A) 1. (9)
↙ Row 14 (RS). (A) 3, (A) 2, (A) 3. (8)
↗ Row 15 (WS). (A) 2, (A) 3, (A) 2. (7)
↙ Row 16 (RS). (A) 2, (A) 2, (A) 2. (6)
↗ Row 17 (WS). (A) 1, (A) 1, (A) 1, (A) 1, (A) 1. (5)
↙ Row 18 (RS). (A) 4. (4)
↗ Row 19 (WS). (A) 1, (A) 1, (A) 1. (3)
↙ Row 20 (RS). (A) 2.(2)
↗ Row 21 (WS). (A) 1. (1)
Your first Mini-C2C project is ready!
I hope you enjoyed this tutorial and free crochet pattern. I would love to see your mini-C2C squares on Facebook or Instagram. Make sure to use the hashtag #raffamusadesigns so that I don’t miss your pics!
Find more crochet tutorials here on the blog…