In this step-by-step tutorial, we’ll see how to crochet the mini corner to corner (mini-C2C) stitch.
The mini-C2C stitch or modified C2C stitch is very similar to regular Corner to Croner crochet but it uses half double crochet stitches instead of double crochet.
Other than that, the basic principles are the same. So, like in regular C2C:
- Each row of the pattern follows one diagonal of a chart;
- Each row is made of many different blocks, and each block is a sort of pixel;
- All together, these pixels (our blocks) can create beautiful graphs and pictures.
What to Crochet with the Mini-C2C Stitch?
The mini-C2C stitch is ideal for making:
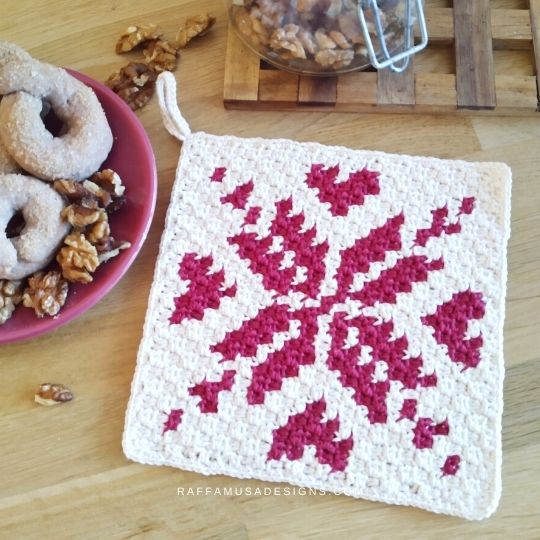
- Picture blankets (a.k.a. graphgans), and afghan blocks;
- Pillowcases and other home decor projects;
- Dishcloths and towels;
- Hats, scarves, and other accessories;
Save the crochet tutorial of the mini-C2C stitch for later by pinning it to your favorite crochet board using this pin!
Note: this post contains affiliate links. This means that if you purchase something through the links on my blog, I might earn a commission. This will not have any effect on the price you pay. For more info, please, see my Privacy Policy.
How to Crochet the Mini-Corner to Corner Stitch – Video Tutorial
MATERIALS
- Yarn of choice. For this tutorial, I used Stylecraft Special Aran.
- Appropriate hook. Here, I used a 5.5-mm (I/9 US, 5 UK) crochet hook.
Abbreviations (US Terms)
- Ch – Chain
- Hdc – Half Double Crochet
- Sl St – Slip Stitch
- Sp – Space
- St – Stitch
- Yo – Yarn Over
Not only one way to crochet this stitch!
Before we start, I just wanted to remind you that there is not just one way to crochet most stitches, and the mini-C2C is definitely no exception.
Most tutorials online are actually different from the one I’m sharing with you.
The main difference is that they will start with a chain of 4, and then, each block will have a chain of 2 at the beginning.
However, I find that this method creates too large holes between my blocks.
So, I prefer to crochet the mini-C2C stitch by only chaining 3 at the very beginning, and 1 for each new block.
All this will be easier to understand once you go through the step-by-step tutorial!
So, let’s start!
Mini-Corner 2 Corner CROCHET – Step-by-Step TUTORIAL
In this mini-C2C step-by-step tutorial, we will crochet a square as shown in the chart below.
In the chart, you’ll see that some of the squares are in teal and some in yellow.
- The teal squares are the first part of the pattern, that is the one where we’ll be increasing our work.
- On the other hand, the yellow squares indicate the part of the chart where we’ll be working decreases.
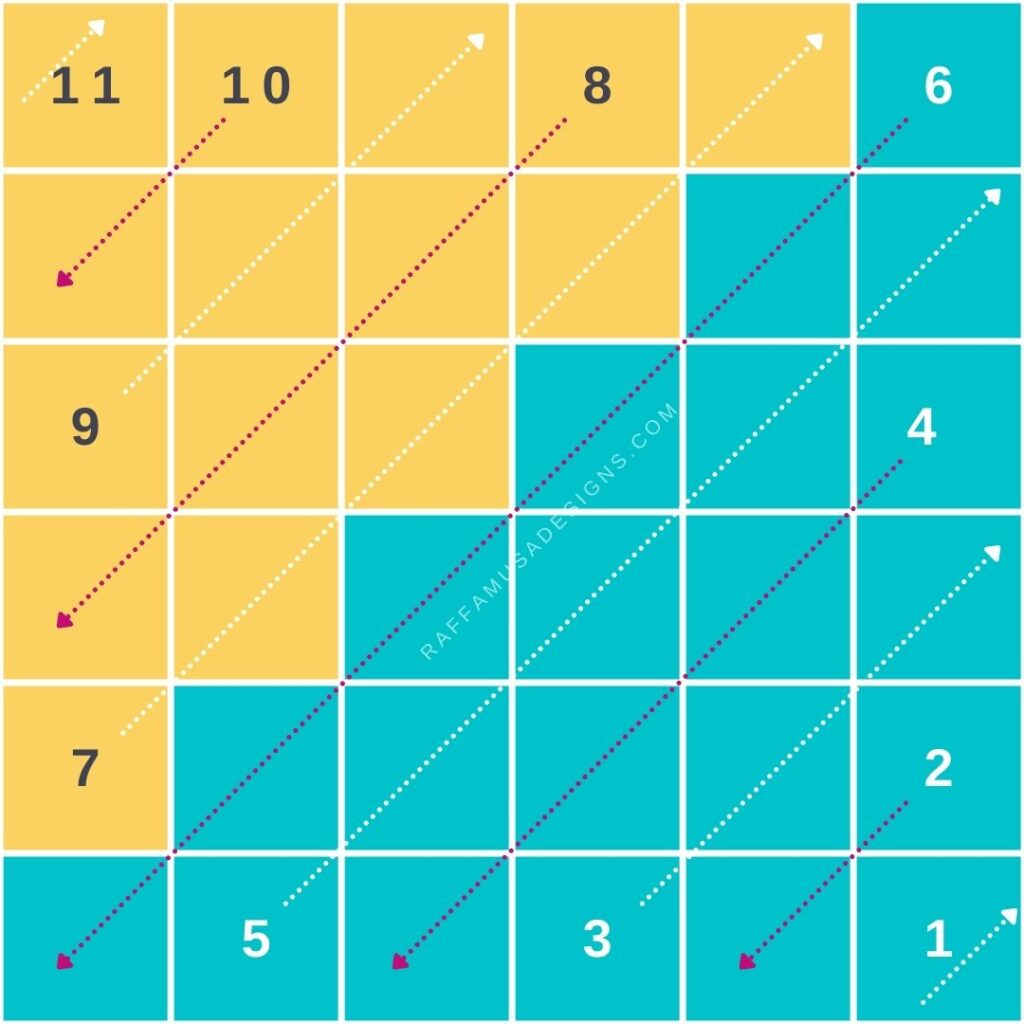
In the chart, you’ll also notice that there are numbers and arrows.
- Each number in the chart refers to the row number, and its position on the chart indicates the starting point for that row.
- In a similar way, the arrows show the direction of the work for each row. All white arrows indicate rows that are crocheted on the same side of the work, and all pink arrows indicate the rows that are crocheted on the other side!
- Notice how the arrows follow the diagonals!
What is the right or wrong side in C2C crochet?
When you crochet the C2C or mini-C2C stitch with just one color or by making color stripes/blocks, you do not have a right or wrong side.
Both sides will look the same because you alternate working one row on one side and one row on the wrong side.
However, when you crochet a color chart, you will need to assign a right and wrong side to your work. This way, you can make invisible color changes, and you can carry the yarn on the back of your work when you need to.
Mini-C2C Stitch – How to start
Ch 3.
Row 1. Hdc 1 in the second ch from hook, hdc in next ch. (first block)

Mini-C2C Stitch – How to Increase
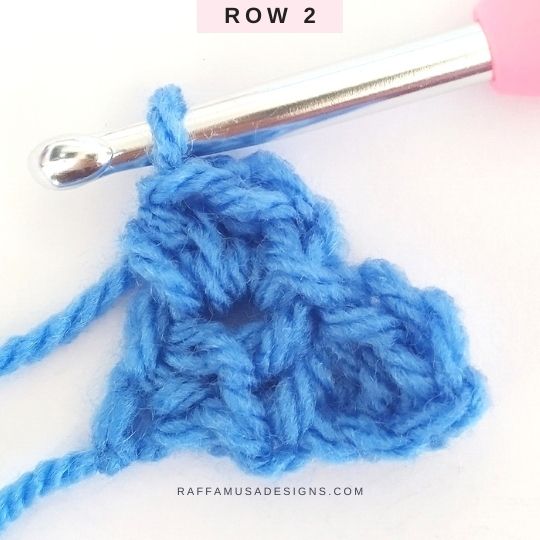
Row 2. Ch 3. Hdc 1 in second and third chs (photos Row 2, a-b). Flip the first block to bring the ch-1 sp of the first block close to your hook (photo Row 2, c), sl st into the ch-1 sp of the first block (photo Row 2, d, second block).
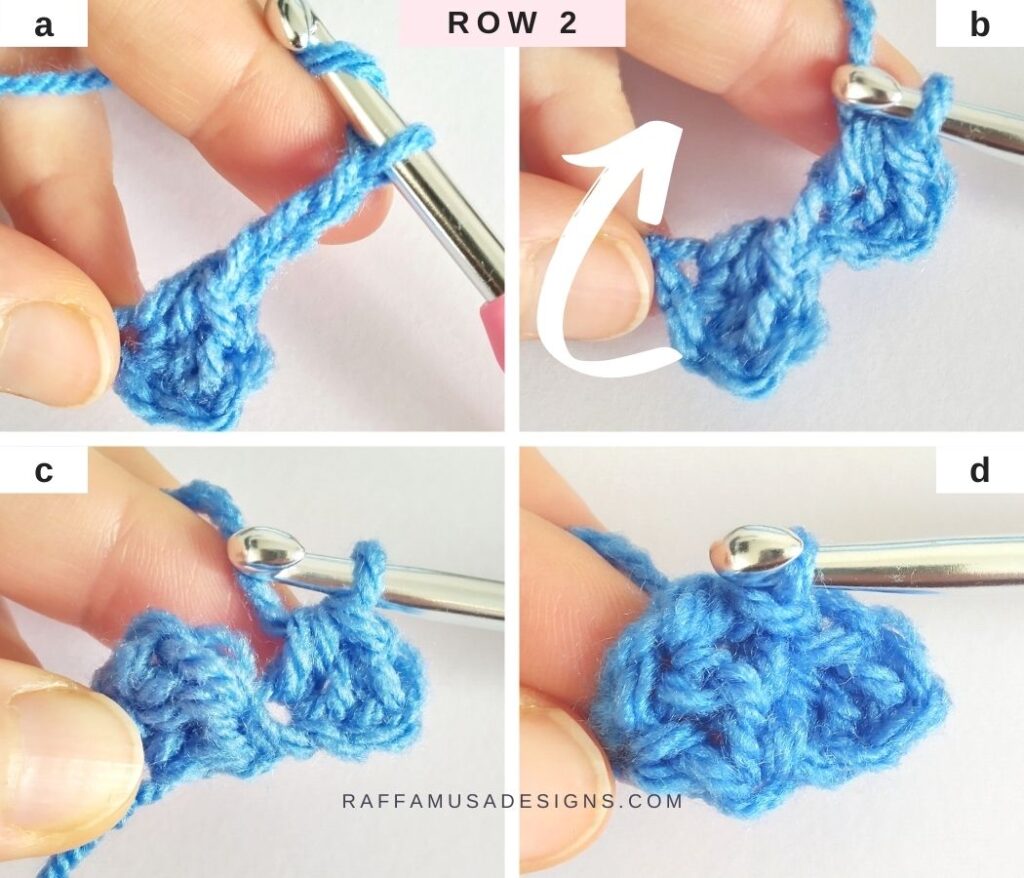
Ch 1, hdc 2 in ch-1 sp of first block (third block).
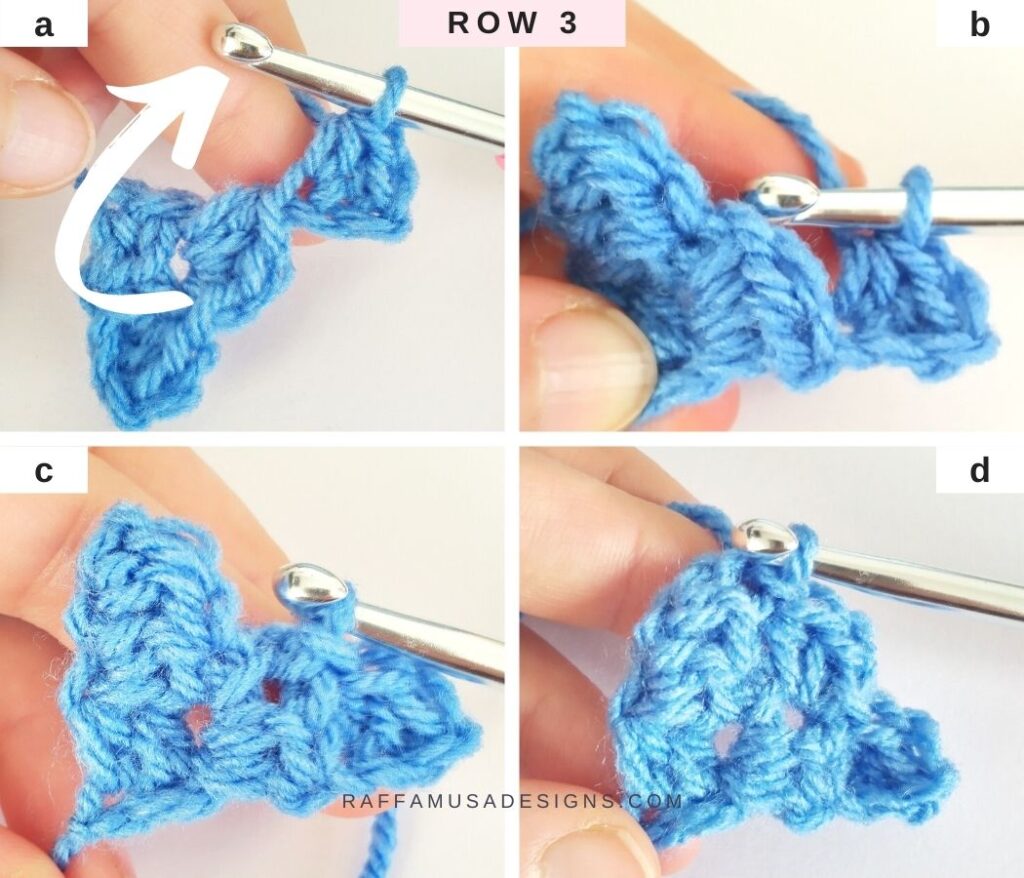
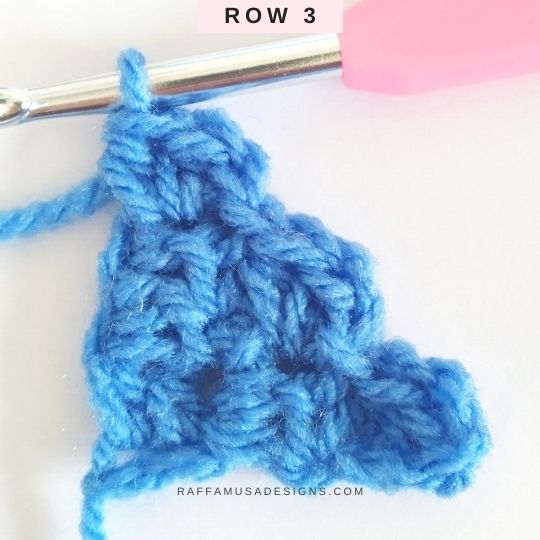
Row 3. Ch 3, hdc in second and third chs. Flip the first 3 blocks so that the ch-1 sp of the third block is close to your hook (photo Row 3, b), sl st into the ch-1 sp of the third block (photo Row 3, c). Ch 1, hdc 2 in ch-1 sp of the third block, sl st into the ch-1 sp of the second block (photo Row 3, d). Ch 1, hdc 2 in the ch-1 sp of second block.
Keep increasing your work using the same technique as for row 3.
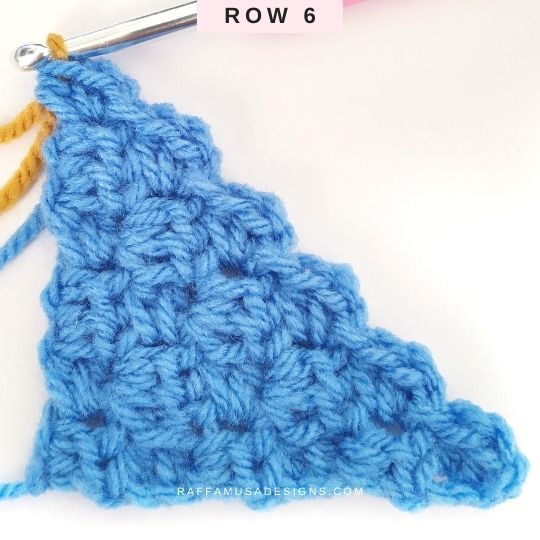
If you are following the chart that I added at the beginning of this tutorial, you need to keep increasing your work until you have 6 rows done.
Mini-C2C Stitch – How to Decrease
Once you reach the right width for your C2C project, it is time to start the decrease part.
For this second part of the tutorial, I switched to a different yarn color so that it is easier to see the blocks made in this step.
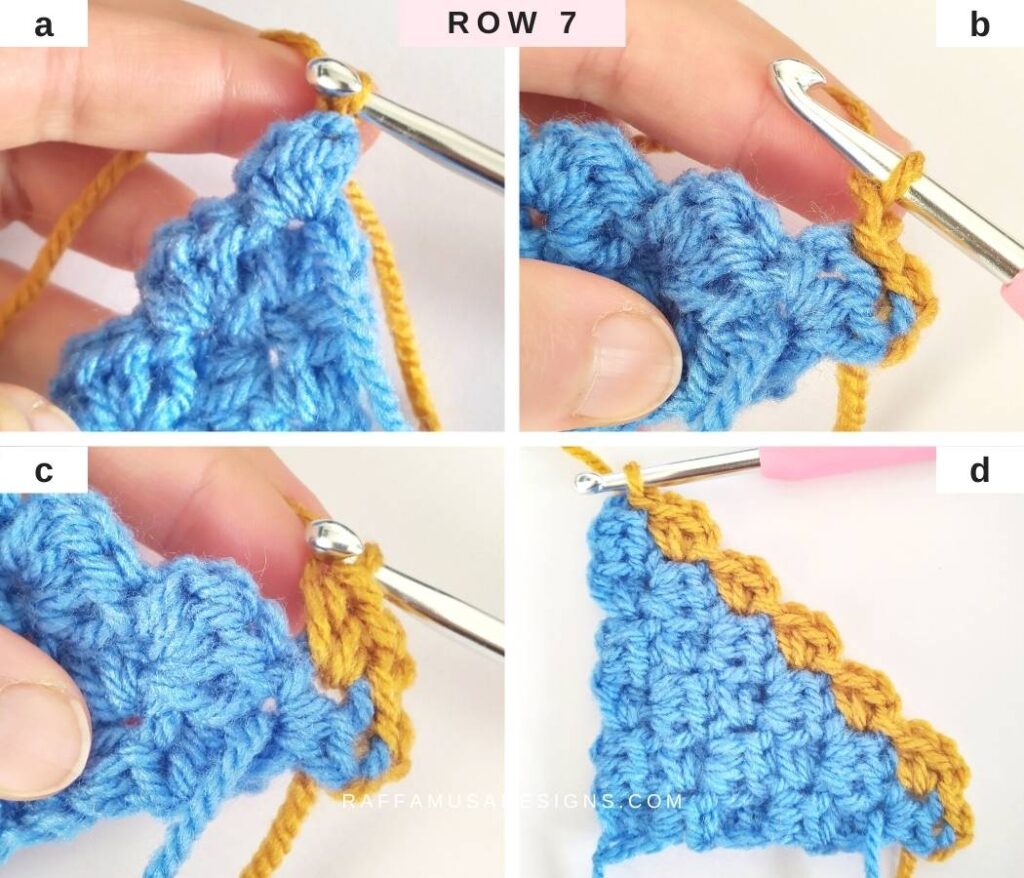
Decrease Rows. Ch 1, and turn (photo Row 7, a). Sl st into each hdc of the last block made, and ch 1 (photo Row 7, b). Hdc 2 in the ch-1 sp of the last block made (photo Row 7, c), sl st into the ch-1 sp of next block. (Hdc 2 in same ch-1 sp, sl st into ch-1 sp of next block) until you reach the last block.
This time, do NOT work one more block on top of the last block from the previous row! If you do, you would obtain a rectangle instead of a square!
Repeat the same instructions until you complete your square.
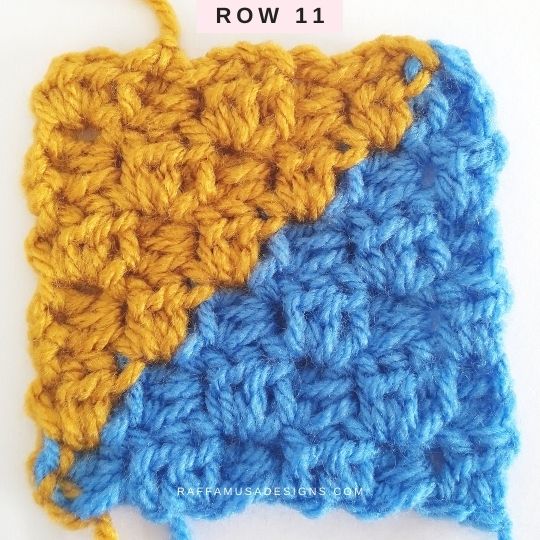
Fasten off and weave in all your ends.
YOU JUST LEARNED TO CROCHET THE Mini-C2C STITCH!
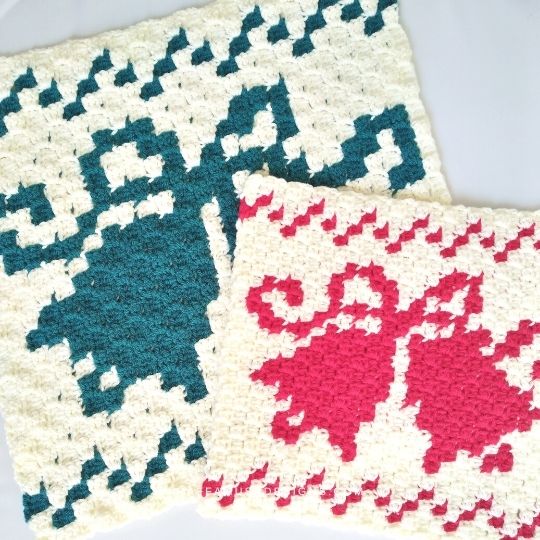
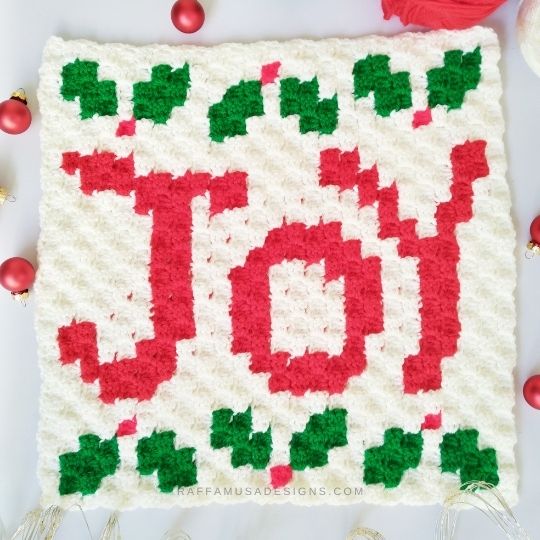
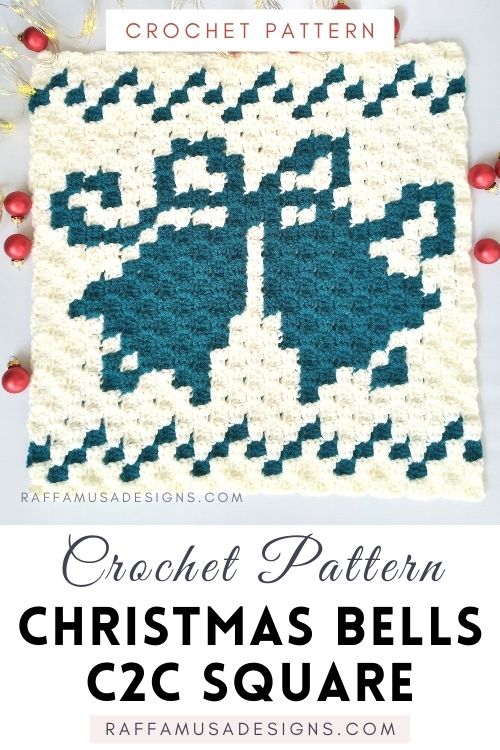
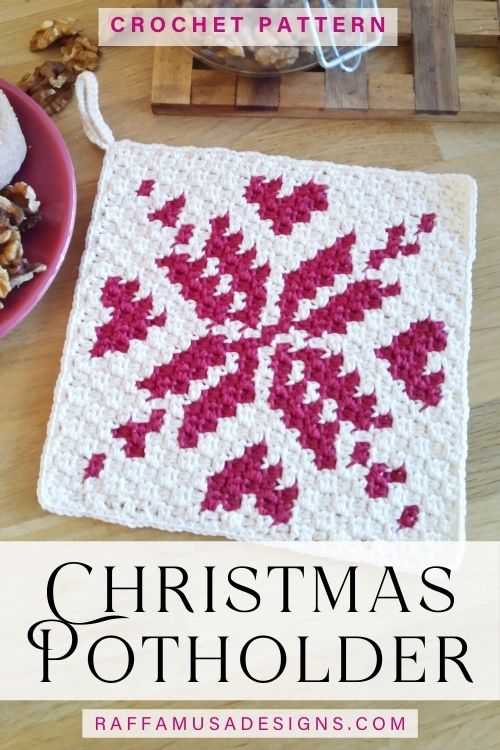
Now that you know the basics of the mini-C2C stitch, it’s time to learn how to change colors and crochet some beautiful projects like the ones shown below!
Check the next tutorial on how to change colors and carry yarn in mini-C2C HERE.

Find more crochet stitch tutorials here on the blog…