When crocheting in the round, the invisible join is a far better way to close your work than the classical slip stitch join.
What makes the invisible join so much better is that it is invisible!
With this technique, you will really not be able to tell where your last round ended!
When to use the Invisible Join
This technique is ideal when you are crocheting:
- Round Coasters
- Top-Down Hats
- Scrubbies
- Trivet and Round Potholders
- Basically, anything that is a circle!
- Amigurumi
- or you need to Change Color in Amigurumi!
- Basically, anything in the round!
What you will get is:
- A neat edge,
- Clean and straight color changes!
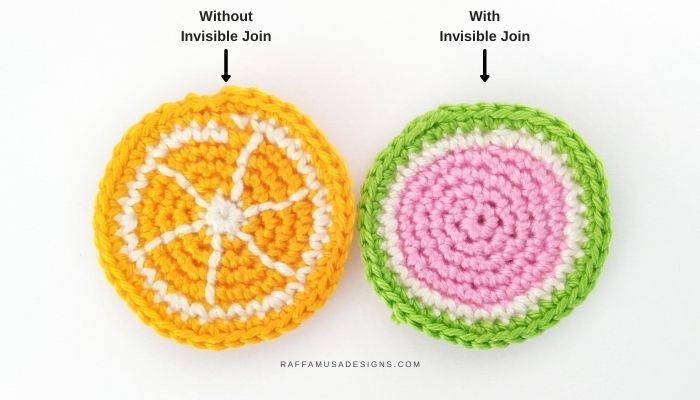
Invisible Color Change
One of the things that I like the most about the invisible join is that color changes become absolutely subtle and neat!
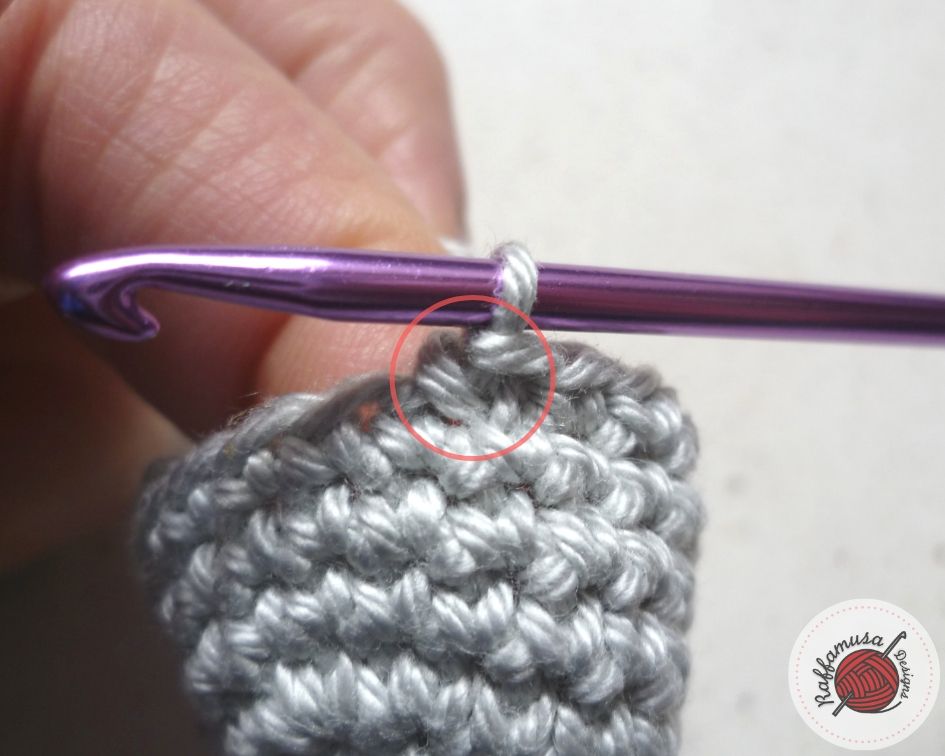
If you’ve ever crocheted an Amigurumi, you’ll probably be familiar with that little step that is created between two rounds of a different color.
Well, with the invisible joining method, you can get rid of that step and get perfectly straight color changes!
In the example below, you can see the difference between changing color without or with the invisible join.
Pretty neat, isn’t it?
So, let’s see how to do it!
Pin this free tutorial to your favorite Pinterest board, and always find it later!
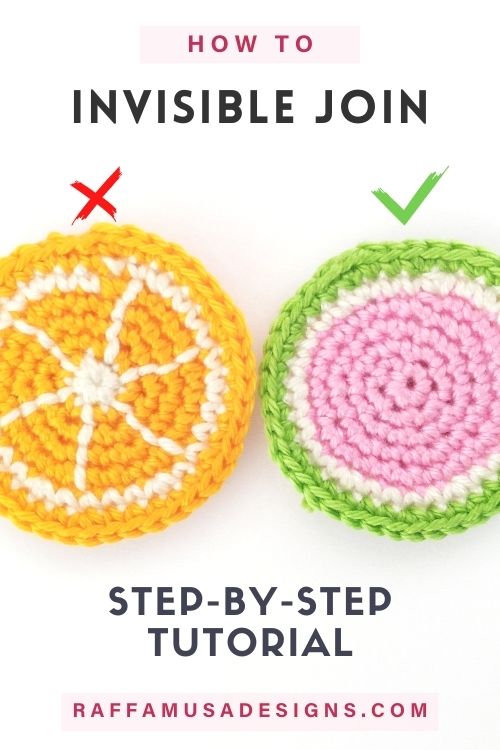
Crochet Invisible Join – Step-by-Step Tutorial
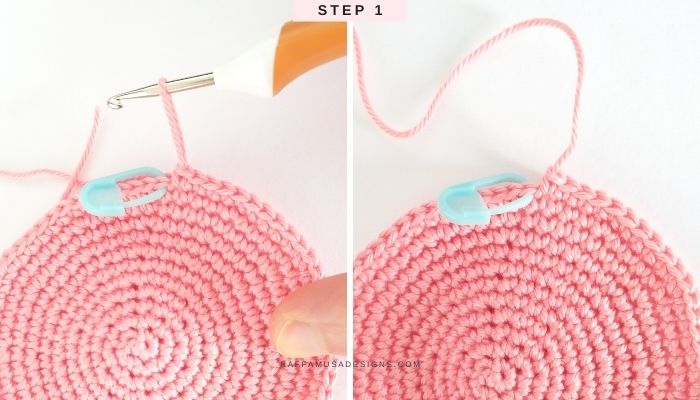
Step 1
Once you reach the end of the last round, whether it is the last round in one given color or the last round of your project, simply pull your yarn as shown in the figure below.
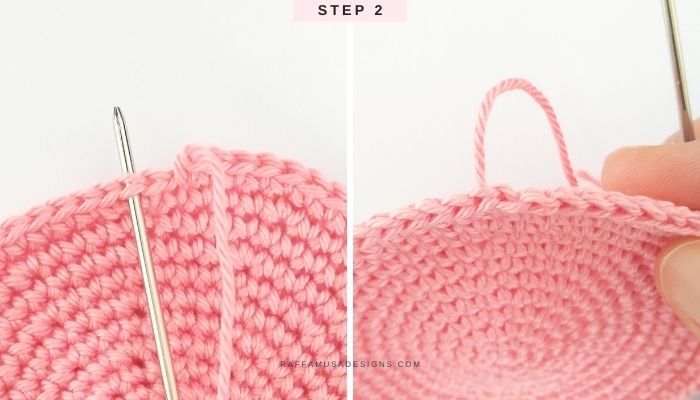
Step 2
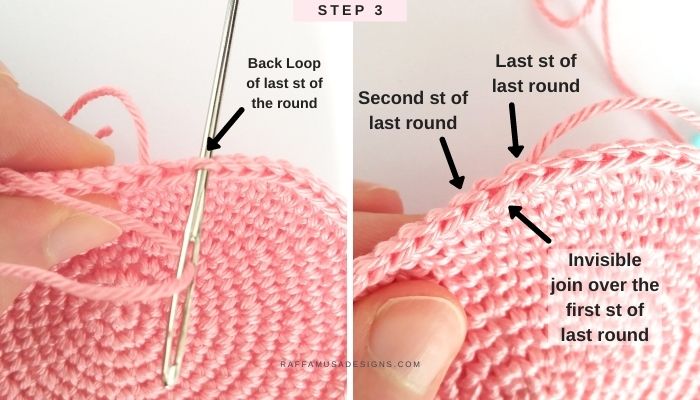
Skip the first stitch of the last round and insert your needle from front to back under both top loops of the second stitch.
Step 3
Insert your needle into the back loop of the last stitch of the round with a movement from front to back.
Secure your work by weaving in your ends.
Your Invisible Join is done!
Let me know if you found this tutorial useful, and show me your projects on Facebook and Instagram using the hashtag #raffamusadesigns
Find more useful tutorials and tips and tricks in these posts…
Me encantó lo pondré en práctica 😊
Another way to not have that step gap is to change to the new color and use the front loops only for one round and then use both loops for the next. When changing back to the first color, use the front loops for one round and continue in both loops on the next row. This way is convenient when one doesn’t want to cut the yarn, just drop it for a row or carry it along. Great for amigurumi and less ends to weave in for other larger projects, leaving a neat backside. Depending on my project, I have used both ways.
Fantastic! It worked perfectly. Thank you!
Is there a video tutorial on your site. I am a visual learner!!!!!
Hi, I’m sorry but I don’t have a video tutorial for the invisible join…
I’ve tried to do invisible end but just can’t get the hang of it. It doesn’t “sound” like it would stay and not unravel.
Hi, it’s true, it can be sort of unstable. The trick to make it more firm is to catch an additional loop on the back of the stitch (the last st of the round) and immediately weave in the end! 🙂