If you’re looking for a beautifully textured and bubbly crochet stitch, then look no further than the Popcorn Stitch!
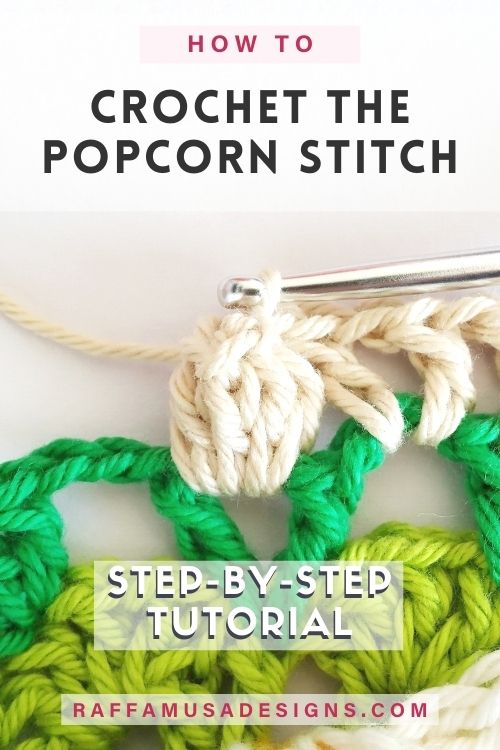
The popcorn stitch is a very fun stitch that is going to add a puffy look to your project.
While I don’t usually like to crochet something completely with popcorns, I love the popping and lively effect that this stitch can add to a project!
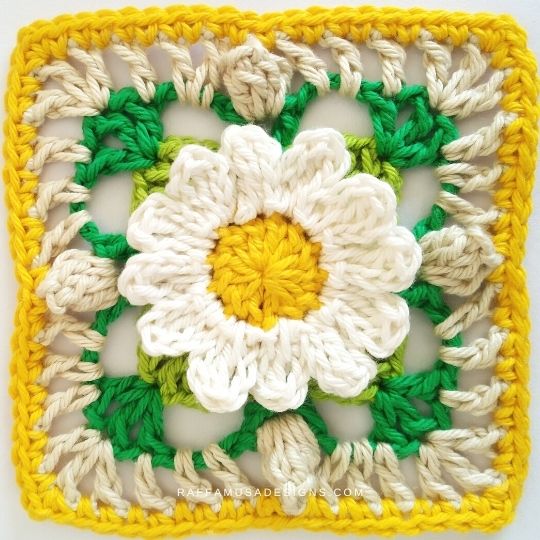
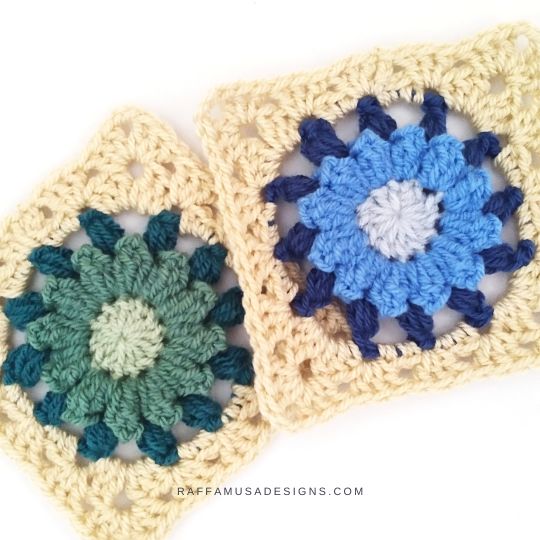
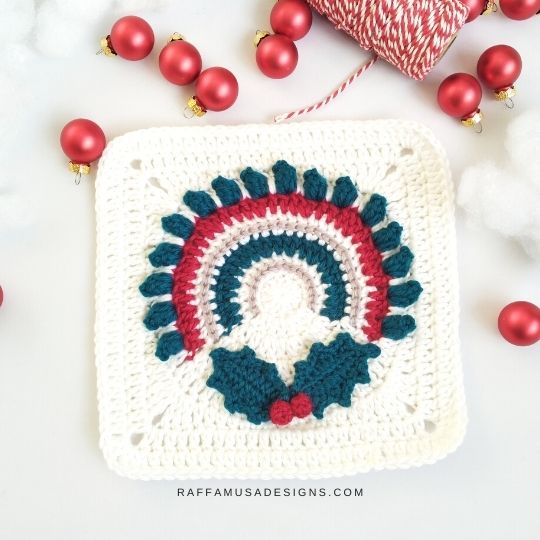
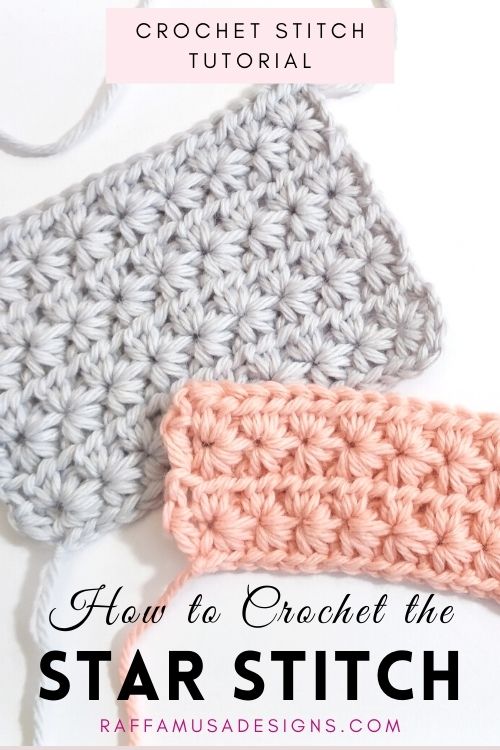
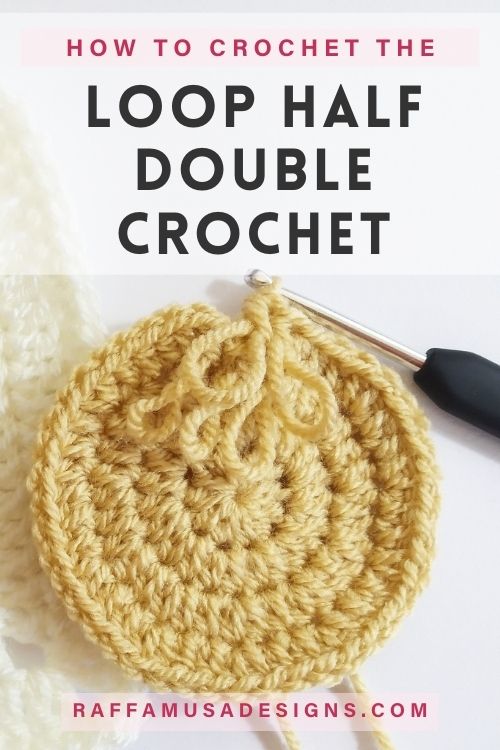
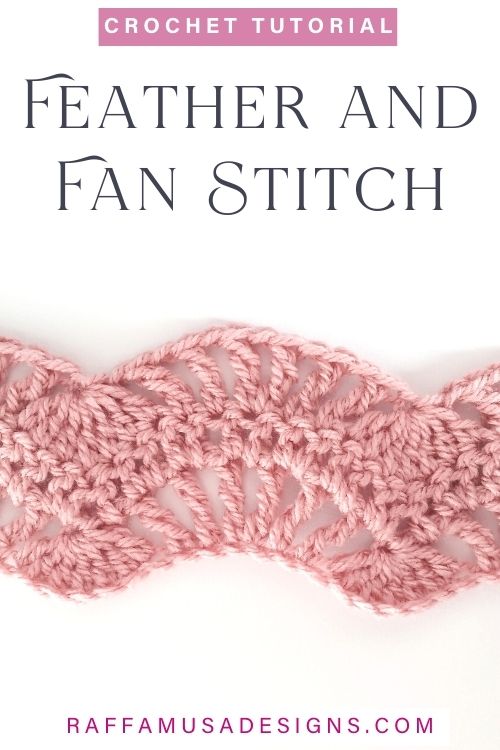
Here are a few examples of patterns that use the popcorn stitch…
Making the popcorn stitch is really easy, and you can crochet it also as a beginner! I’ll show you how with this free step-by-step tutorial.
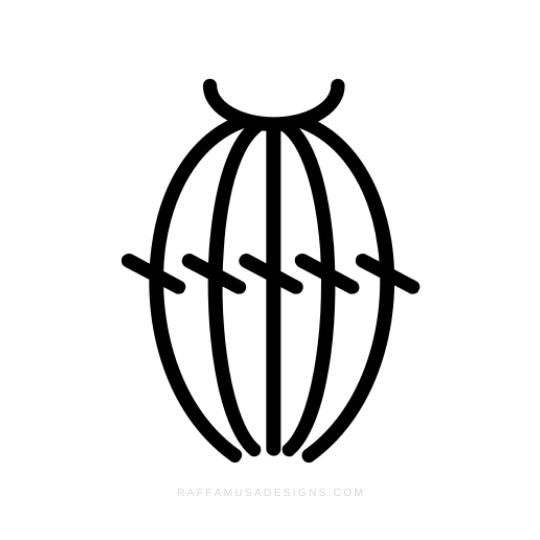
Chart Symbol
If you are following a crochet chart, and you come across the symbol below, then you know that is one popcorn stitch.
Normally, the number of vertical lines tells you how many double crochet stitches to make for your popcorn.
How Many Double Crochet Stitches for One Popcorn?
To be exact, the chart above would be a 5-double crochet popcorn stitch!
Why do I specify that this is a 5-double crochet popcorn?
Well, like with most things in crochet, there is not only one way to make a stitch.
The most common way to crochet the popcorn stitch is the one where one popcorn consists of 5 double crochet stitches. This method is the one that I’ll show you in this tutorial.
However, it is not uncommon to find patterns that use smaller popcorns, meaning popcorns that are not made out of 5 double crochet stitches, but let’s say 4 or 3, or bigger popcorns with more than 5 stitches!
For example, for my Popcorn But Rug, I only used 3-double crochet popcorn stitches because T-shirt yarn is already quite bulky. And believe me, 3 double crochet were more than enough for one popcorn!
ABBREVIATIONS (US TERMS)
Ch – Chain
Dc – Double Crochet
St – Stitch
How to Crochet the Popcorn Stitch – Step-by-Step Tutorial
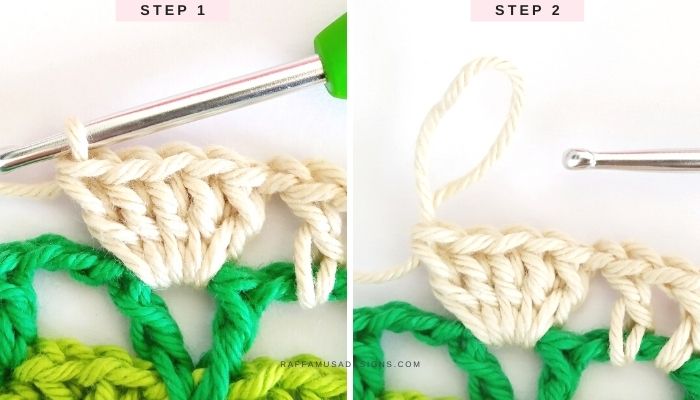
Step 1
Dc 5 in the indicated st.
Step 2
Pull up the loop on your hook to make sure that the last st does not unravel, and remove the hook from your work.
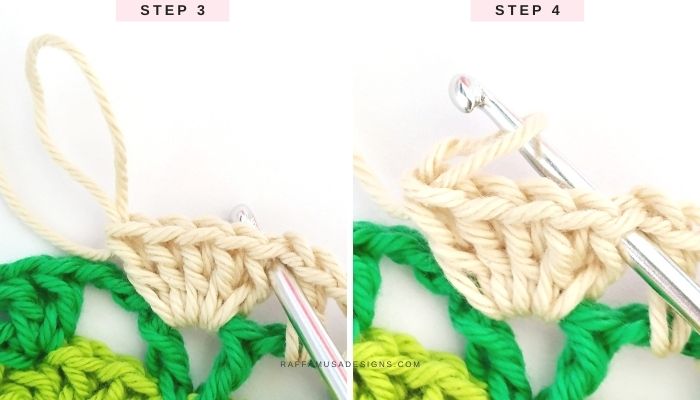
Step 3
Insert your hook from front to back into the first dc of the 5 you made in step 1.
Step 4
On the back of your work, grab back the loop you left in step 2.
Steps 5 and 6
Tighten the loop around your hook and pull the loop through the first dc.
Make sure that the popcorn is popping on the right side of your work. If it is not, simply push the sts up.
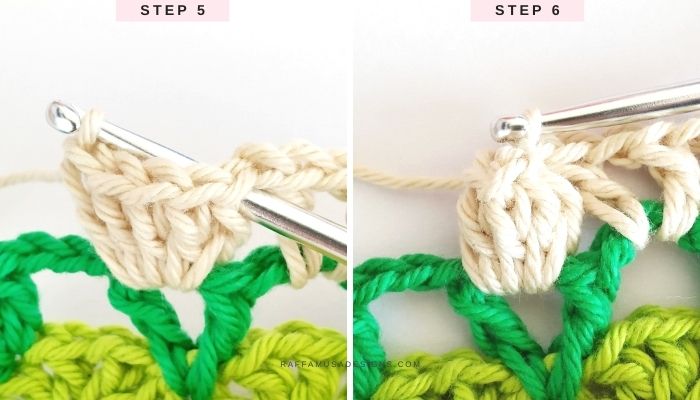
Your crochet Popcorn Stitch is done!
I hope that you enjoyed this stitch tutorial, and I am looking forward to seeing your makes! Show me your projects on Facebook and Instagram using the hashtag #raffamusadesigns
Find more crochet tutorials and tips and tricks in these posts…
Love this tutorial. I am making my own Crochet Octopus Keyring but I needed to know how to do the legs so I was thinking to use the popcorn stitch but I didn’t know how to do it. Thx for the help. If you want, you can try out my pattern.
Crochet Octopus (UK terms)
1. 6dc in mc
2. Inc x6
3. Dc inc x6
4. Dc inc, 2dc inc x5, dc
5. Dc x24
6. Dc, dc, dc inc
7. Dc x30
8. 2 dc inc, 4dc inc x5, 2dc
9. Dc x36
10. Repeat
11. 2dc dec, 4dc dec x5, 2dc
12. Dc, dc, dc dec
13. Dc dec, 2dc dec x5, dc
Insert safety eyes between rounds 7 and 8 5 stitches apart.
Add stuffing.
14. Dc, dc, dc, dc, dc, dc, dc dec x2
15. BLO dc, dc dec x4
16. Dec x6
1. Dc, PC (popcorn stitch) x8 At the bottom of the Octopus.
1. Embroider mouth.
I don’t have a website yet but I am planning to create one. I hope you like my pattern that I have created. Thx again!!! 😀 😛
Merci, merci beaucoup pour toutes vos explications qui sont claires et précises. Pour une débutante comme moi c’est précieux et rare.
Merci de pour votre gentillesse et votre générosité.