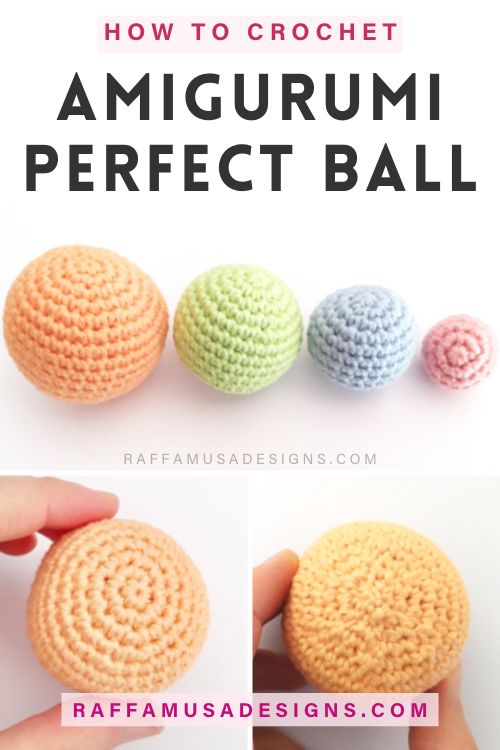
Crocheting the perfect Amigurumi ball or sphere in any size is extremely useful for making Amigurumi heads, bodies, limbs, and other parts, but also for children’s toys, decorative elements, wall hangings, jewelry, etc.
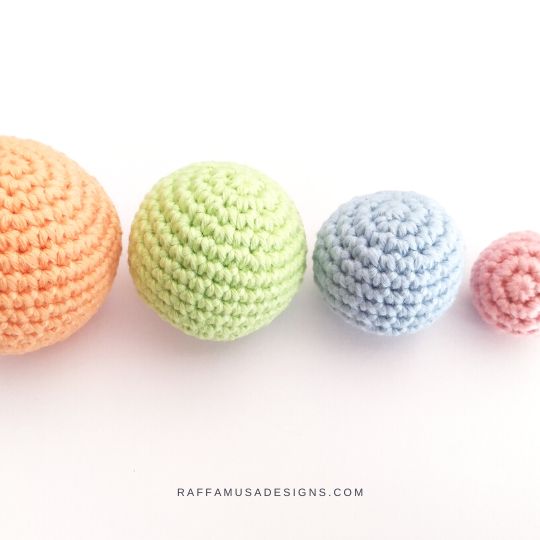
In this tutorial. I’d like to share with you how to crochet the perfect Amigurumi ball using some very simple rules and a few tricks to make a sphere of any size that looks perfect on both sides!
So, gather your yarn, hook, and stuffing, and let’s crochet some cute balls!
Pin this free crochet tutorial for later by saving it to your best Amigurumi board on Pinterest with this pin.
Note: this post contains affiliate links. If you purchase something through the links on my blog, I might earn a commission. This will not have any effect on the price you pay. For more info, please, see my Privacy Policy.
Essential techniques for a perfect Amigurumi Ball
Before we start, it is worth taking a look at a few techniques that are essential for crocheting the perfect Amigurumi ball:
- Crochet in the Round
- How to Single Crochet the Perfect Circle
- Single Crochet Invisible Decrease
- Ultimate Finish
Perfect single Crochet Circle
The starting point of any Amigurumi sphere is a simple, flat circle.
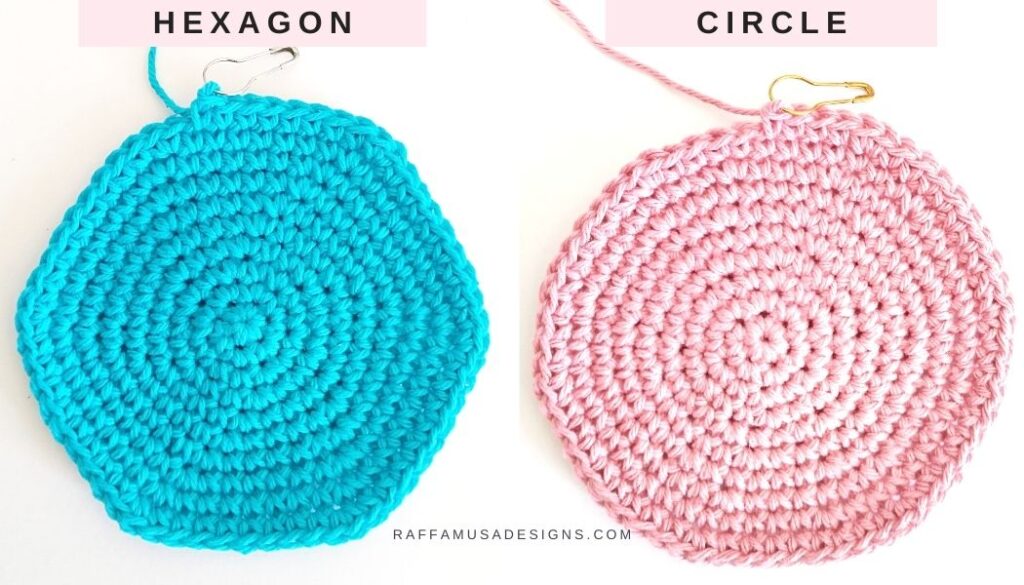
Now, when you single crochet a flat circle, you can place your increases in different ways, ending up with something that looks like a hexagon or something that is actually round (see photos below).
For an Amigurumi sphere, you really want to start with a perfect circle, like the pink one in the picture below.
Even though you’ll find a few pattern examples below, you can learn more about how to go from a hexagon to a perfect circle HERE.
Single Crochet Invisible Decrease
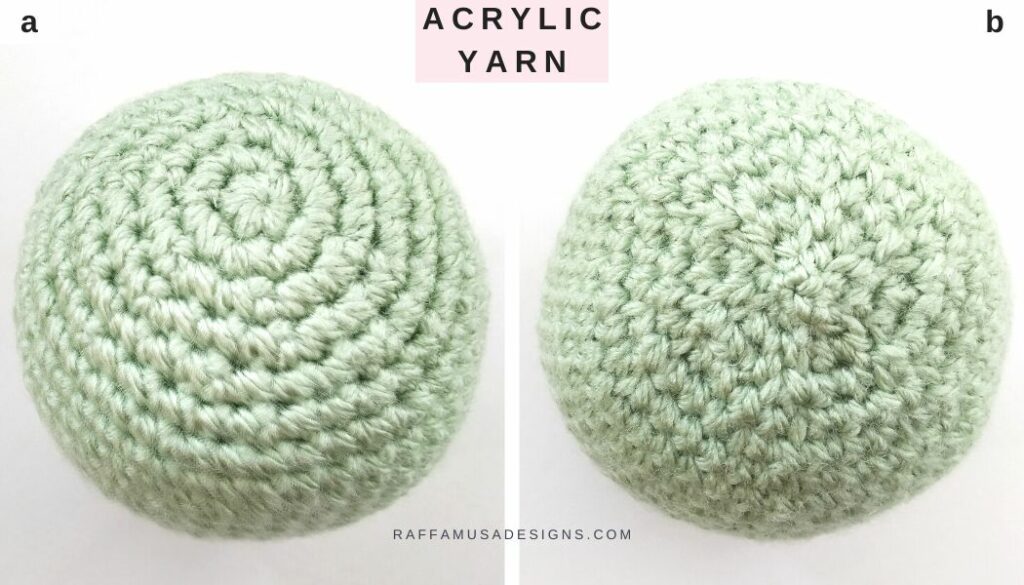
If you’ve ever tried to crochet a ball or any Amigurumi, you know that while the beginning of the sphere is super neat (like in the photo in panel a below), the last part is just not as beautiful (see the photo in panel b below)!
Although the ugly side of an Amigurumi, i.e. the one where you make decreases, will never be a beauty queen, you can definitely improve the way it looks with the Single Crochet Invisible Decrease!
And also, by alternating decreases the same way as you alternate increases for a perfectly round circle… but we’ll see more about this later on.
How to Close your Amigurumi Sphere
Finally, for a neat crocheted ball on every side, you’ll want to learn how to close your Amigurumi sphere using the ultimate finish.
The ultimate finish will make sure that the very last round of your ball will not stick out like a nipple but will stay flat and cute!
Alright, it’s now time to actually crochet a ball together! But first, let’s talk materials!
Materials
- Yarn
- Appropriate Hook Size
- Stuffing
- Tapestry Needle
Remember that for crocheting Amigurumi, you’ll want to use a smaller hook size than the one recommended by the yarn label.
For example, I used:
- acrylic, worsted (4, Medium) yarn with a 3.5-mm (E/4 US, 9 UK) hook;
- or cotton, DK (3, Light) yarn with a 2.75-mm (C/2 US, 12 UK) hook.
Abbreviations (US Terms)
- Ch – Chain
- Inc – Increase
- Inv Dec – Invisible Decrease
- MC – Magic Circle
- Sc – Single Crochet
- Sl St – Slip Stitch
- St – Stitch
How to Crochet the Perfect Amigurumi Ball in Any Size – Free Tutorial
1. Beginning of the sphere
Let’s start by crocheting a perfectly round circle of any size.
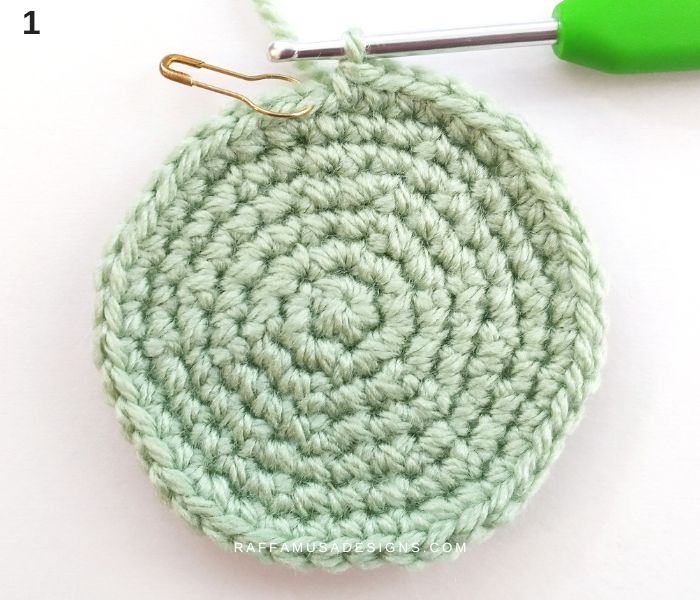
Here’s the pattern I used for the example shown here (but you can make your circle as small or large as you need by following the simple rules explained HERE):
Round 1. Sc 6 in MC. (6 sts)
Round 2. Sc inc 6. (12 sts)
Round 3. (Sc inc 1, sc 1) 6 times. (18 sts)
Round 4. Sc 1, (sc inc 1, sc 2) 5 times, sc inc 1, sc 1. (24 sts)
Round 5. (Sc inc 1, sc 3) 6 times. (30 sts)
Round 6. Sc 2, (sc inc 1, sc 4) 5 times, sc inc 1, sc 2. (36 sts)
Round 7. (Sc inc 1, sc 5) 6 times. (42 sts)
2. Body of the Amigurumi Ball
Once you’re happy with the diameter of your circle, it’s time to crochet the body of the sphere.
For a perfect sphere, there is a simple rule for how many rounds of the body to work, which is always the same number of rounds as your flat circle, plus one!
So, for our example, we crocheted a flat circle with 7 rounds. This means that we’ll need to crochet 7 + 1 = 8 rounds for the body.
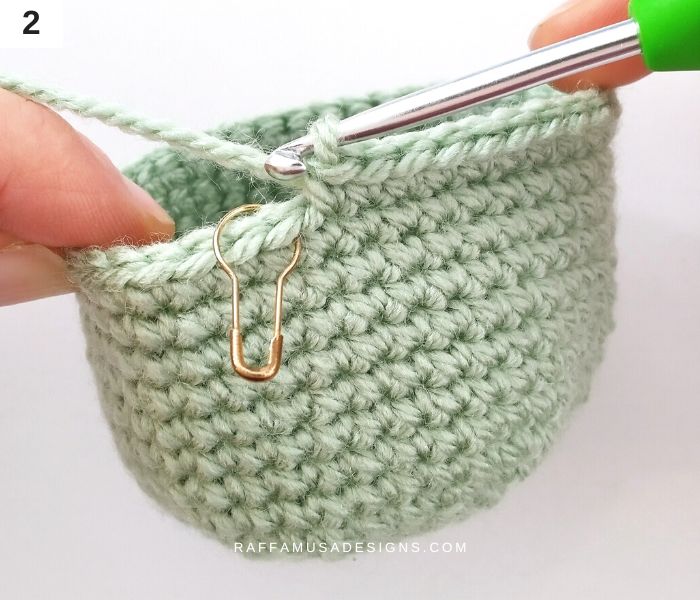
Here is the pattern:
Rounds 8-15. Sc around. (42 sts)
3. Decreases
Once the body is done, it’s time to decrease the number of stitches.
It’s important to remeber to alternate the position of the decreases at each round so that they’re not all stacked in the same 6 points (it’s the same concept as making a hexagon vs making a perfect circle!)
For a neat result, remember to use the invisible decrease.
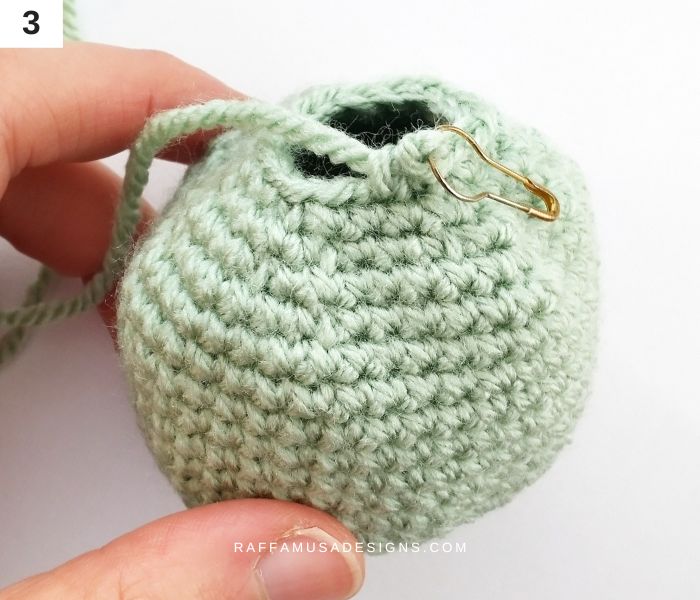
For our Amigurumi ball, the pattern for the decreases will be as follows:
Round 16. (Inv dec 1, sc 5) 6 times. (36 sts)
Round 17. Sc 2, (inv dec 1, sc 4) 5 times, inv dec 1, sc 2. (30 sts)
Round 18. (Inv dec 1, sc 3) 6 times. (24 sts)
Round 19. Sc 1, (inv dec 1, sc 2) 5 times, inv dec 1, sc 1. (18 sts)
4. Stuffing
At this point, before decreasing any further, it’s a good idea to stuff the Amigurumi ball with polyfill or any filling material you normally use.
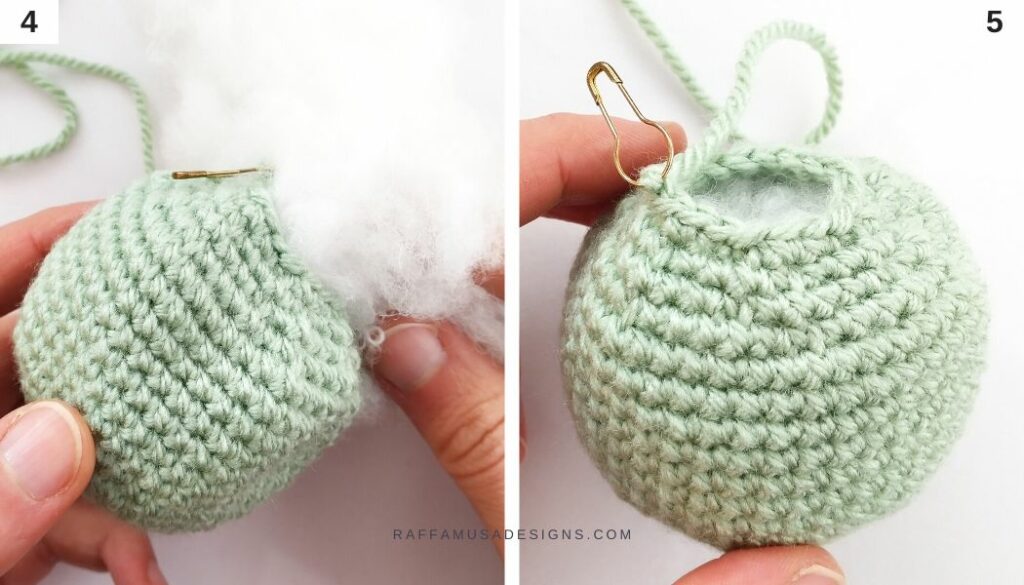
6. Complete the decreases
Keep decreasing your stitches at every round and add more filling material as needed.
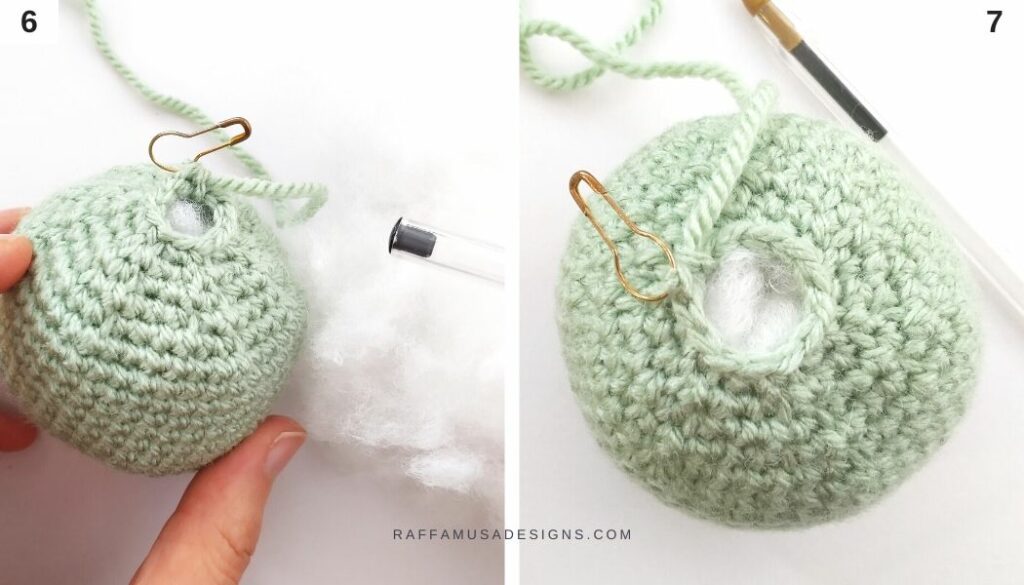
For our example, the pattern looks like this:
Round 20. (Inv dec 1, sc 1) 6 times. (12 sts)
Round 21. Inv dec 6. (6 sts)
Fasten off leaving a long tail.
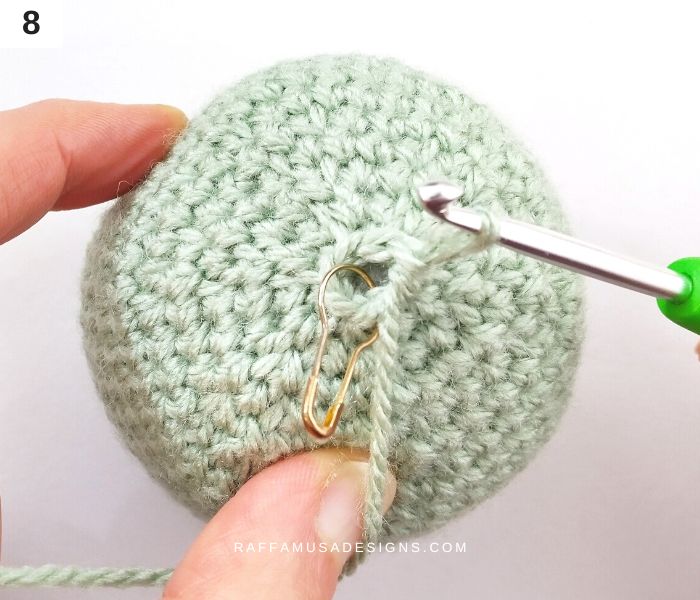
8. Close the top hole of the Amigurumi ball
Close the top of your sphere with the ultimate finish.
9. Weave in your ends
Finally, weave in all your ends.
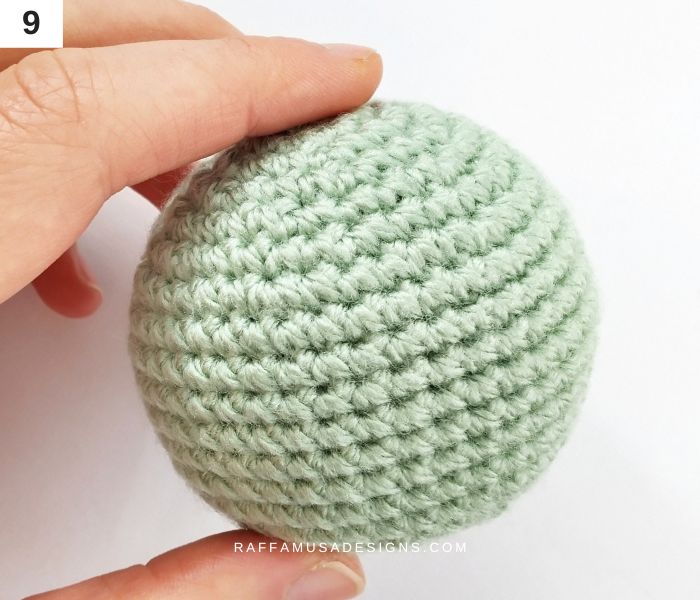
Well done, you’re crochet Amigurumi ball or sphere is ready!
I hope that you enjoyed this free tutorial. I’d love to see all your creations using Amigurumi balls! Please, share a pic of your work on Facebook and Instagram using the hashtag #raffamusadesigns!
Find more crochet ideas HERE on the blog…

I keep getting a small bump or point on the top of my spheres. How can I keep it flat?
Hi, did you try the ultimate finish? https://raffamusadesigns.com/ultimate-finish-amigurumi/
Hi! I’m having a hard time reading your pattern
Round 3. (Sc inc 1, sc 1) 6 times. (18 sts)
You’re implying a repeat of what’s in parentheses to create a single stitch, an increase, and another stitch totaling four per repeat, repeated 6 times… that’s 24 and not 18?
Hi, with “sc inc 1” I mean that you need to crochet 2 sc in the first st (so, 2 sts). Then, sc in the next st (third st). Repeat all around for a total of 6 times, for a final stitch count of 18 sts 🙂
Thank you 😃 ❤️👌
For someone new to crochet this is a very easy pattern to understand as it uses basic stitches. Thank you so much for creating this free pattern!
Merci !!