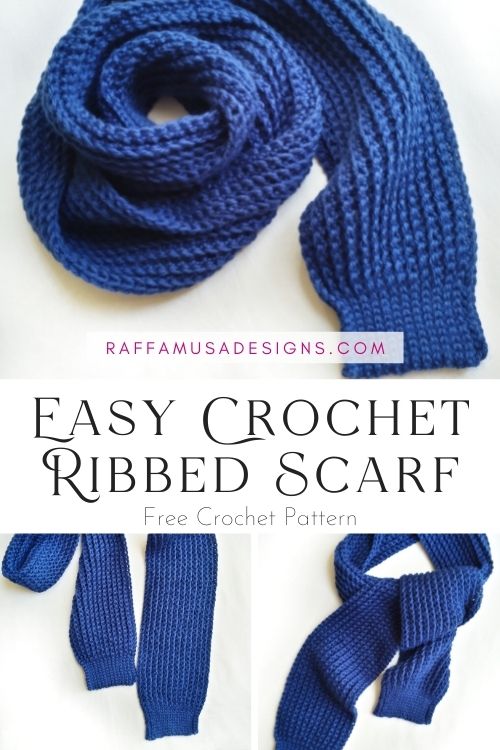
This easy Ribbed Scarf is the perfect pattern for beginners who would like to crochet a super soft scarf of which you can be proud of!
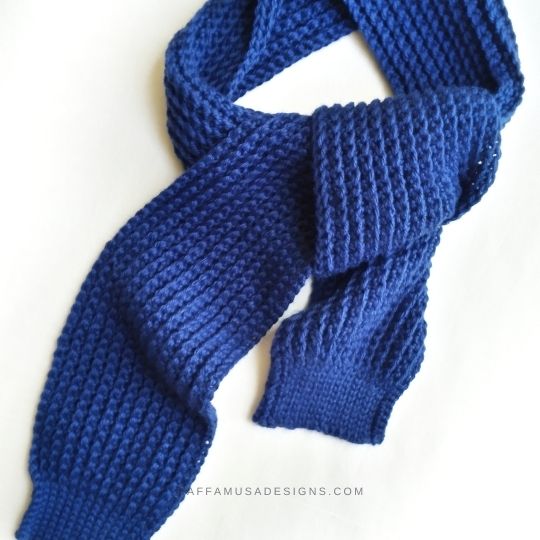
Ususally, crochet scarves for beginners are very easy projects where you only need to use the basic stitches, such as single crochet or double crochet.
However, if you ever tried crocheting a scarf in just plain single crochet, you might have noticed that the scarf is kind of stiff and not comfortable to wear.
And let’s face it, that’s pretty frustrating after all those hours of stitching!
So, today, I would like to share with you this very easy crochet pattern for a scarf that is perfect for beginners because it only uses slip stitches and single crochet stitches. But at the same time, the scarf will be extra soft, warm, and comfy!
The simple style and texture of this scarf is perfect for young boys and men, who can often be difficult when it comes to wearing crochet accessories!
The trick is to use a modified version of the basic stitches where you only crochet in the back loop of the stitches instead of both top chains.
If you are not sure of what that means, you can learn more about how to recognize the back and front loops of a stitch in this post HERE.
How to Crochet a Scarf for Beginners
When you want to crochet a scarf, there are essentially two ways you can go about it:
- You start on the short side and you keep adding rows until you reach your desired legth;
- Or, you start from the long side and you make as many rows as you need to reach the right width.
Of course there are also other ways to make a scarf, like joining squares together, or making a rectangle starting from the center… but for now, let’s focus on these two easy ways.
For this scarf, I wanted to have a vertical ribbed texture, so I decided to start from the long side and add rows until I got to the right width.
Starting on the long side means that you’ll need to crochet a very high number of chains (more than 100 chains) right at the beginning of your project.
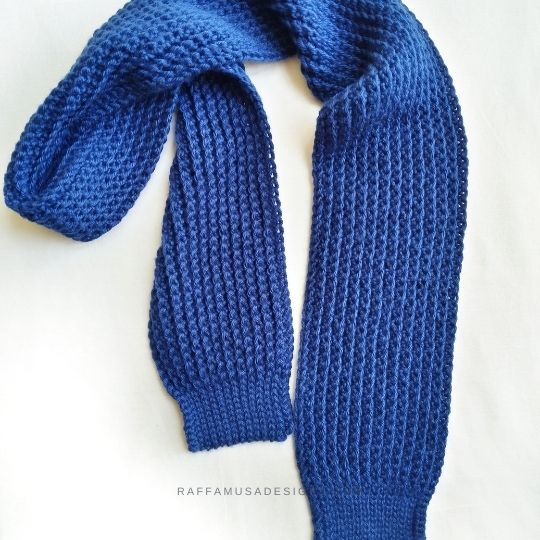
Start Your scarf with a foundation row
Since nobody likes chaining too many chains, I prepared a video for you on an alternative method to start your crochet project by making the foundation chain and the first row of single crochet all at the same time!
This technique is called Foundation Single Crochet and you can learn all about it in this blog post and in this video tutorial.
Of course, if you find this technique too advanced, you can still make a regular foundation chain and then single crochet the first row.
In the pattern below, you’ll find directions for both methods!
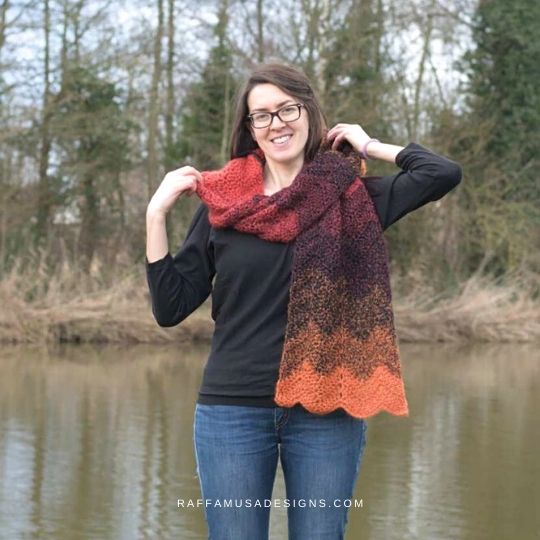
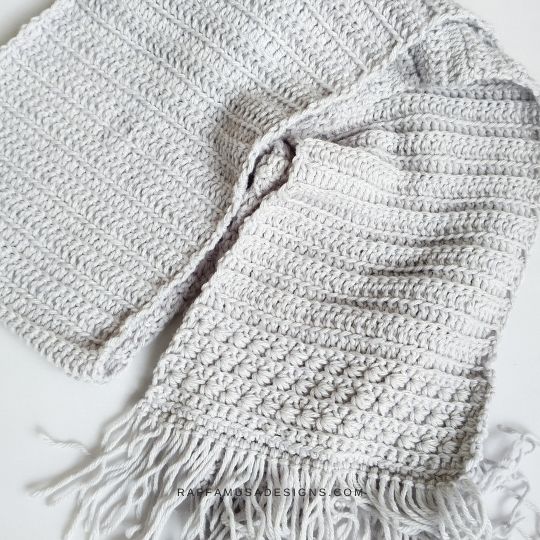
Find other easy patterns for crochet scarves for beginners…
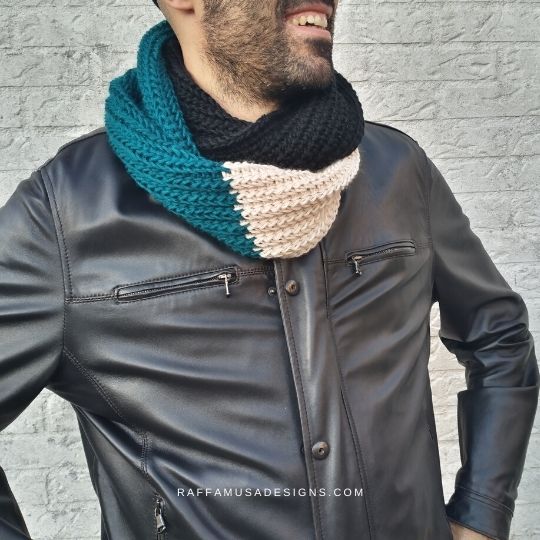
Add this pattern to your Ravelry queue HERE and favorite the pattern, or pin it for later by using this pin!
Note: This post contains affiliate links. This means that if you purchase something through the links on my blog, I might earn a commission. This will not have any effect on the price you pay. For more info, please, see my Privacy Policy.
PRINTABLE PDF PATTERN
This pattern is available as a printable PDF file from my Ravelry, LoveCrafts, and Etsy shops! The PDF pattern comes complete with written instructions and step-by-step photos. Grab your copy by clicking on the buttons below!
MATERIALS
- 7.0-mm (2 UK) Crochet Hook
- Worsted (4, Medium) Weight Yarn
- Tapestry Needle
Yarn & Yardage
I used 338 yds (310 m, 2 balls) of Katia Merino Aran in Night Blue (57).
Feel free to use any comparable yarn that meets gauge.
Here are a few options:
- Paintbox Yarns Wool Mix Aran
- Stylecraft Special Aran
- Paintbox Yarns Simply Aran
- Lion Brand Wool Ease
- Lion Brand Heartland
- Red Heart With Love
- Caron Simply Soft
- Loops & Threads Impeccable Solids
ABBREVIATIONS (US TERMS)
BLO – Back Loop Only
Ch – Chain
FSC – Foundation Single Crochet
Hdc – Half Double Crochet
RS – Right Side
Sc – Single Crochet
Sl St – Slip Stitch
St – Stitch
WS – Wrong Side
Yo – Yarn Over
SPECIAL STITCHES
Back Loop Only Stitches
Learn how to crochet Back Loop Only (BLO) stitches in this blog post, and read further down for a special note about BLO sl sts!
Foundation Single Crochet
Check my step-by-step tutorial on how to foundation single crochet.
Gauge
11 sc for 21 rows in 4″ (10 cm).
Size
This pattern is written for size Child S (3-6 years), Child M (6-10 years), Teen, and Adult.
| Size | Length | Width | Yardage |
| Child S | 60″ 152 cm | 5″ 13 cm | 300 yds 274 m |
| Child M | 65″ 166 cm | 6″ 15 cm | 375 yds 343 m |
| Teen | 71″ 180 cm | 7″ 18 cm | 478 yds 437 m |
| Adult | 79″ 200 cm | 8″ 20 cm | 608 yds 556 m |
Pattern Notes
- If the pattern says “sc 2”, it means that you have to crochet 1 sc into each of the next 2 sts.
- The stitch count is indicated within brackets at the end of each row’s instructions.
- The pattern is written for sizes Child S (Child M, Teen, Adult).
Easy Ribbed Scarf – Free Crochet Pattern
Row 1. FSC 172 (187, 204, 227) sts.
Alternatively, ch 173 (188, 205, 228), and sc across starting from the second ch from your hook. (172, (187, 204, 227) sts)
Row 2. Ch 1, turn. BLO sl st 10, BLO sc 152 (167, 184, 207), BLO sl st 10. (172, (187, 204, 227) sts)
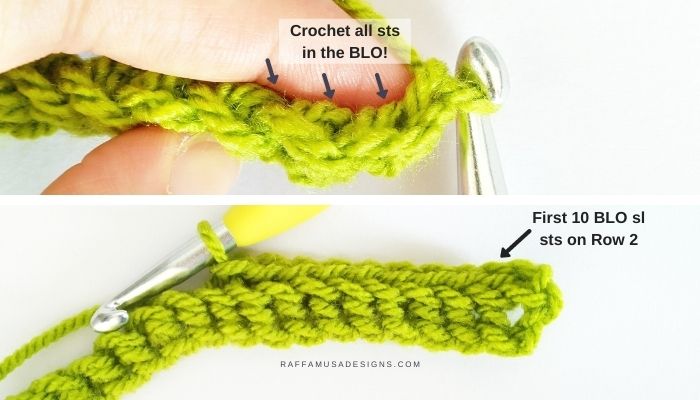
Pro Tip! When you crochet Row 2, mark the 10th sl st and the first st of the 10 sl sts at the end of the row. At each row, move the stitch markers up to the corresponding sts. This way you won’t need to count sts and you’ll be sure you won’t miss any!
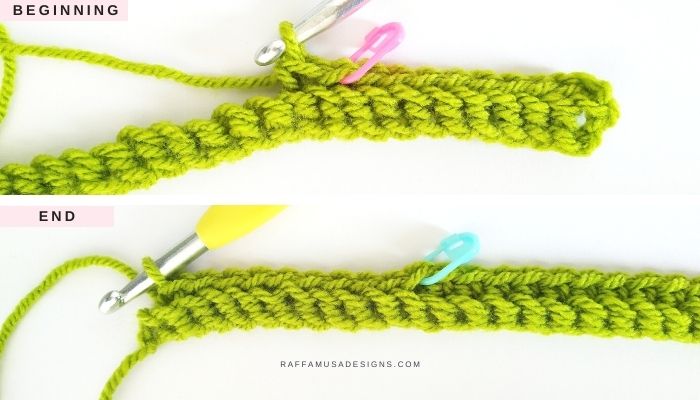
Repeat Row 2 until you reach Row 25 (29, 34, 39).
Last Row. Ch 1, turn. BLO sc across. (172, (187, 204, 227) sts)
Fasten off and weave in all your ends.
Your easy crochet Ribbed Scarf is ready!
I hope that you liked crocheting this pattern. Don’t hesitate to contact me if you need any help with your project. I am looking forward to seeing all your beautiful creations on Facebook and Instagram. Use the hashtag #raffamusadesigns so that I can find and share your photos!
Crochet scarves you might like…

Hello, I would like to make this scarf narrower and shorter. I’m new to crochet and just wanted to check that if I just single crochet fewer rows and sc fewer stitches that it would be that simple to make it work. It seems just to easy. Thank you.
Hi, yes, that’s that simple!
For the initial chain, just keep going until you reach your desired length. Then, for the number of rows, follow the pattern until you’re happy with the width 🙂