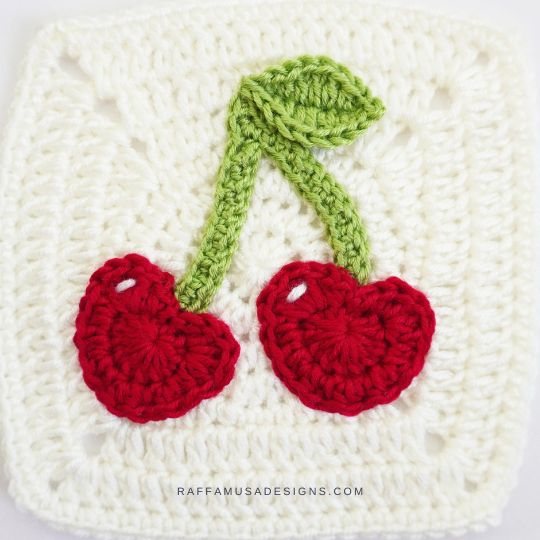
Looking for a fun and colorful embellishment for your Summer makes? This crochet cherry applique will add a joyful touch to all your projects, from granny squares and Afghans to cards, denim jackets, and jeans!
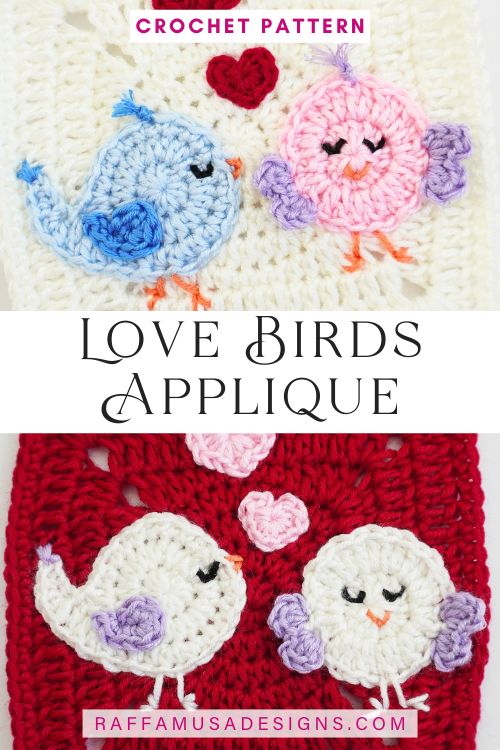
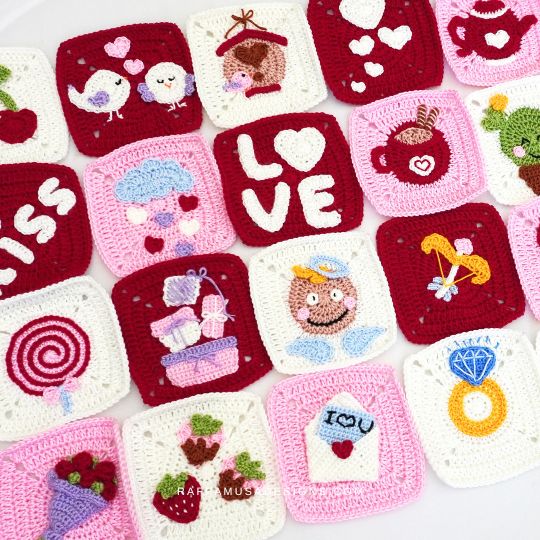
I first made these cherries for one of my granny squares from the Valentine’s Day collection. After all, cherries are kind of romantic, aren’t they?
But romanticism is not the only quality of cherries. Apparently, eating cherries can help you sleep better because they contain melatonin, which regulates the sleep-wake cycle of our body. They also contain vitamins and minerals, and as a cherry on top, they’re low in calories, so they’re perfect for a guilt-free snack!
Now, crocheted cherries might not have all these benefits for your health but they’ll definitely cheer up your handmade projects!
Find more appliques to crochet here on the blog…
Add this pattern + the Valentine’s Day Granny Squares to your Ravelry queue HERE and favorite it (– thank you!). Or save it for later by pinning it to your favorite crochet board on Pinterest using this pin!
Note: this post contains affiliate links. If you purchase something through the links on my blog, I might earn a commission. This will not have any effect on the price you pay. For more info, please, see my Privacy Policy.
MATERIALS
- 3.5 mm (E/4 US, 9 UK) Crochet Hook
- DK (3, Light) Yarn
- Tapestry Needle
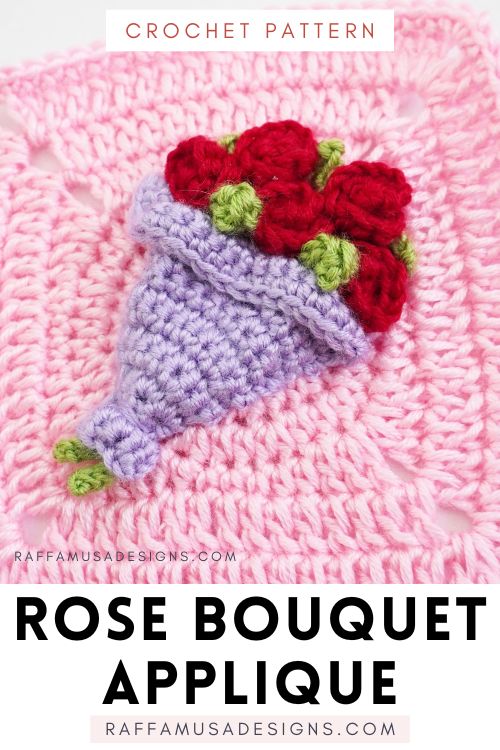
YARN
For my bouquet of roses, I used Durable Comfy (291 yds / 266 m per 100 g) in the following colors:
- Green – Apple Green (2155)
- Red – Deep Red (317)
- White – Ivory (326)
Feel free to use any yarn with the appropriate hook.
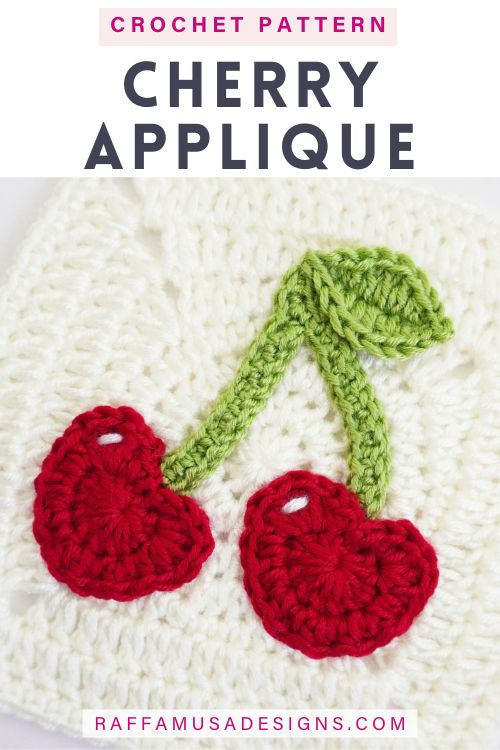
SIZE
- Cherry only – 1.6″ (4 cm) by 1.4″ (3.5 cm)
- Cherries with stem – 3.4″ (8.7 cm) by 3.3″ (8.5 cm)
GAUGE
This pattern is too small to accurately determine the gauge.
ABBREVIATIONS (US TERMS)
- Ch – Chain
- Dc – Double Crochet
- Hdc – Half Double Crochet
- MC – Magic Circle
- Sc – Single Crochet
- St – Stitch
PATTERN NOTES
- If the pattern says “dc 2”, you have to crochet 1 dc in each of the next 2 sts.
- (…) – Repeat instructions within parentheses for the indicated number of times.
- […] – Crochet the instructions within square brackets all in the same indicated st.
- *… – Repeat the instructions from * for the indicated number of times.
How to Crochet a Cherry Applique
Cherries
(Make 2)
With red, make a MC.
Round 1. Ch 1 (does not count as a st here and throughout), hdc 1, dc 10, hdc 1, sl st 1 in first st to join. (12 sts)
Round 2. Ch 1, [sc 1, hdc 1] in first st, [dc 4] in next st, (hdc inc 1, hdc 1) 4 times, [dc 4] in next st, [hdc 1, sc 1] in last st. Sl st in first st of round 1 to join. (24 sts)
Fasten off leaving a long tail for sewing.
Stem
With green, ch 15.
Row 1. Sc 14 starting from the second ch from hook. (14 sts)
Ch 3, sc 1 in second ch from hook, sc 1, sl st in first ch of ch-15.
The second half of the stem
Ch 14.
Sc 13 starting from the second ch from hook. Sl st in the first ch of initial ch-15 (the first half of the stem). (13 sts)
Fasten off leaving a long tail for sewing.
Leaf
With green, ch 10.
Round 1. Sl st 1 in the first ch from hook, sc 1, hdc 1, dc 3, hdc 1, sc 1, sl st 1. Crocheting on the other side of initial ch, ch 1, sl st 1, sc 1, hdc 1, dc 3, hdc 1, sc 1, sl st 1.
Fasten off leaving a long tail for sewing.
Assembly
Sew the stem on your work. In my case, I attached my stem in the center of a simple circle granny square.
Attach the cherries by placing them over the last st of one end of the stem.
With a length of white, embroider a short st at the top, left corner of each cherry.
Sew the leaf to the top of the stem.
Fasten off and weave in your ends.
YOUR CROCHET cherry applique IS READY!
I hope you enjoyed this free crochet pattern, and I’d love to see your appliques! Please, share a pic of your work on Facebook and Instagram using the hashtag #raffamusadesigns!
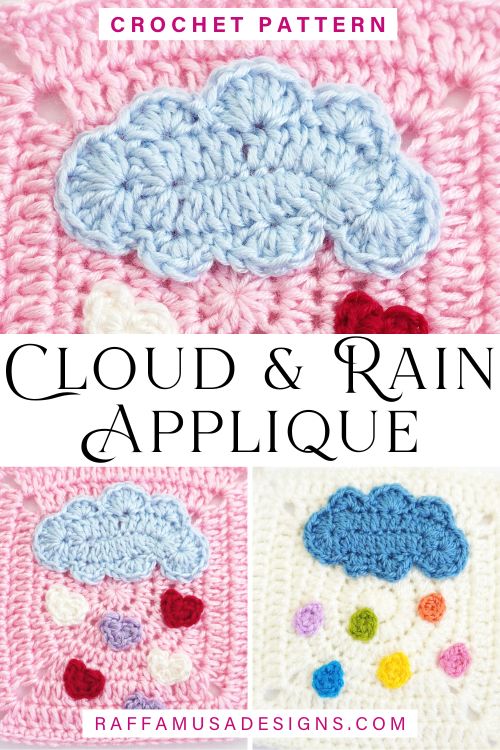
Find more crochet embellishments here on the blog…