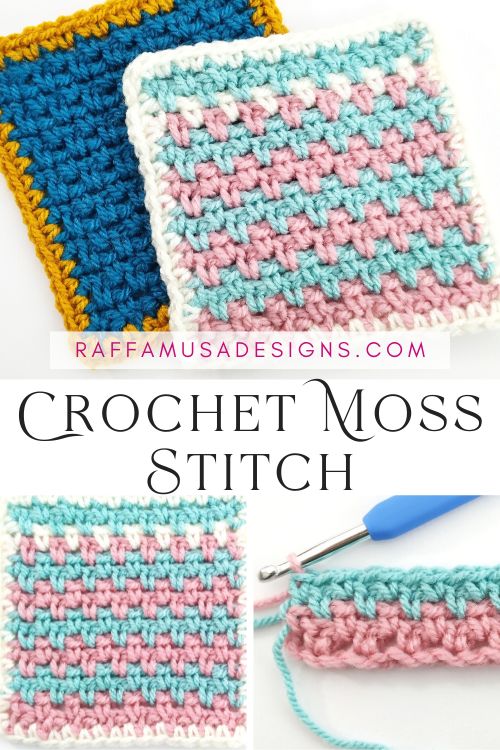
Learn the crochet moss stitch with this easy step-by-step tutorial.
Sometimes, the crochet moss stitch is also called linen stitch, granite stitch, or woven stitch.
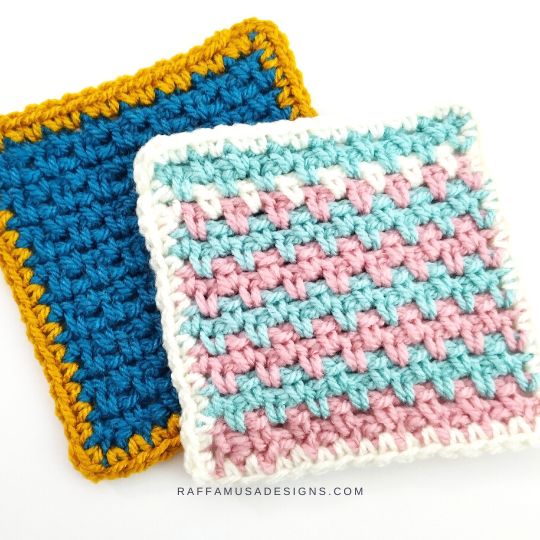
Whether you call it moss, linen, granite, or woven, the crochet moss stitch is one of the most popular crochet stitches.
The moss stitch is easy to crochet and creates a beautiful texture that both beginner crocheters and more advanced ones will enjoy.
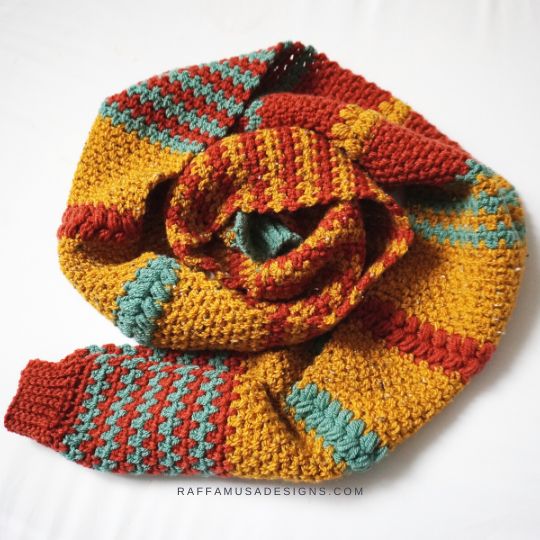
I recently used the moss stitch in multiple colors to crochet my Pumpkin Spice Scarf, so I wanted to share this quick tutorial on how to crochet the moss stitch in one single color and in multiple colors to create a striped pattern.
How to Crochet the Moss Stitch
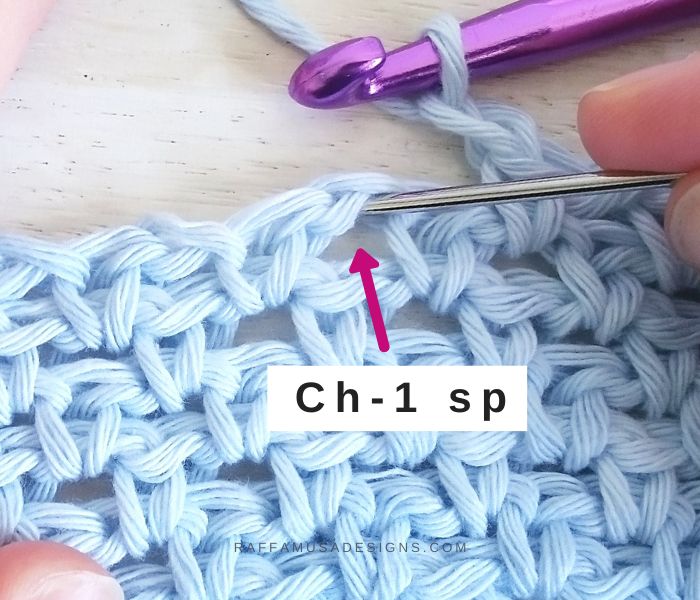
The moss stitch is a simple pattern that alternates single crochets and chain spaces. On each row, the single crochets go in the chain spaces from the previous row.
Remember that crocheting in the chain space (abbreviated as ch-1 sp in the patterns) means that you have to insert your hook in the hole or gap below the chain!
In this blog post, you’ll find the general crochet pattern for the moss stitch, the step-by-step tutorial, and the pattern chart.
Finally, we’ll take a look at how to crochet stripes using the moss stitch. In other words, we’ll see how to switch between two colors every two rows without cutting the yarn at each color change.
You can skip directly to the different sections by clicking on the links below:
- Moss Stitch Pattern
- Step-by-Step Moss Stitch Tutorial
- Moss Stitch Chart
- How to Crochet Moss Stitch in Multiple Colors
What to Crochet with the Most Stitch
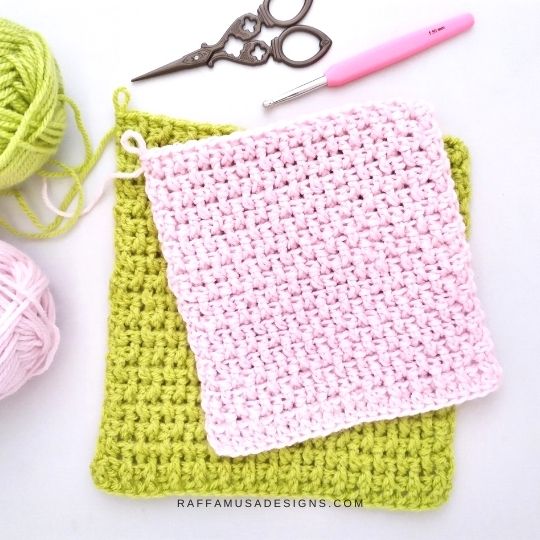
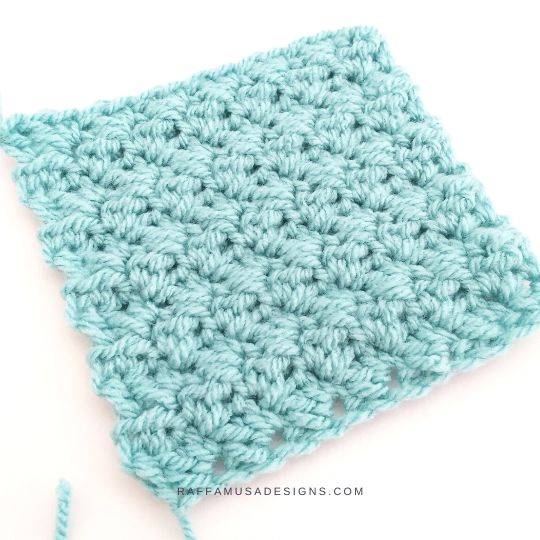
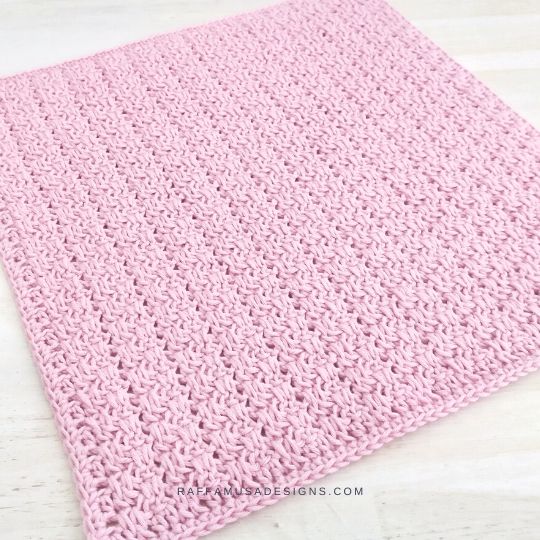
Because of the way it is crocheted, the moss stitch is a solid stitch without the bulk of many solid stitches. Instead, the moss stitch creates a light fabric with lots of drape and good stretching properties.
The properties of the moss stitch make it particularly good for crocheting a large variety of projects from blankets to garments and winter accessories, including scarves and hats, home decor projects, and so much more!
Find more beautiful crochet stitches here on the blog…
Save this crochet stitch tutorial for later by pinning it to your favorite crochet board using this pin!
Note: This post contains affiliate links. This means that if you purchase something through the links on my blog, I might earn a commission. This will not have any effect on the price you pay. For more info, please, see my Privacy Policy.
MATERIALS
- Yarn of choice
- Appropriate hook size (I suggest you go up 1 or 2 hook sizes compared to the one recommended on the yarn label)
For this tutorial, I used Aran-weight acrylic yarn (Paintbox Yarns Simply Aran) and a 6.0-mm (J/10 US, 4 UK) crochet hook.
ABBREVIATIONS (US TERMS)
- Ch – Chain
- Sc – Single Crochet
- Sk – Skip
- St – Stitch
- Yo – Yarn over
PATTERN NOTES
- If the pattern says “sc 2”, you have to crochet 1 sc in each of the next 2 sts.
- *… – Repeat the instructions from * for the indicated number of times.
- […] – Crochet the instructions within brackets all in the same indicated st.
Moss STITCH – Quick Pattern
Chain a multiple of 2.
Row 1. Sc 1 in the fourth ch from your hook, (ch 1, sk 1, sc 1) across.
Row 2. Ch 2 (counts as a turning ch and a ch-1 sp), turn. Sk first sc, sc 1 in next ch-1 sp, *ch 1, sk next sc, sc 1 in next ch-1 sp. Repeat from * across.
Repeat row 2 to grow your moss stitch project.
Crochet Moss STITCH – Step-by-Step Tutorial
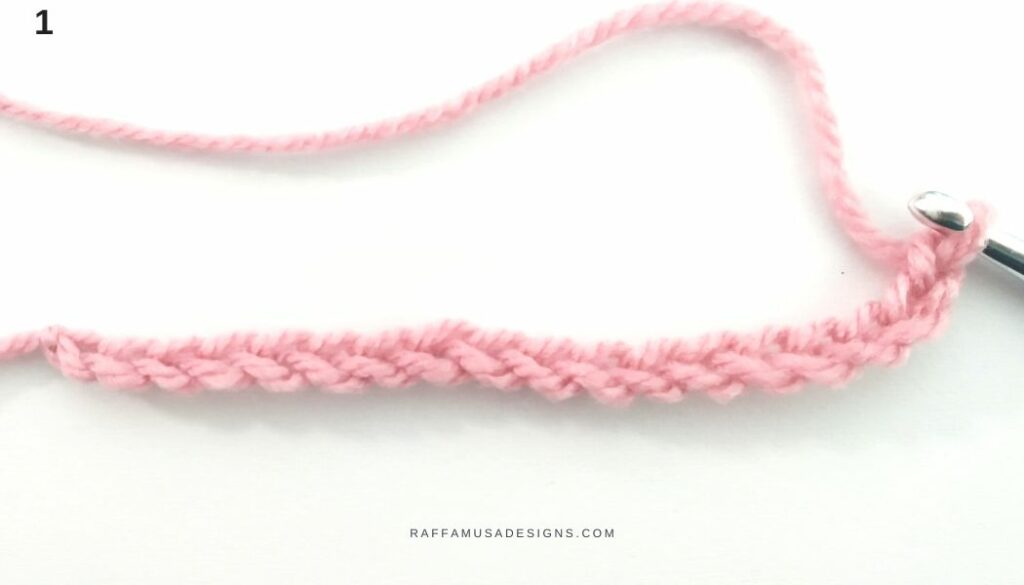
Step 1
Ch a multiple of 2.
For this tutorial, I started with a foundation chain of 18 (photo 1).
Step 2
Start the first row by making 1 sc in the fourth ch from your hook (indicated by the black arrow in photo 2). (photo 3)
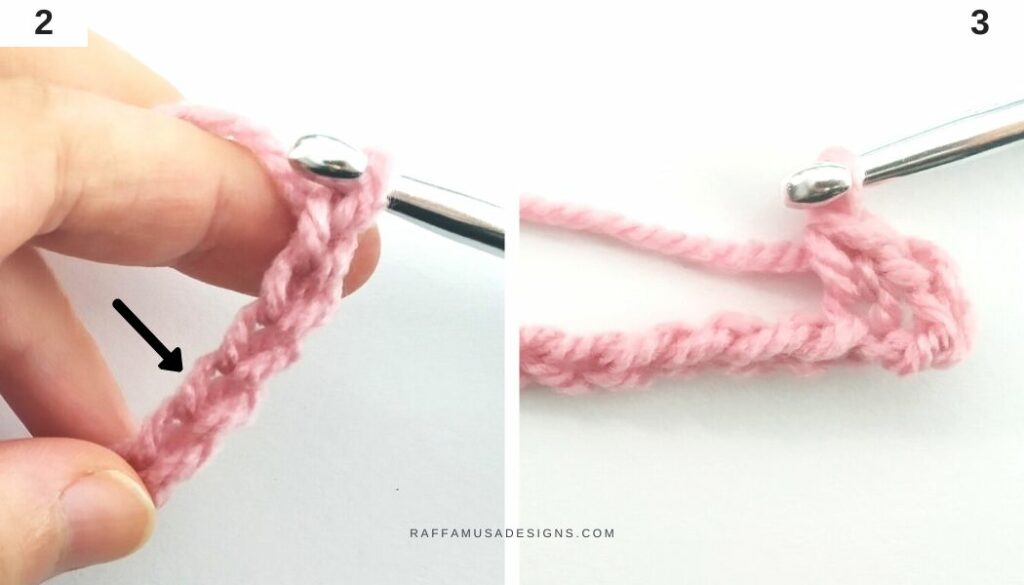
Step 3
Ch 1, sk 1, and sc 1 in the next ch (indicated by the black arrow in photo 4).
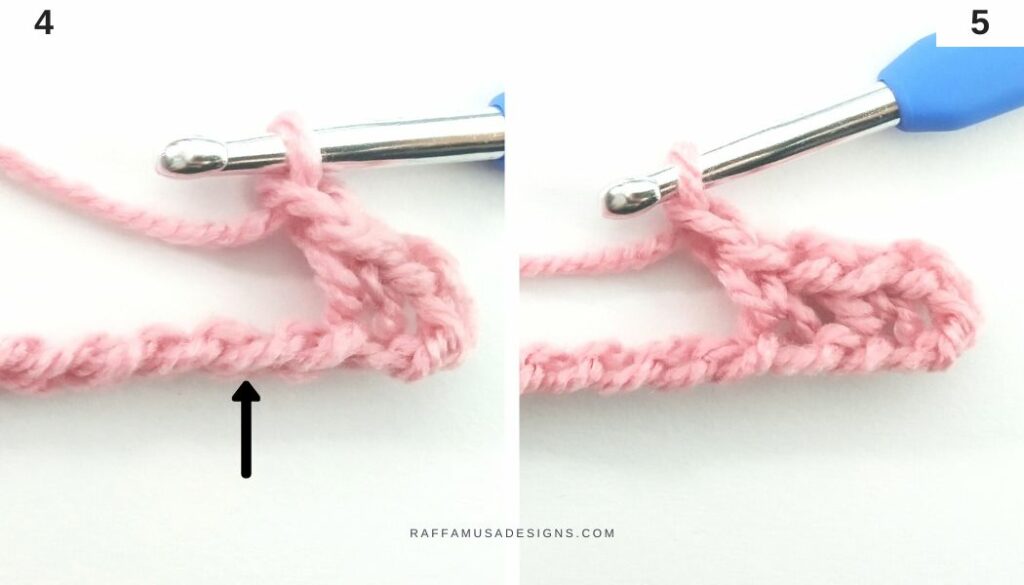
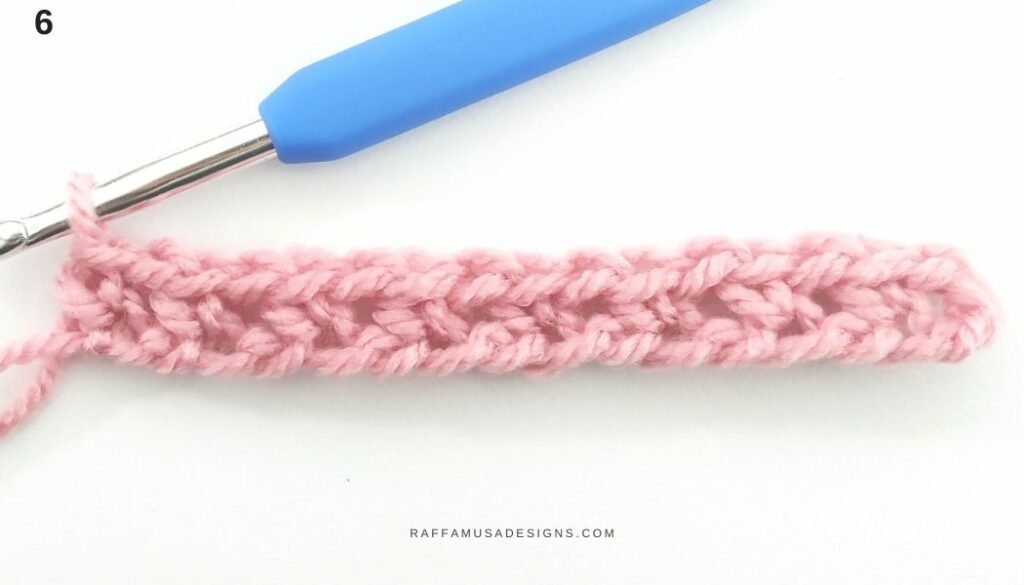
Step 4
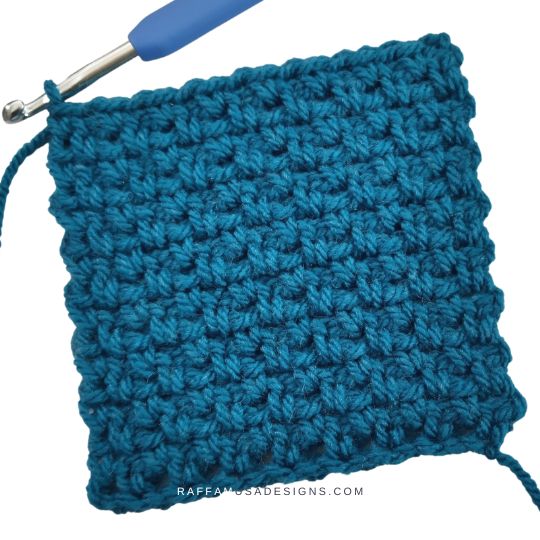
(Ch 1, sk 1, sc 1) until the end of the row (photo 6).
Step 5
To start row 2, ch 2 (these 2 chs count as a turning ch and a ch-1 sp), turn (photo 7). Sk the first sc, and sc 1 in the next ch-1 sp (indicated by the pink arrow in photo 7).
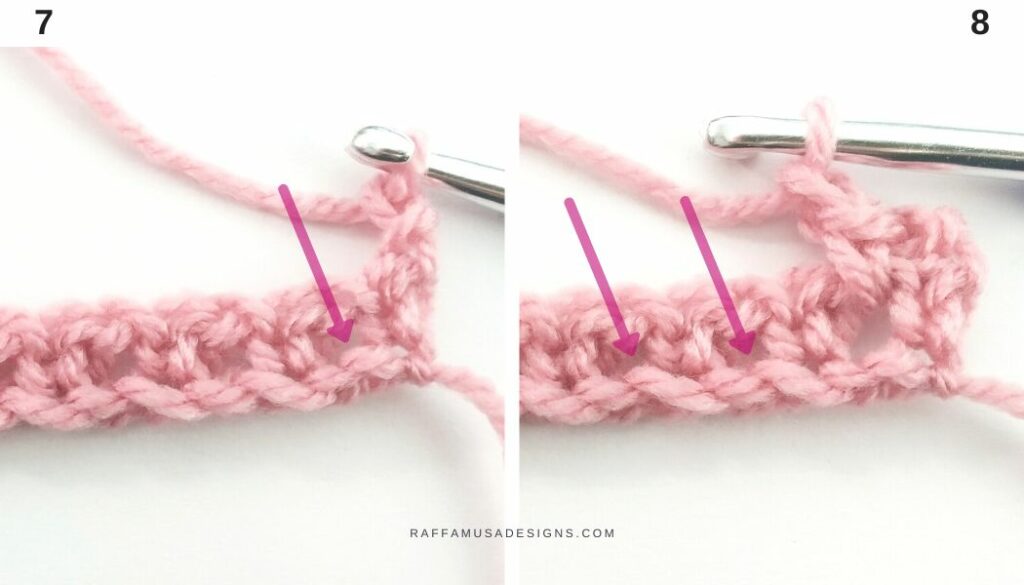
Step 6
(Ch 1, sk next sc, sc 1 in the next ch-1 sp (see pink arrows in photo 8)) until the end of the row (photo 9).

Repeat steps 5 and 6 to grow your moss stitch project.
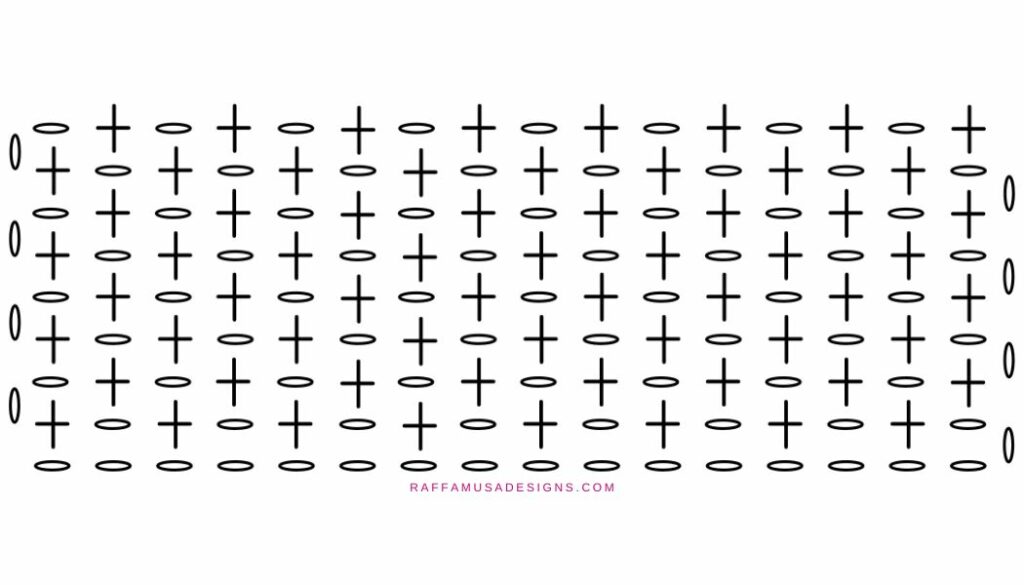
Crochet Moss STITCH – Stitch Chart
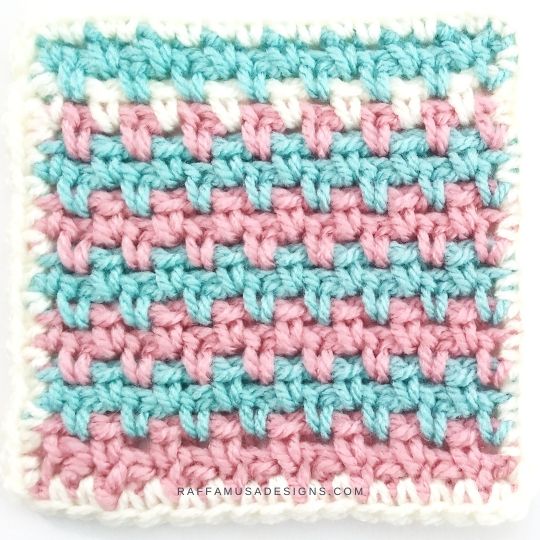
How to Crochet the Moss Stitch in Multiple Colors
The moss stitch looks beautiful in more than one color. For example, you could crochet a white and blue baby blanket with a navy theme, or play a little scrap-busting to make a scarf or a hat.
However, cutting the yarn at each color change would leave you with tons of ends to weave in, which is never fun.
That’s why I’d like to show you this simple way to crochet stripes with the moss stitch without cutting yarn but simply carrying it from one row to the next.
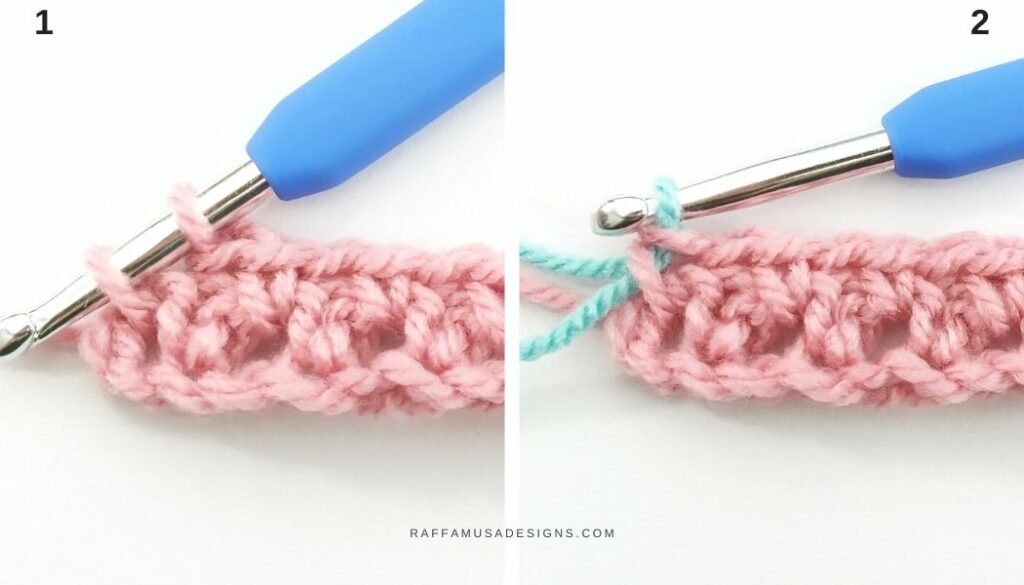
Step 1
Close the last sc of the last row in one color (color A) using the next color (color B).
To do so, insert your hook into the last ch-1 sp of the row, yo with A, pull up a loop (photo 1). Yo with B and complete the sc by pulling through both loops on your hook (photo 2).
Step 2
Crochet the next two rows using B.
Step 3
When you get to the last sc of the second row in B (photo 3), insert your hook into the last ch-1 sp (photo 4).
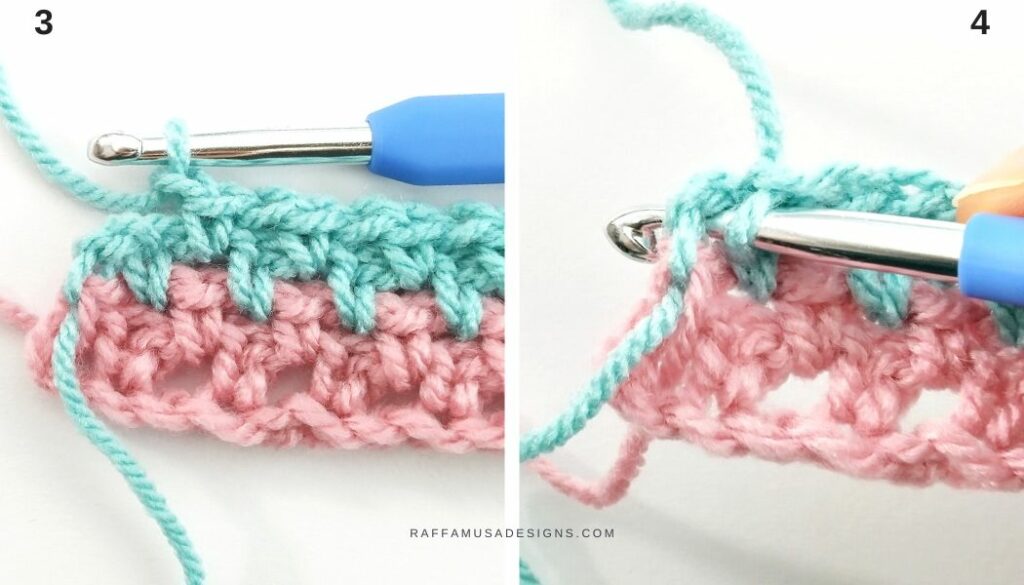
Step 4
Wrap yarn A around your hook as for a yo (photo 5). Then, yo with B too (photo 6).
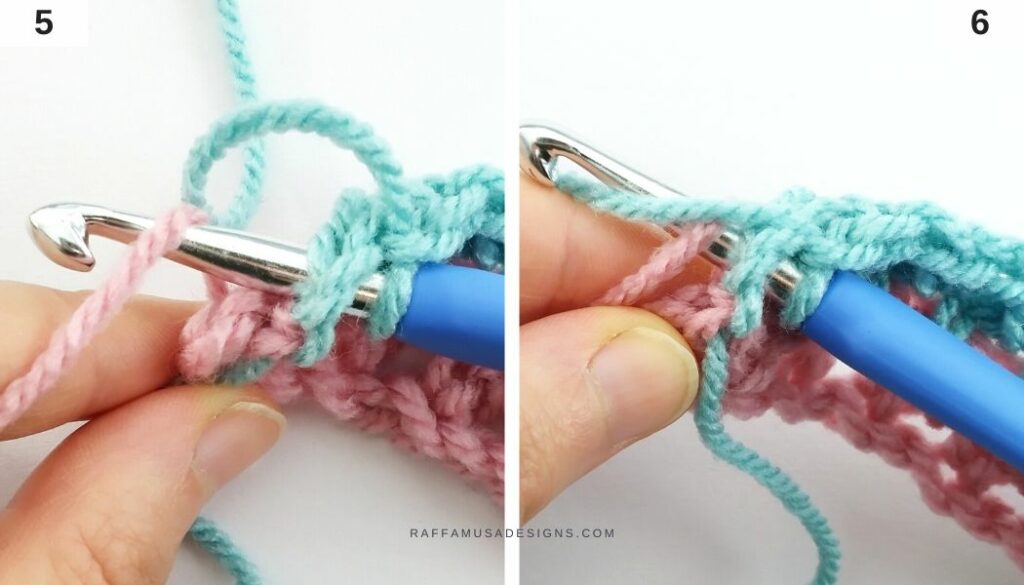
Step 5
Leaving A on the back of your work, pull up a loop using B (photo 7). Then, yo with A (photo 8).
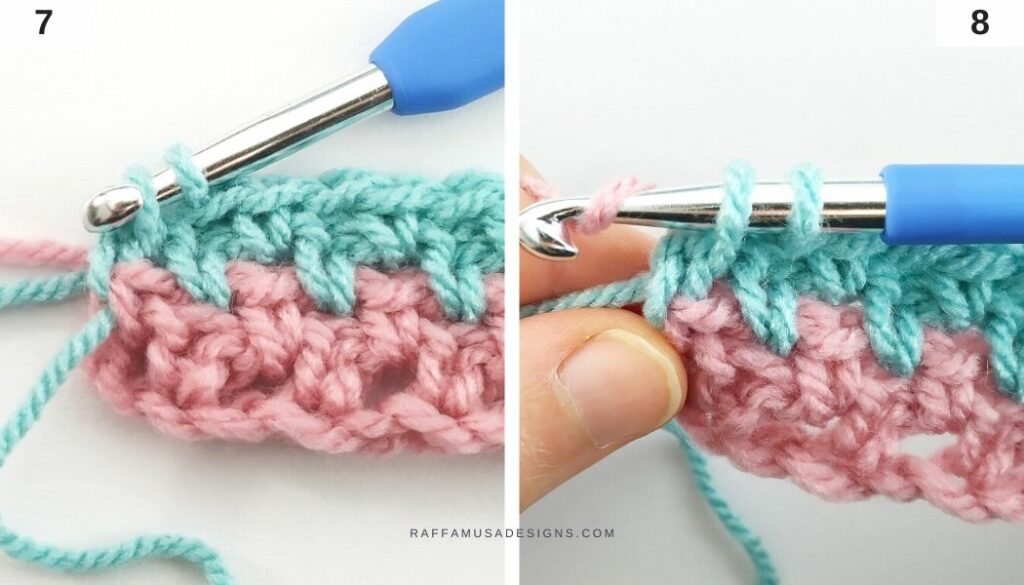
Step 6
Pull through both loops on your hook using A (photo 9).
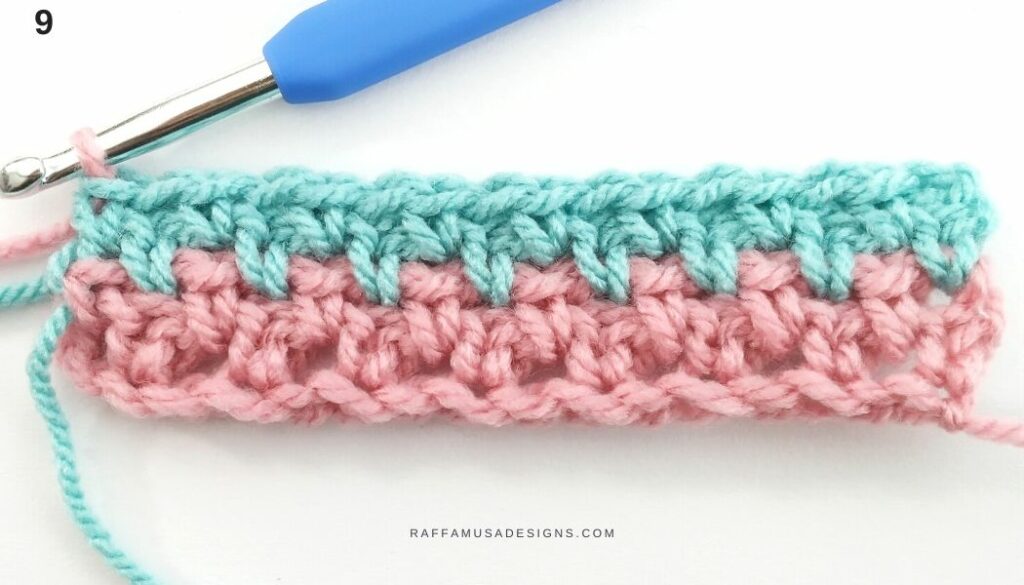
Repeat steps 2 to 6 to crochet the moss stitch with a striped pattern.
I hope you enjoyed this step-by-step tutorial on how to crochet moss stitch!
I’m looking forward to seeing your creations using the moss stitch! Please, share a pic of your work on Facebook and Instagram using the hashtag #raffamusadesigns!
Find more crochet stitch tutorials here on the blog…