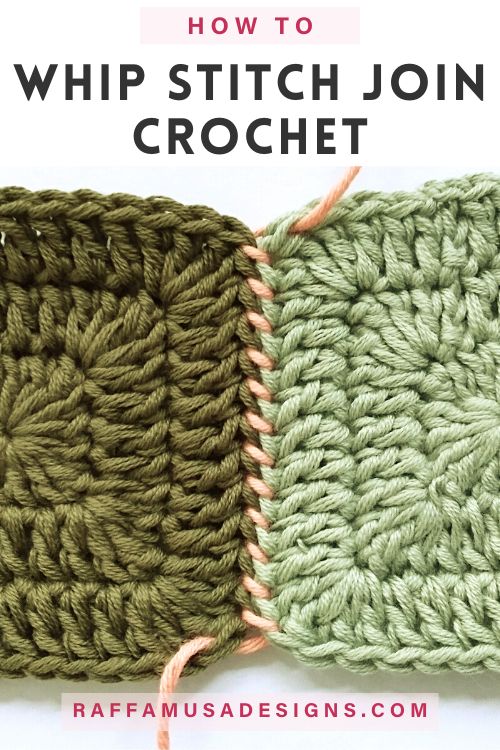
Learn how to whip stitch join granny squares and crochet pieces together with this step-by-step tutorial!
Note: this post contains affiliate links. If you purchase something through the links on my blog, I might earn a commission. This will not have any effect on the price you pay. For more info, please, see my Privacy Policy.
What is the whip stitch?
The whip stitch (or whipstitch as a single word) is a durable sewing stitch that is used for joining two pieces together while creating a nice pattern at the edge.
You can really join anything with the whip stitch, from crochet or knit pieces to fabric panels.
The whip stitch is also used in quilting and leatherwork, and it works great for clothing alterations (think hems for example) or appliques because it prevents the cut edges of fabric from fraying.
What do you use the whip stitch for in crochet?
In crochet, you can use the whip stitch for many things, including:
- join granny squares or afghan blocks to make blankets and throws;
- seaming Amigurumi parts together;
- joining pillow panels;
- sewing the panels of garments.
Can you whip stitch with a crochet hook?
The short answer is that you cannot whip stitch with a crochet hook. The whip stitch is a hand-sewing technique that you do with a needle!
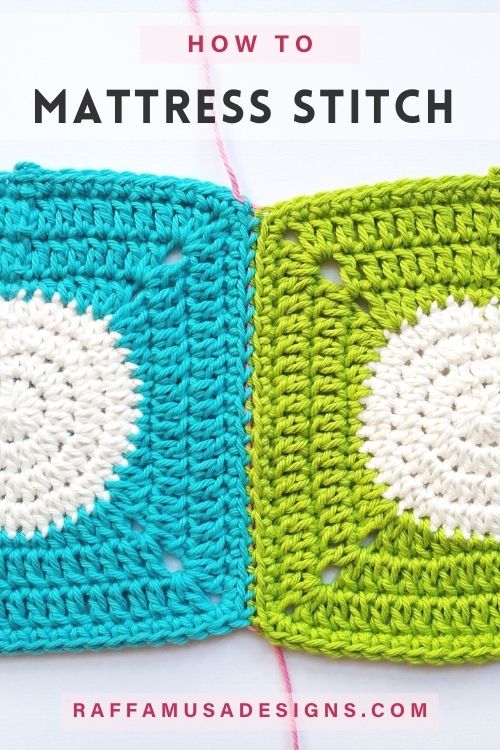
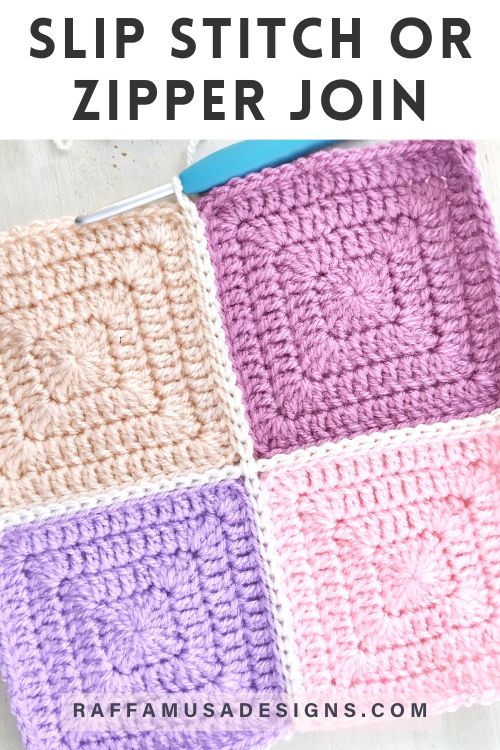
If you really dislike seaming your crochet pieces together, explore the joining methods that you can do with a crochet hook in this article HERE.
If you decided to give the whip stitch a try, yay! Let’s take a look at the materials we’ll need.
Materials
- Two crochet pieces to join. In this tutorial, I’m joining a few solid granny squares;
- A tapestry needle (or yarn needle);
- A length of yarn that is about twice the length of the seam you need to make.
Notice that for this tutorial, I am whipstitching with a contrasting yarn color, so that my seam is clearly visible. However, you can use a neutral color for a more invisible seam!
How to Whip Stitch Join Crochet
Step 1
Lay your crochet pieces with the sides you want to seam next to each other and with the right side facing up.
In the example in the picture below, you can see my two solid granny squares. The long arrow in the middle shows you the direction that we’ll follow for whipstitching.
The two small arrows at the corners indicate the two treble stitches where we’ll start joining!
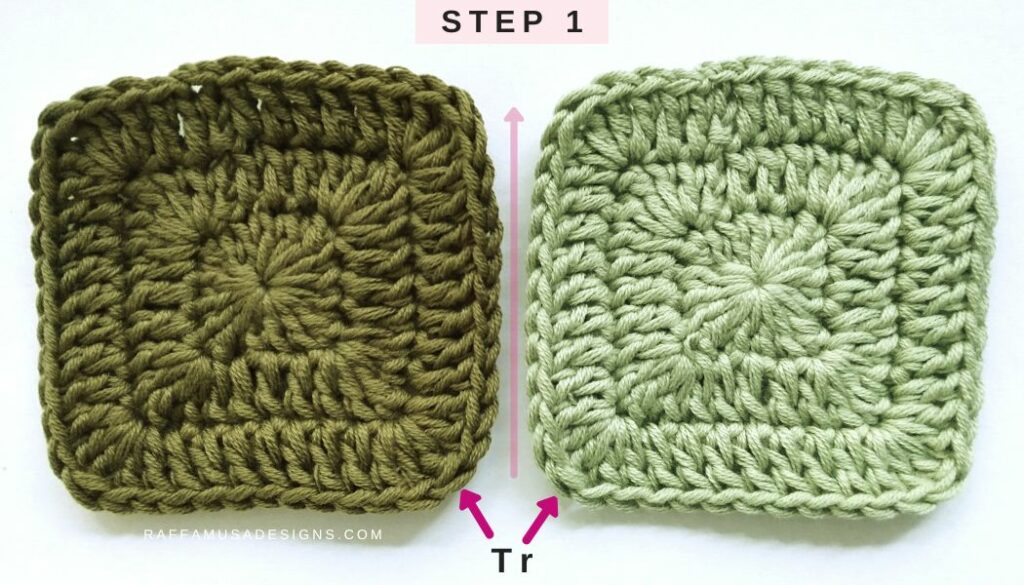
For a straight and neat seam, make sure to alight your pieces so that you’ll always join the corresponding stitches on the two panels.
Pro Tip
If you’re joining the raw edges of panels that you worked in rows (i.e. turning your work at the end of each row), every 5-6 rows, use a clip or a stitch marker to hold the corresponding rows together!
Step 2
Thread your needle with the length of yarn you chose for sewing, and insert it through the corresponding stitches on both squares from left to right, as shown in the left panel of the picture below.
Then, pull the yarn making sure to leave a short end for weaving in later.
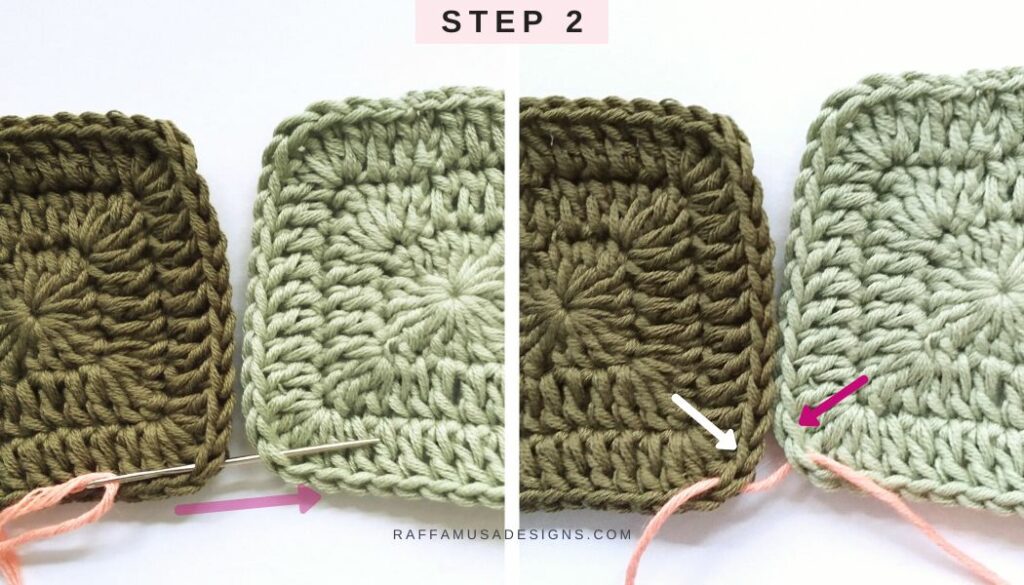
You can also insert your hook from right to left if you prefer. The important thing is to always keep the same direction of sewing throughout!
Step 3
Move to the next set of stitches (the ones indicated by the arrows on the right panel of the picture for step 2). Insert the needle through both stitches from left to right, and pull the yarn.
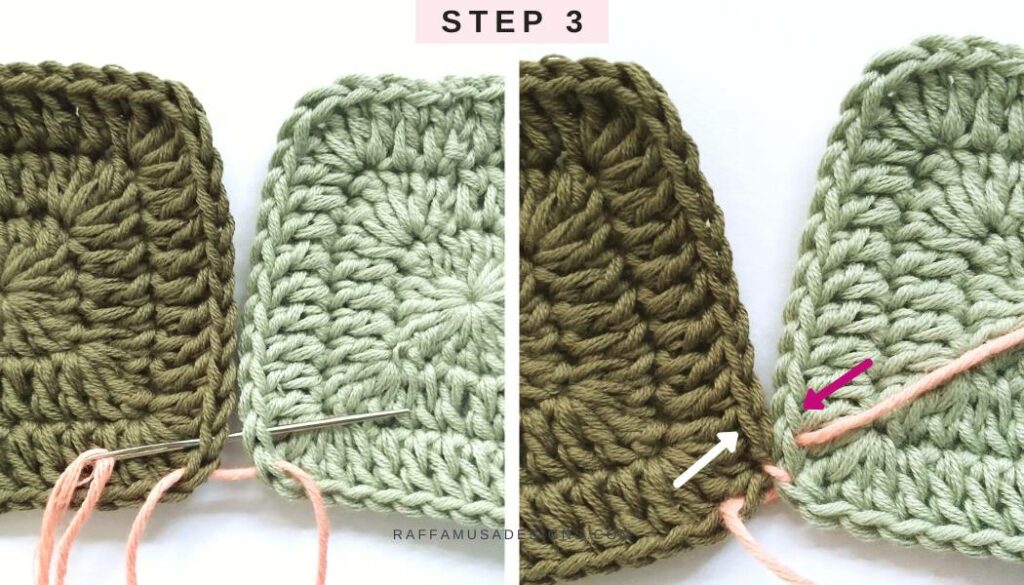
N.B. Contrary to the mattress stitch, where you can tighten the seam every few stitches, for the whip stitch, it is important to pull the yarn as you go!
Step 4
Repeat step 3 for the next pair of stitches, and for all the remaining ones.
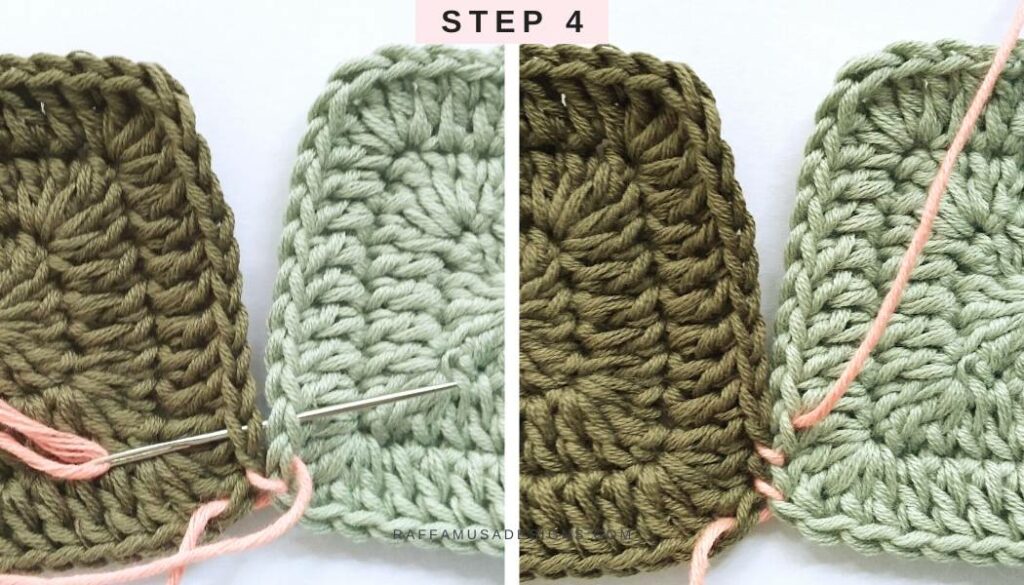
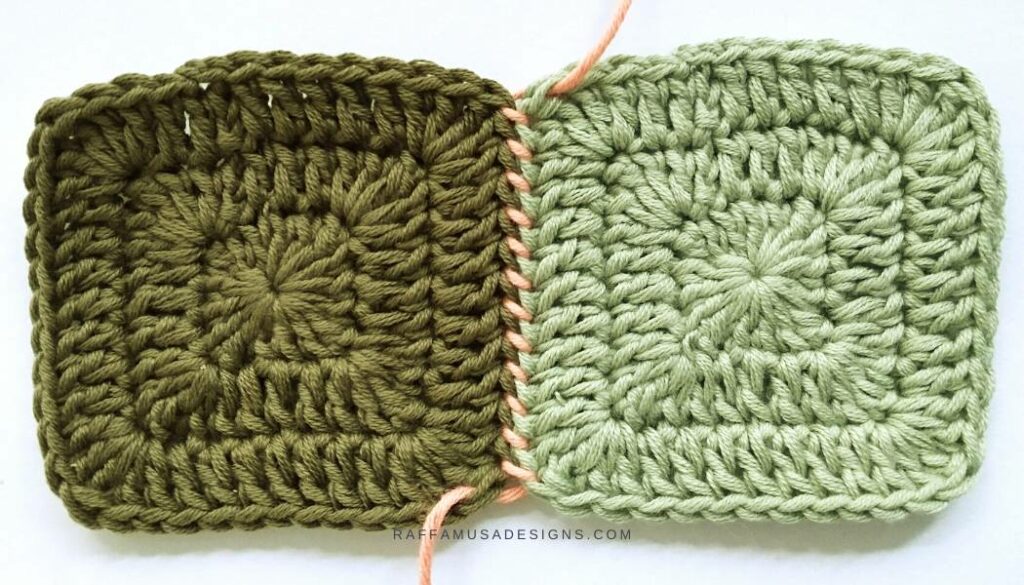
When you’re done whipstitching your panels together, your seam will look like the one shown below.
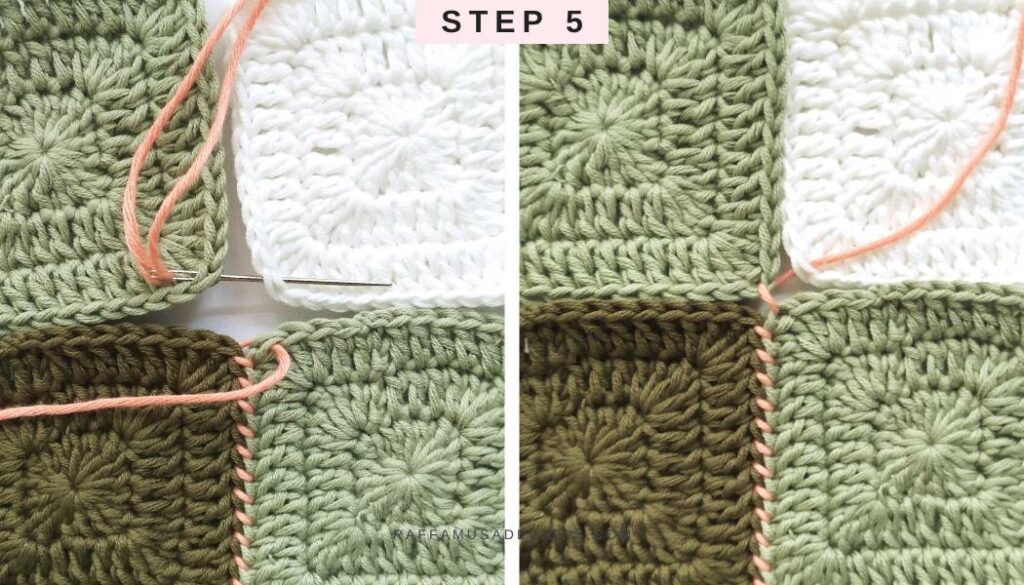
Step 5
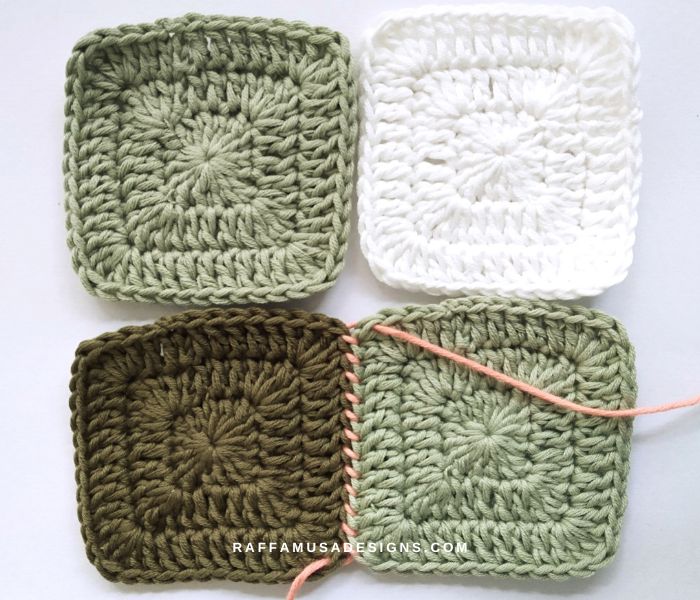
If you’re joining granny squares, you’ll probably want to seam more than two squares.
To keep joining more squares, place the two new squares next to each other with the sides to seam aligned with the seam you already made.
Then, continue to whipstitch starting from the corresponding corners and moving all the way up, as you did for the first two squares.
Step 6
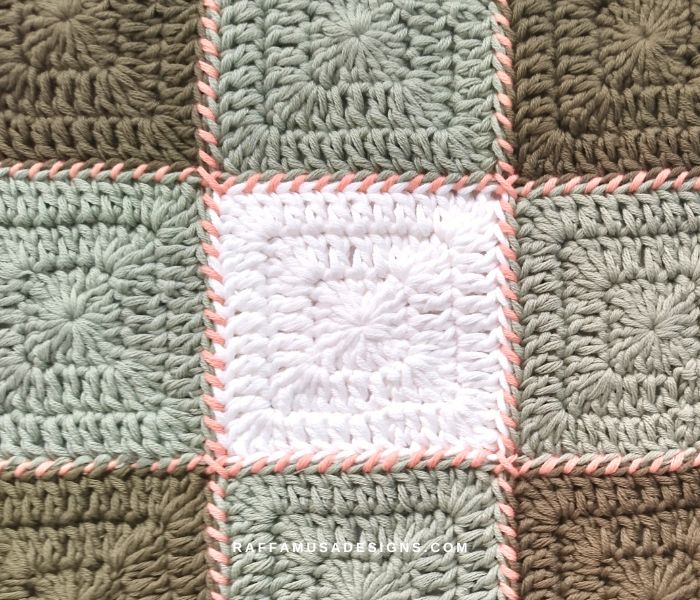
Once you’re done seaming squares in one direction, repeat the same steps to join the squares in the perpendicular direction (indicated by the arrow in the photo below).
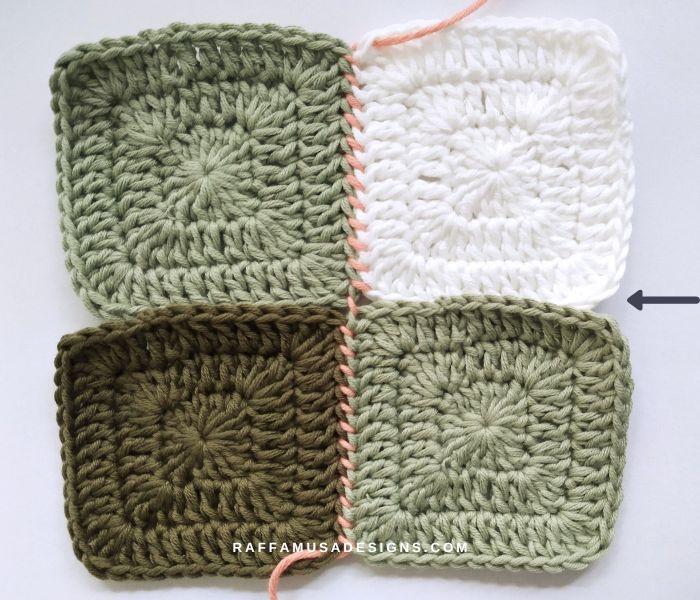
One thing that I really love about joining squares with this method is the little cross stitch that the whip stitch creates at the intersection of four squares!
I HOPE THAT YOU ENJOYED THIS FREE TUTORIAL ON how to join crochet pieces with the whip stitch JOIN!
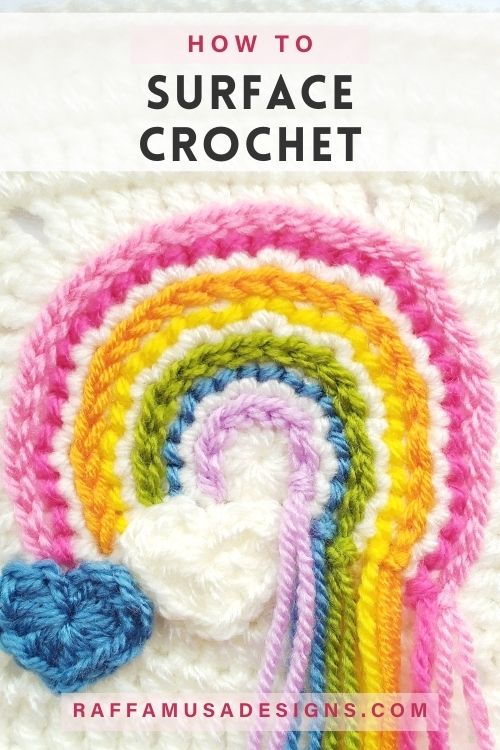
Find more crochet techniques and free tutorials here on the blog…