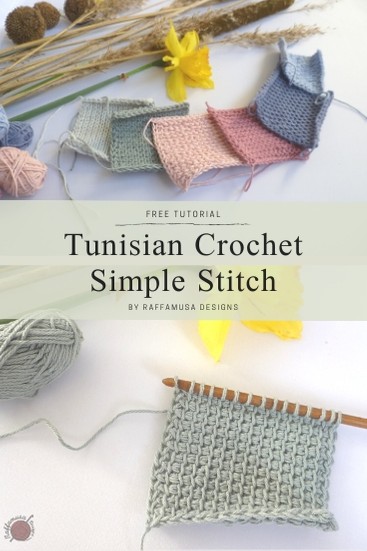
The Tunisian Crochet Simple Stitch is the first basic stitch to learn when you’re getting started at Tunisian crochet.
The Tunisian crochet simple stitch is often referred to as the Tunisian stitch or the Afghan stitch.
I personally find both names rather confusing. What they seem to imply is that there is only one Tunisian crochet stitch in the entire world. Instead, there are so many Tunisian stitches and so many textures that you can create!
However, although Tunisian stitch and Afghan stitch are not my favorite names, just keep them in mind. Most probably, they are referring to the Tunisian Simple Stitch.
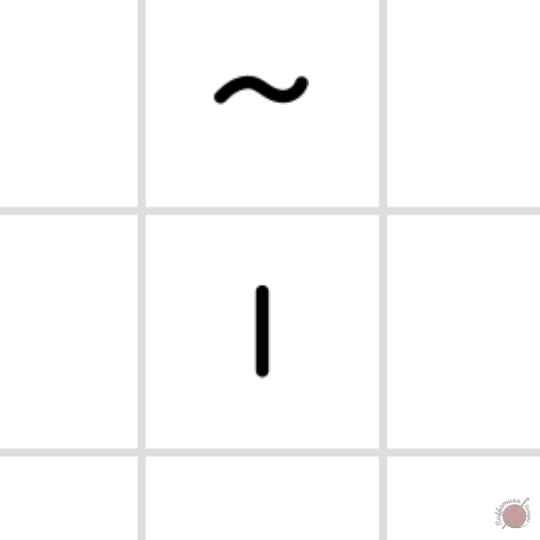
The official abbreviation of the Tunisian Simple Stitch is Tss and here below you can see its official chart symbol. Actually, the vertical bar indicates the Tss, and the little wave on top is just telling you to close that stitch with a standard return pass.
About this Tutorial
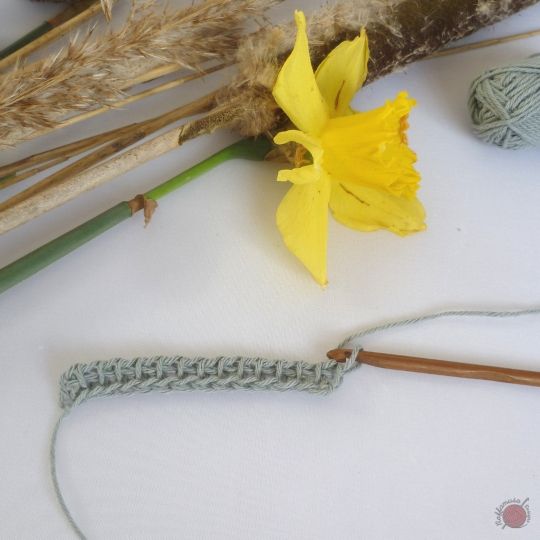
This tutorial starts with a foundation row of 15 sts. This is exactly where we ended with my previous post on how to make a Tunisian crochet foundation row.
If you missed it, I suggest you go back to my previous tutorial and learn everything about the foundation row. You can then join me back here.
If you have your foundation row ready, go ahead and learn how to make a Tunisian crochet simple stitch.
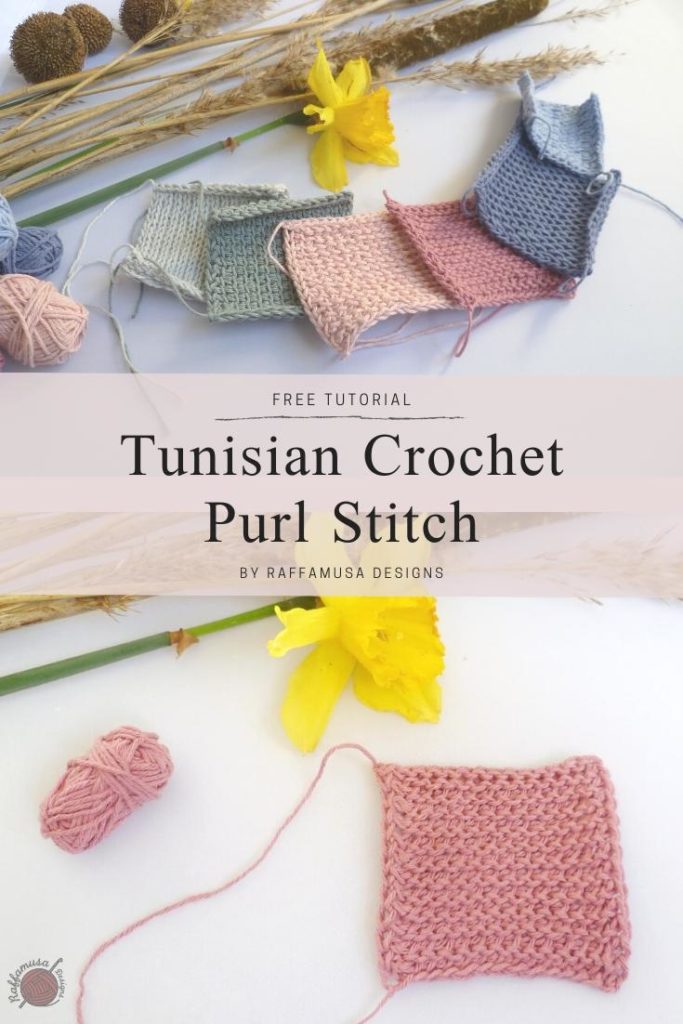
Pin the free tutorial of the Tunisian Simple Stitch to your favorite Tunisian crochet board on Pinterest!
Materials
– Yarn of choice. In this tutorial, I used some sport-weight yarn.
– Regular crochet hook without big handles.
My rule of thumb with Tunisian crochet is to go at least one hook size up compared to regular crochet. So, while for regular crochet, I would use a 3 mm (11 UK) or 3.5 mm (E/4 US, 9 UK) hook, I here used a 4.5 mm (7 US) crochet hook.
Abbreviations (US Terms)
- Ch – Chain
- Sk – Skip
- Sl St – Slip Stitch
- St – Stitch
- Tss – Tunisian Simple Stitch
- Yo – Yarn Over
Tunisian Crochet Simple Stitch – Step-by-Step Tutorial
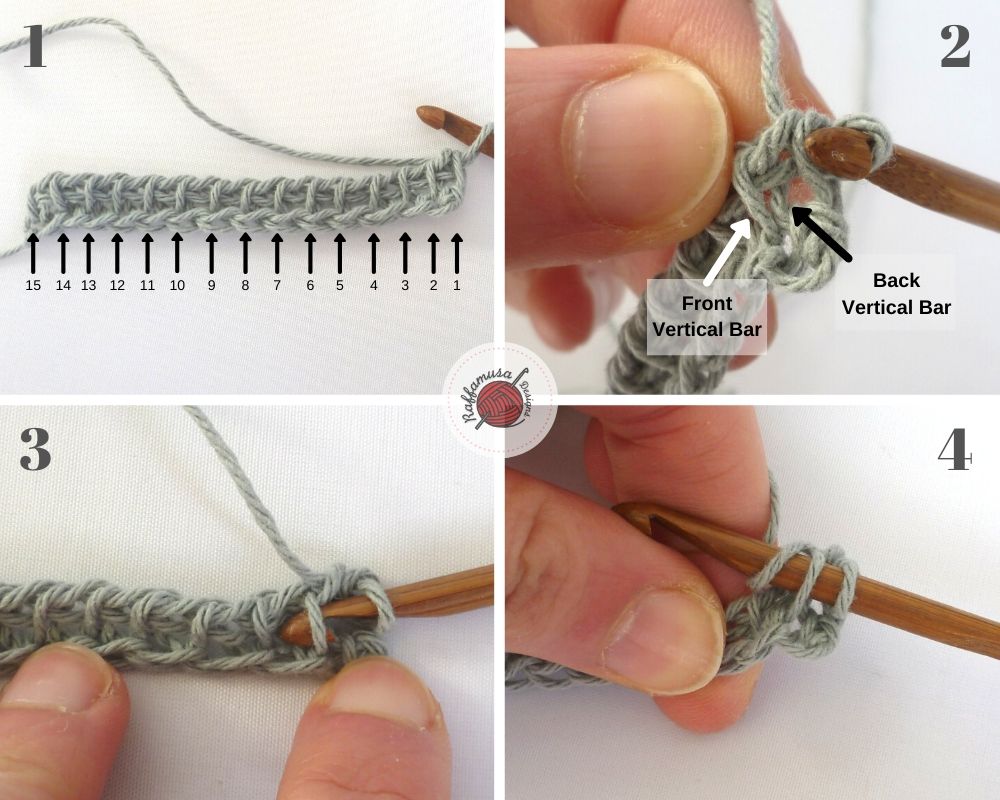
Step 1. Start a foundation row with any number of stitches. For this tutorial, I made a foundation row with 15 sts.
Step 2. Look carefully at the anatomy of the stitches in your foundation row. You’ll see that in each stitch, there is a front vertical bar and a back vertical bar.
Also, notice how the loop on your hook is directly above the very first vertical bar of the foundation row.
The very first vertical bar is slightly different than the rest of the stitches. So, it is worthwhile taking a quick look and learn some important facts about that first stitch.
Quick Facts about the Very First Vertical Bar
- The first vertical bar is your first stitch.
- The first vertical bar is normally included in the total stitch count of a pattern. So, in the example of this tutorial, our stitch count is 15 sts.
- When starting a new row, you always skip the very first vertical bar from the previous row. That’s because the loop that you have on your hook already counts as your first st.
After this small parenthesis, let’s move on and actually make a Tunisian crochet simple stitch.
Step 3. Insert your hook under the second vertical bar with a movement from right to left (when you are right-handed). The hook always stays on the right side of your work.
Step 4. Yarn over.
Step 5. Draw the yarn over through the vertical bar.
Step 6. Repeat steps 3-5 for each stitch until you reach the very last vertical bar.
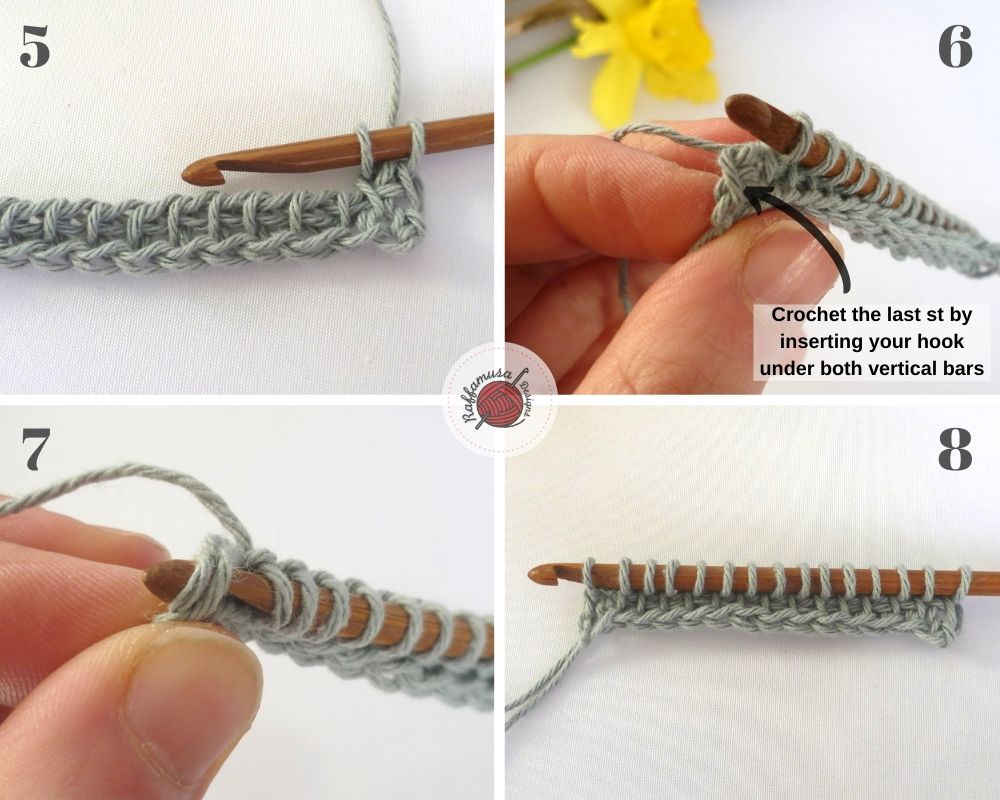
Step 7. For a neater edge, crochet the last stitch by inserting your hook under both loops of the last stitch.
Step 8. Once you have all your stitches on your hook, it is time for a standard return pass.
How to Make a Standard Return Pass
For more details about the standard return pass, you can take a look at this blog post.
In short, yarn over and pull through one loop on your hook, *yarn over and pull through two. Repeat from * until you have only one loop remaining on your hook.
Keep repeating Steps 3-8 to grow your project bigger and bigger!
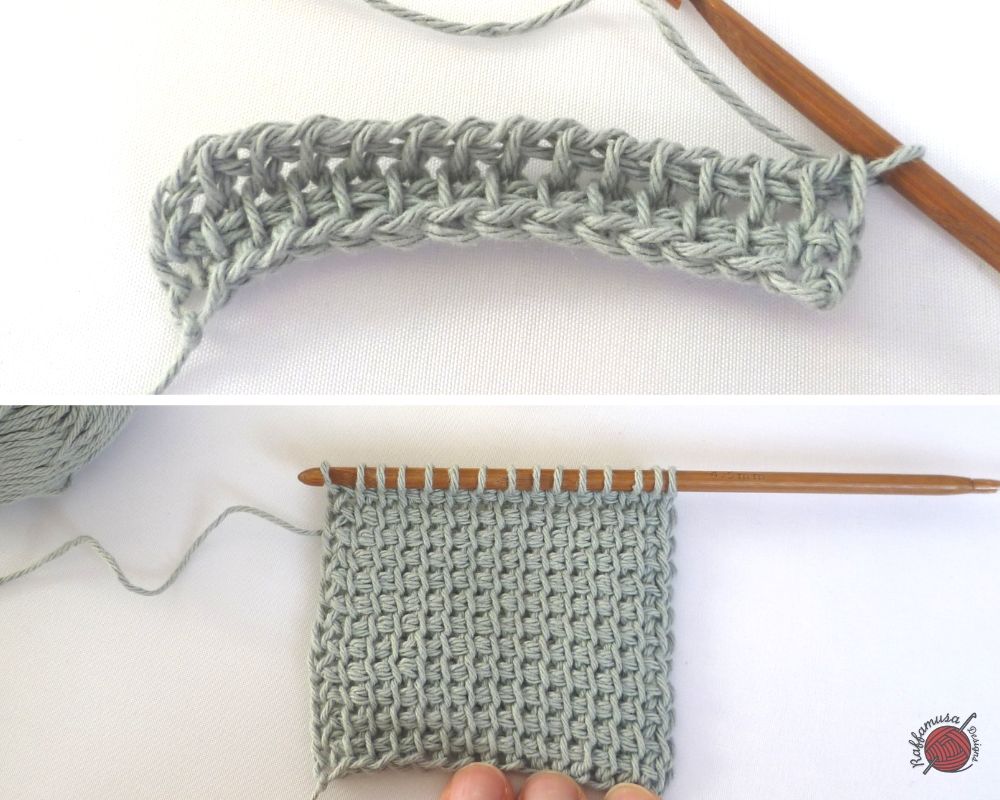
You just learned to crochet the Tunisian Simple Stitch!
I hope you enjoyed this stitch tutorial. Please, do not hesitate to contact me if you need any help or support. I am looking forward to seeing all your beautiful makes on Facebook and Instagram!
Find more Tunisian crochet stitch tutorials in my Tunisian Stitch Library!
And THEN ..
😀