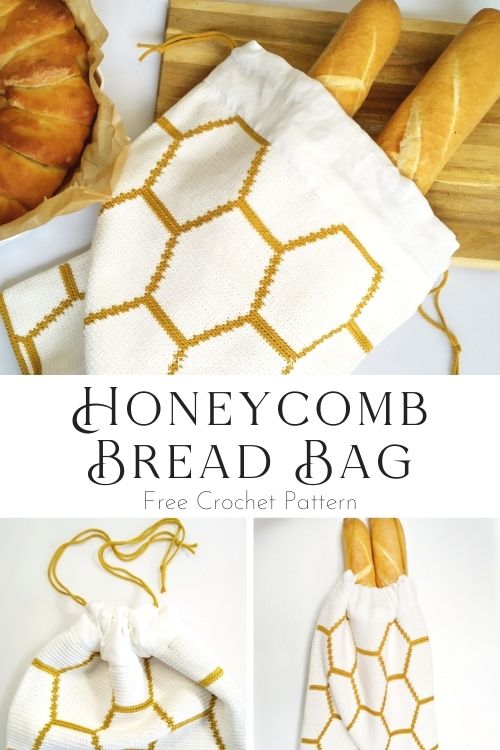
The tapestry crochet Honeycomb Bread Bag is a cozy and warm drawstring bag for storing your bread and keeping it fresh and crunchy!
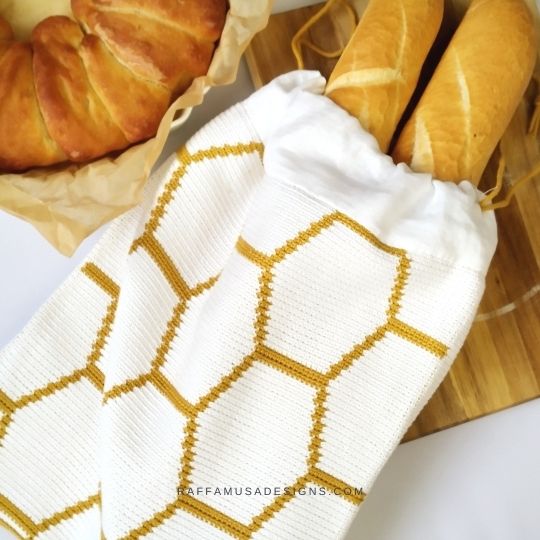
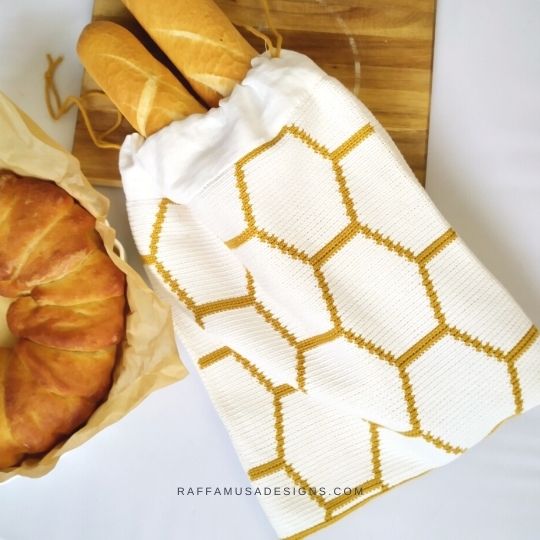
I got the idea of crocheting a bread bag from my mum, who always stores her bread inside paper bags that she keeps inside a fabric bag.
I know that it sounds like a lot of bags, but it works!
The bread is tightly closed but it still can “breathe”, and it won’t get soggy, or chewy the next day, or as hard as a stone.
Honeycomb motif
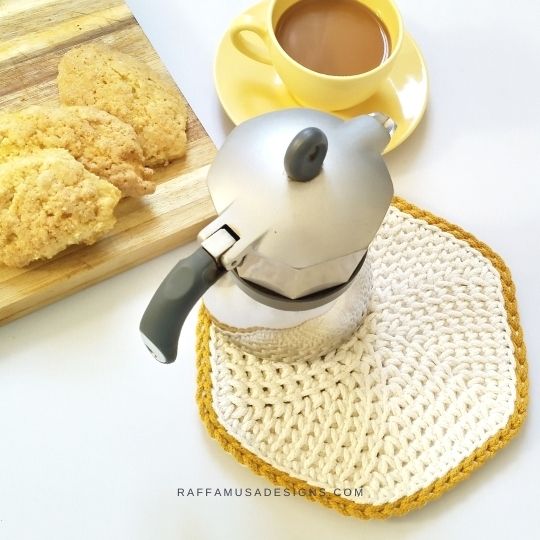
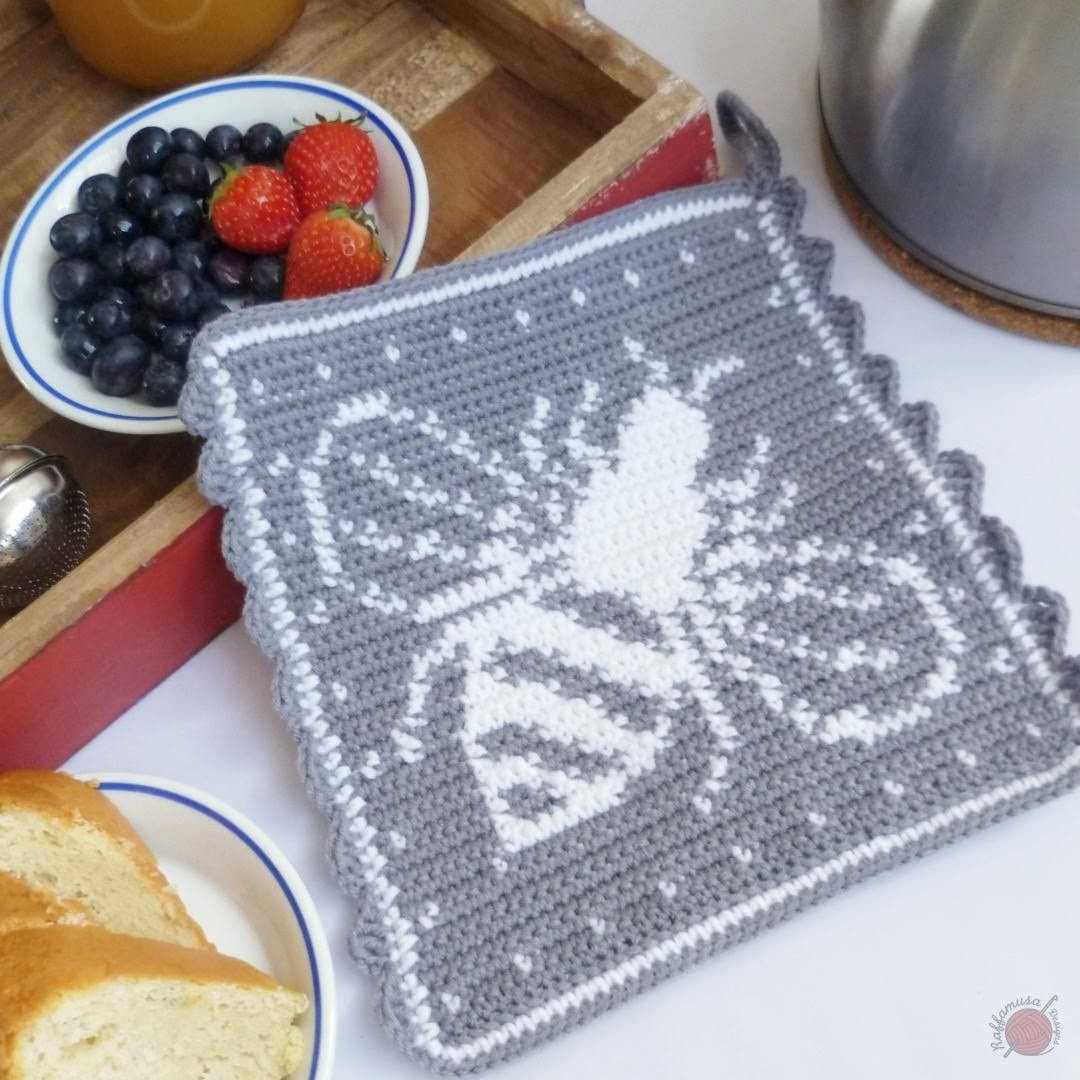
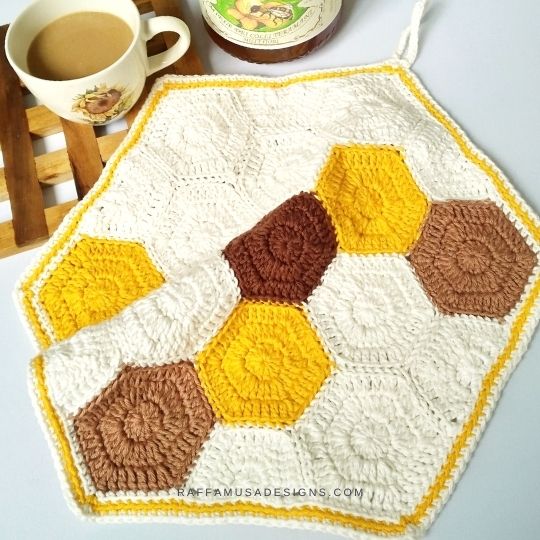
This pattern is the latest entry in a series of hexagon-, bee-, honeycomb-inspired patterns for the kitchen decor.
You might have seen already a few of them, for example:
- this Hexagon Trivet;
- the tapestry crochet Bee Potholder;
- or the Honeycomb Dishcloth.
And there are a few more that are already on the blog, or that I’ll share soon. So, maybe, I’ll write a roundup with all of them.
In the meantime, I hope you’ll enjoy this Honeycomb Bread Bag pattern!
To crochet my bag, I used Katia Fair Cotton for the main, background color, and some leftover Rio Lammys Yarns for the honeycomb motif.
These two yarns work very well together, even though Katia Fair Cotton is way softer. So, of course, it would have been best to use the same yarn for the entire project.
But I was trying to use up my yarn stash. Hence, the mixing.
A bit of Sewing
Making this drawstring bag requires a few basic sewing skills.
You won’t need to be an exceptional sewer, just a few sewing skills are enough!
I found this video that Lou Davis shared on her YouTube channel very useful. Moreover, in the PDF pattern, you’ll find step-by-step photos that can be helpful too!
Add this pattern to your Ravelry queue HERE (and favorite it!). Or save it for later by pinning it on Pinterest with this Pin!
Note: this post contains affiliate links. This means that if you purchase something through the links on my blog, I might earn a commission. This will not have any effect on the price you pay. For more info, please, see my Privacy Policy.
AD-FREE PRINTABLE PATTERN
The ad-free, printable PDF pattern of the Honeycomb Bread Bag includes the pattern color chart and step-by-step photos on how to add the lining! Get your copy on Ravelry, LoveCrafts, or Etsy!


Materials
- 3.0-mm (C USA, 11 UK) Hook
- Sport Weight (2 Fine) Yarn
- Tapestry Needle
- Sewing Needle
- One Stitch Marker to Work in the Round
- Lining fabric, Pins, Sewing Thread
- 72″ (182 cm) of cord
Yarn & Yardage
I used the following yarns and colors:
- A – Katia Fair Cotton, Off-White (3) – 510 yds, 465 m (3 balls)
- B – Lammy Yarns Rio, Yellow Ochre (846) – 69 yds, 63 m (half a ball)
Yarn Substitutions
- DMC Natura Just Cotton, which you can get on LoveCrafts and it’s really the best substitute for Katia Fair Cotton!
- Schachenmayr Catania (not as soft but will work perfectly!)
Abbreviations (US Terms)
- BLO – Back Loop Only
- Ch – Chain
- Sc – Single Crochet
- Sk – Skip
- Sl St – Slip Stitch
- St – Stitch
- Yo – Yarn Over
Special Stitches
Back Loop Only (BLO)
Learn how to crochet in the back loop only HERE.
Invisible Join
Find a tutorial on how to make an invisible join HERE.
TAPESTRY CROCHET & INVISIBLE COLOR CHANGES
- Find a guide to step-by-step guide to flat tapestry crochet HERE
- Learn how to make invisible color changes in tapestry crochet HERE.
Size
- Crochet Bag – 12.5” (32 cm) by 13.5” (34.5 cm)
- Final Size – 12.5″ (32 cm) by 16.3″ (41.5 cm)
Gauge
27 BLO Sc for 22 rows in 4″ (10 cm) worked in tapestry crochet with 2 strands of yarn.
Pattern Notes
- Except for rounds 1-2, always crochet BLO sc!
- If the pattern says “A5”, you need to BLO sc using A into each of the next 5 sts.
- (…) – Repeat the instructions within brackets for the indicated number of times.
- […] – Crochet the instructions within brackets all into the same indicated st.
- Find the written instructions on page 2 and the color chart on page 3.
Construction
This bag is made in two parts:
- The crochet bag is worked in tapestry crochet in the round using two strands of yarn.
- The drawstring lining is sewn and attached to the crochet bag.
Tapestry Crochet Honeycomb Bread Bag – Free Pattern
Crochet Bag
A color chart of the pattern is available in the PDF pattern!
With B, ch 86.
Round 1. (B) [Sc 2] in the second ch from hook (mark the first st with a st marker), sc 83, [sc 3] in the last ch.
For reference, mark the second of the 3 sc sts with a st marker. This will help you keep the right st count throughout the pattern!
Working on the other side of the initial ch, sc 83, sc 1 more st in next ch (where you worked the first 2 sts). (172 sts)
Round 2. (B) sc 172 (working regular sc sts).
Start carrying A, and from here on, work all sts as BLO sc!
Round 3. (A) 16, (B) 2, (A) 14, (B) 2, (A) 22, (B) 2, (A) 14, (B) 2, (A) 98.
Round 4. (A) 17, (B) 16, (A) 24, (B) 16, (A) 99.
Round 5. Repeat round 4.
Round 6. (A) 16, (B) 2, (A) 14, (B) 2, (A) 22, (B) 2, (A) 14, (B) 2, (A) 98.
Round 7. Repeat round 6.
Round 8. (A) 15, (B) 2, (A) 16, (B) 2, (A) 20, (B) 2, (A) 16, (B) 2, (A) 97.
Round 9. Repeat round 8.
Round 10. (A) 14, (B) 2, (A) 18, (B) 2, (A) 18, (B) 2, (A) 18, (B) 2, (A) 96.
Round 11. Repeat round 10.
Round 12. (A) 13, (B) 2, (A) 20, (B) 2, (A) 16, (B) 2, (A) 20, (B) 2, (A) 95.
Round 13. Repeat round 12.
Round 14. (A) 12, (B) 2, (A) 22, (B) 2, (A) 14, (B) 2, (A) 22, (B) 2, (A) 94.
Round 15. Repeat round 14.
Round 16. (B) 13, (A) 24, (B) 16, (A) 24, (B) 10, (A) 85.
Round 17. Repeat round 16.
Round 18. (A) 12, (B) 2, (A) 22, (B) 2, (A) 14, (B) 2, (A) 22, (B) 2, (A) 94.
Round 19. Repeat round 18.
Round 20. (A) 13, (B) 2, (A) 20, (B) 2, (A) 16, (B) 2, (A) 20, (B) 2, (A) 95.
Round 21. Repeat round 20.
Round 22. (A) 14, (B) 2, (A) 18, (B) 2, (A) 18, (B) 2, (A) 18, (B) 2, (A) 96.
Round 23. Repeat round 22.
Round 24. (A) 15, (B) 2, (A) 16, (B) 2, (A) 20, (B) 2, (A) 16, (B) 2, (A) 97.
Round 25. Repeat round 24.
Round 26. (A) 16, (B) 2, (A) 14, (B) 2, (A) 22, (B) 2, (A) 14, (B) 2, (A) 98.
Round 27. Repeat round 26.
Rounds 28-75. Repeat rounds 4-27 twice more.
Rounds 76-78. Repeat rounds 4-6 once more.
Fasten off and join with an invisible join.
Weave in your ends and block your bag (a quick bath in cold water with some softer will be more than enough!).
Bag Lining
This lining is an adaptation of a simple drawstring bag that Lou Davis shared on her YouTube channel here.
For step-by-step photos, check the PDF pattern!
- Cut a piece of linen fabric of 13.8″ by 43.3″ (35 cm by 110 cm) and fold it in half by bringing the shorter sides together.
- On the long sides of the lining, make two marks at 4″ (10 cm) and 4.5″ (11.5 cm) from the top, open side.
- Sew both long sides with about 0.5″ (1.3 cm) seam allowance. When you get to the first mark, reinforce your seam by sewing back and forth. Then, lift the foot, move the needle to the next mark, secure your seam again, and sew to end.
- Press the seam allowance open from the top, open side until below the lower mark.
- Fold about 0.5″ (1.3 cm) on the top, and press. Then, sew all around.
- Fold the top again and press in place.
- Insert the lining inside the crochet bag.
- Pin the last row of the crochet bag to the lining, and sew all around.

Make it a drawstring bag!
- Cut two cord pieces of about 36″ (91 cm) (I used Bobbiny Junior Cord 3mm) and pass the ends into the two openings on the side of the lining as explained in the next paragraph.
- Fold the top of the lining so that the bottom edge covers the first row of the crochet bag.
- Sew the folded lining to the bag using the invisible seam.
How to Assemble the Cords
- Step 1. Fold the first cord in half and lay it on top of the lining.
- Step 2. Bring one strand of the folded cord to the back.
- Step 3. Pass both loose ends into the opening on the corresponding side of the lining.
- Step 4. Knot the ends of the cord together.
- Steps 5-7. Repeat steps 1-4 with the second length of the cord but in the opposite direction than the first one. So, place the folded side of the cord on the same side as the loose ends of the first one.
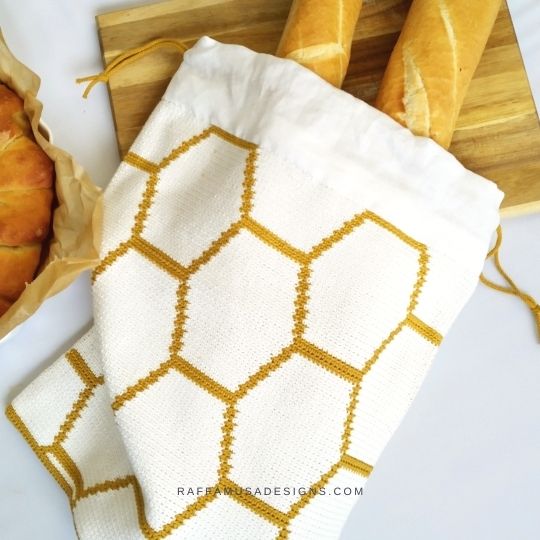
Your tapestry crochet Honeycomb Bread Bag is ready!
Find more free bag patterns here on the blog…