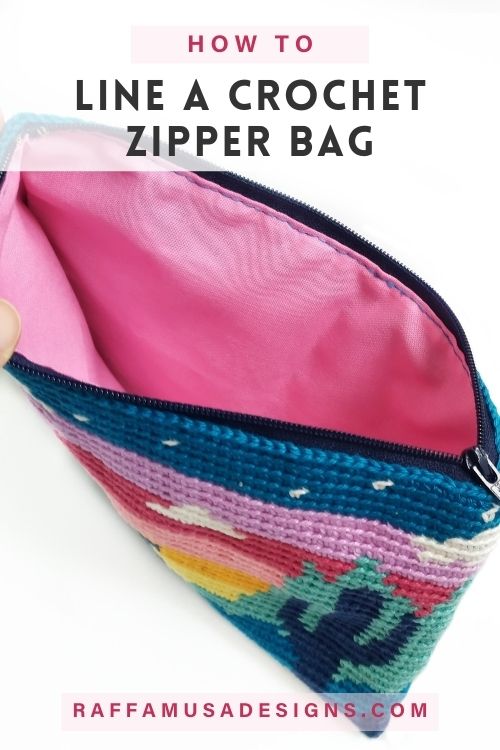
In this free tutorial, I would like to share with you how to line a crochet zipper bag.
Note: this post contains affiliate links. This means that if you purchase something through the links on my blog, I might earn a commission. This will not have any effect on the price you pay. For more info, please, see my Privacy Policy.
When I first started making crochet coin purses and little bags, I only hand-sew a zipper at the top of the bag and I was good to go. I was definitely way too afraid to try and line the bag.
However, with time, I gave lining a go and it was totally worth the effort!
With a proper lining and zipper, your crochet bag will look much more professional and will also be more practical to use!
I am by no means an expert in sewing or lining bags, but this goes to say that if I can do it, you will definitely succeed too!
Practice is Key!
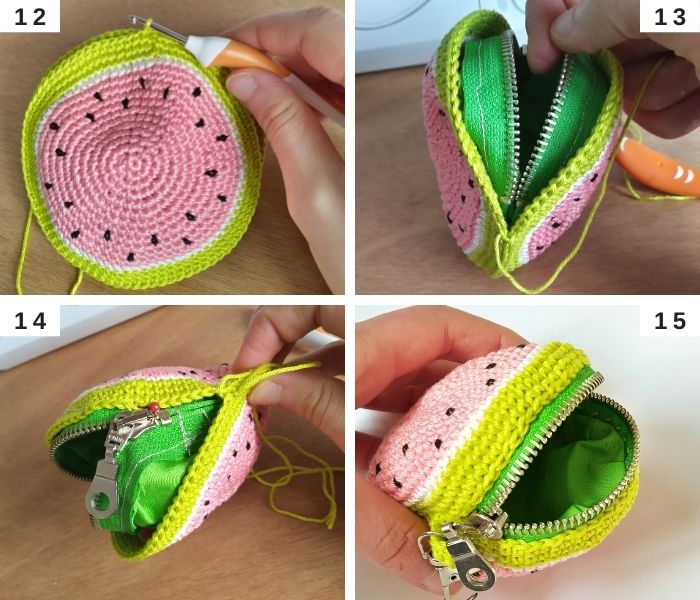
One of my first experiments with lining a crochet bag was my Watermelon Coin Purse. This purse is round and quite small. After sewing the lining on the zipper, I simply attached the zipper using the same yarn that I used for crocheting the bag. Which is ok, but it can be improved!
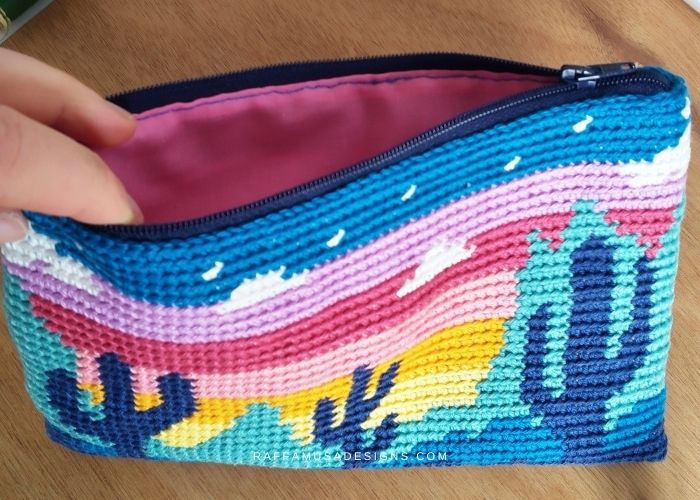
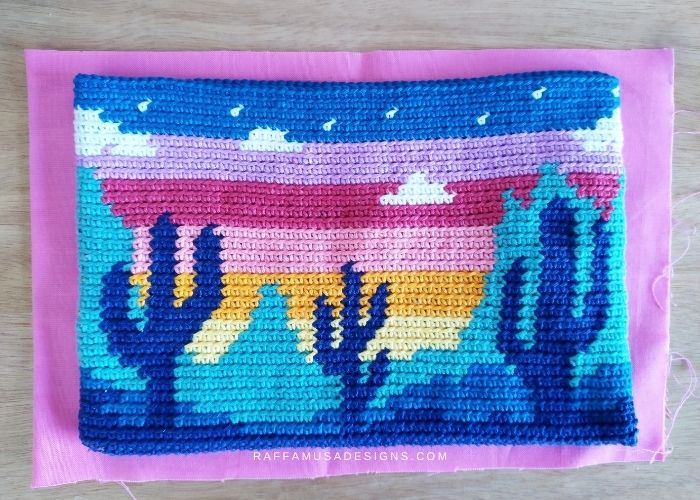
So, for my Desert Cacti Zipper Pouch, which is a rectangle pouch, I wanted to find a better way to add a lining and a zipper.
And in this tutorial, I’d like to share with you my step-by-step tutorial on how I did it!
Materials
- Lining Fabric
- Zipper
- Optional: Sewing Machine
- Sewing Needles
- Sewing Thread
- Lots of Pins!
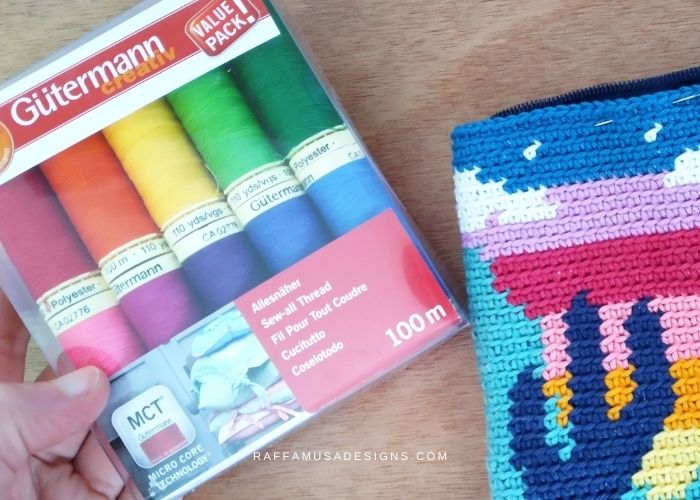
I used this Gütermann thread which I got on LoveCrafts. I like this particular assorted pack because there are a lot of bright colors that I can match to my crochet project! However, if brights are not your favorite, there is also an assorted pack with pastel colors. Check it out here.
How to Sew a Lining with Zipper
- Cut two pieces of fabric that are slightly bigger than your pouch bag.
I always give myself a wide margin because my sewing skills are very primordial, to say the least! So, if I make any mistakes, I still have some room to fix them!
Extra Tip
If you want to save time sewing, especially if you’re sewing by hand, you can make your lining from one single piece of fabric. Simply fold it so that the folded side corresponds to the bottom of your bag!
- Choose a zipper of the appropriate length for your bag. In my case, I could use a zipper of 7″ (18 cm).
If you have a longer zipper, you can still use it. Just make a few stitches at the right length for your project and hide the extra bit between the lining and the crochet layer!
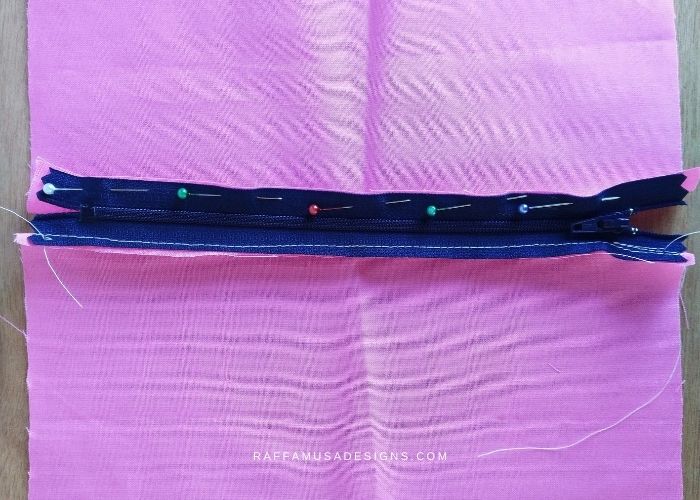
- Align the zipper with the top edge of one piece of the cut fabric, and pin it in place.
Note: If you’re using printed fabric, then, the good/printed side should be facing up. This way, it will be the side that you see inside your bag!
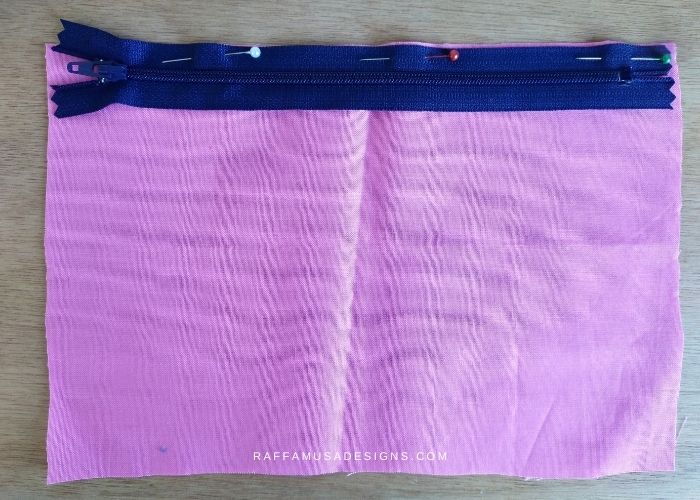
- Sew the top half of the zipper on the lining fabric.
- Now, place the other half of the zipper on the top edge of the other piece of fabric.
If you are using printed fabric, your right side (the printed one) should be facing up!
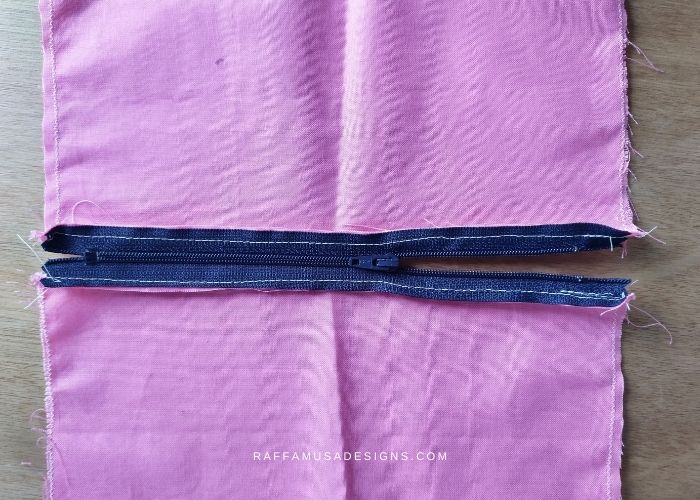
Also, notice how the zipper is now pointing in the opposite direction! And very importantly, it has the layer that we already sewed attached to it with the wrong side facing up!
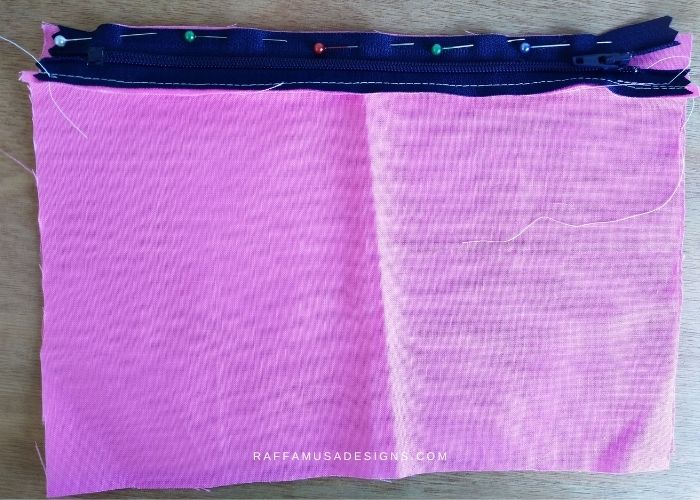
To let you understand better, I added this photo below, where I separated the two layers of fabric.
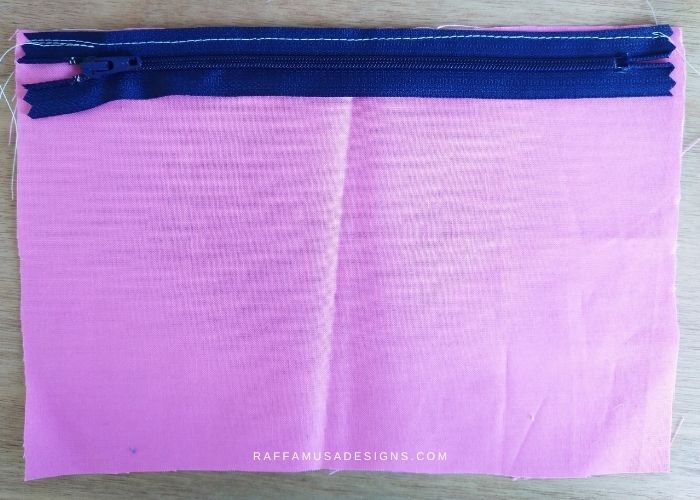
- Sew the second half of the zipper on the fabric.
Below, you can see what it looks like after sewing. I also messed a bit with some zig-zag edging around the lining, but that is definitely not necessary.
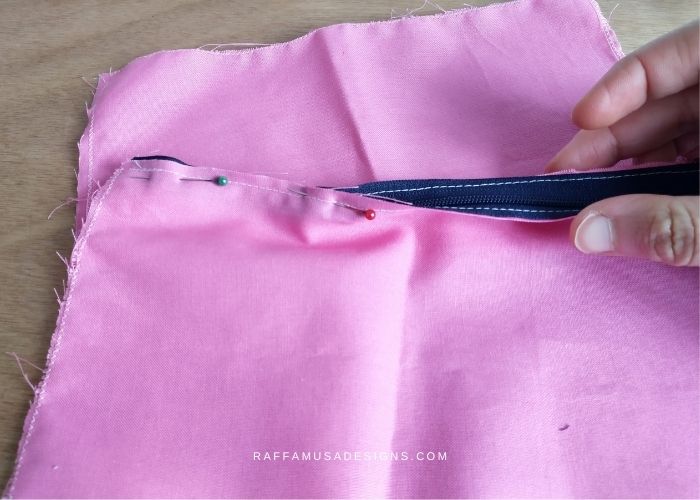
- Now, open the zipper a little bit. This will make the next step easier if you are sewing your lining with a sewing machine!
- Fold the two halves of the zipper so that they’re both aligned on the top.
- Pin them in place
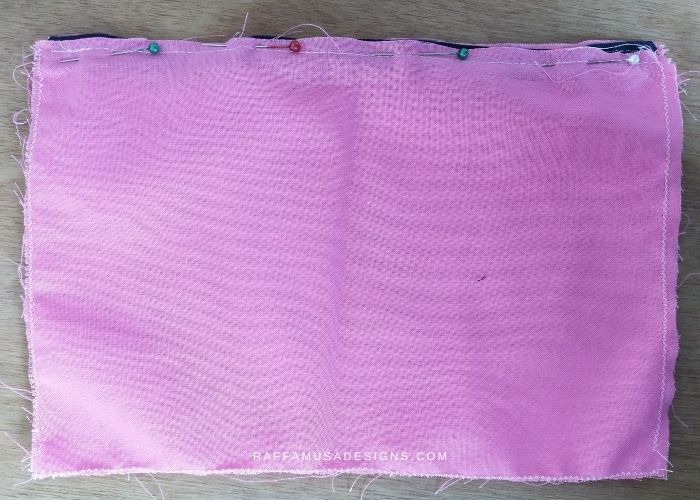
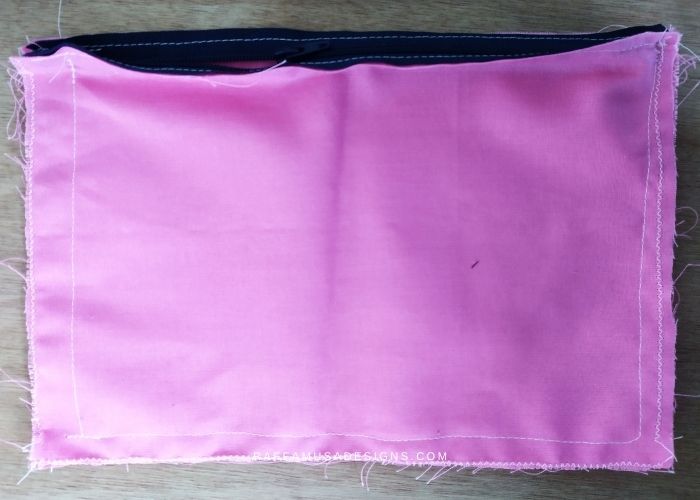
- Sew all around the lining.
Now, notice how I did not sew my lining completely straight, and overall, it doesn’t look great. But it does not matter because all this ugliness will be hidden in the final project (and hopefully, with time, I’ll be able to do a better job with sewing!).
Sewing the Lining to the Crochet Bag
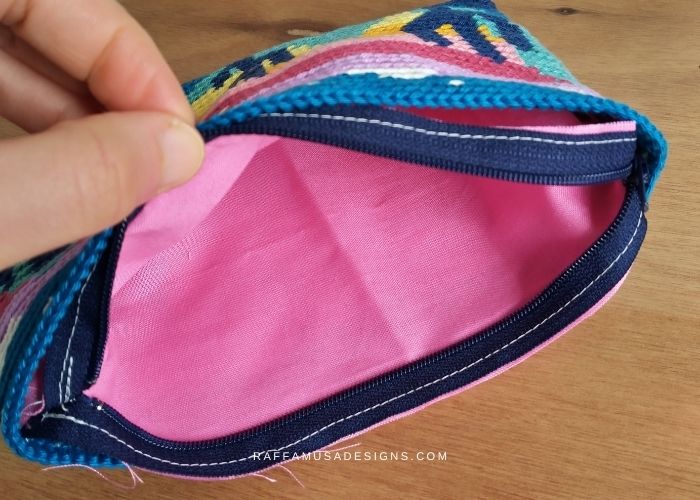
- Place the lining and zipper inside your crochet pouch.
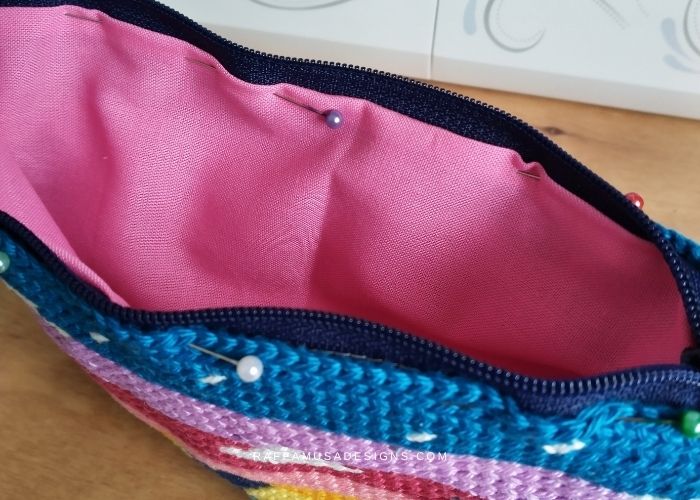
- Pin the zipper in place to the top of your crochet bag. When pinning your zipper in place, roll the lining a bit up so that you catch it in your stitches! This will create a sort of topstitching on the lining and will help to keep it in place.
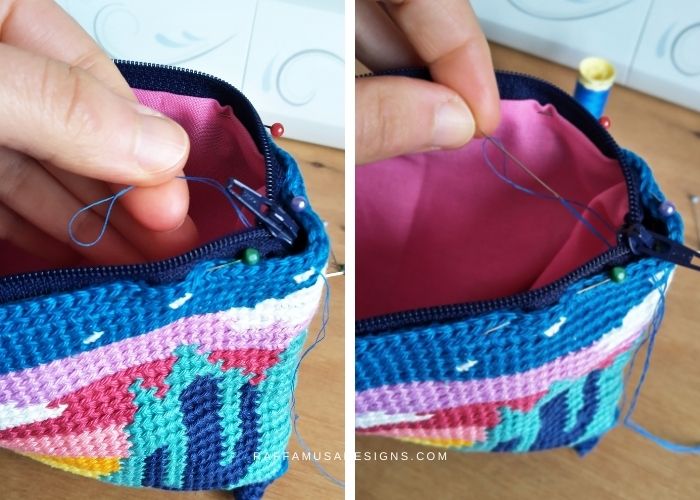
- Cut a long length of sewing thread and fold it in half.
- Thread it through your sewing needle from the side where the two ends of the thread are separated. This way, you will be using the loop on the other side to secure your first stitch!
- Hand-sew the zipper and lining to your crochet bag by drawing your needles through each stitch of your crochet bag and through the zipper and rolled lining.
- Secure your thread by making a small knot and weaving the ends.
And your lining is ready!
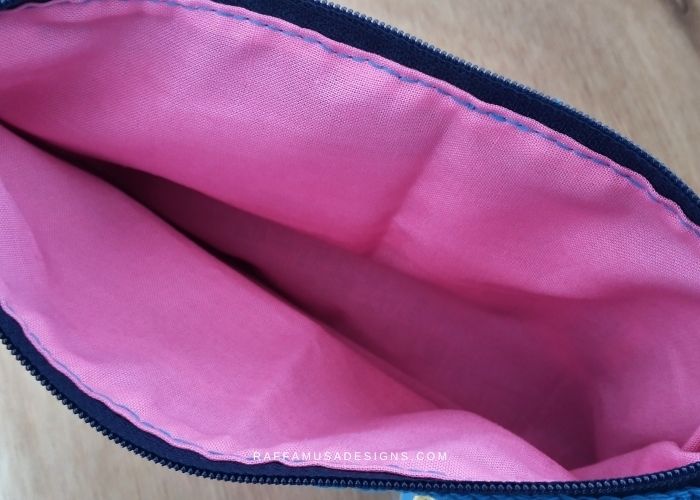
YOu just learned how to line your crochet zipper bag!
I hope you found this tutorial useful! Let me know what you think in the comments, or share your lined bags with me by tagging me on Facebook or Instagram, and using the hashtag #raffamusadesigns
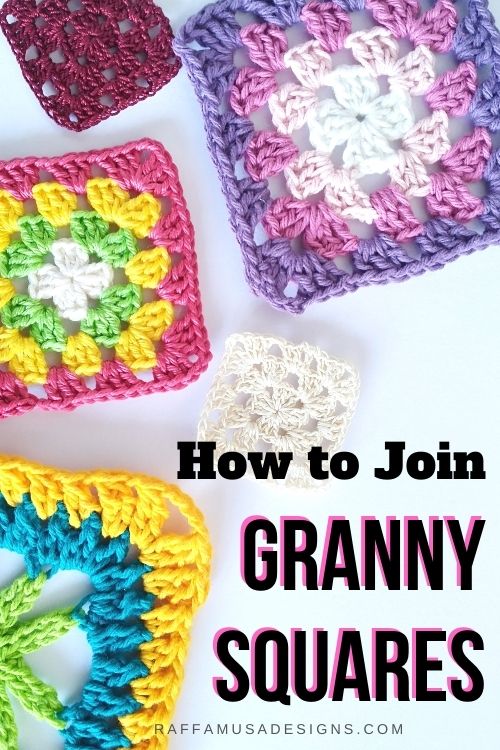
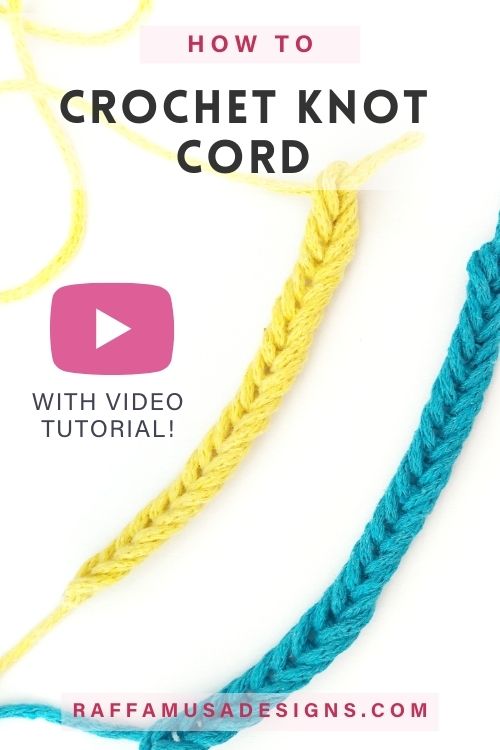
Find more tutorials on the blog!

Thank you so much for explaining all that. It sounds like something I could actually try. And that’s such a cute bag. I love your desert cactus design.
Thanks! Have fun lining your bag 🙂