Crochet bobbles are just great to add some awesome texture to your work. But what if you are working with Tunisian crochet? Can you make bobbles with a Tunisian hook? Sure you can! Learn here how with the Tunisian Crochet Bobble Stitch!
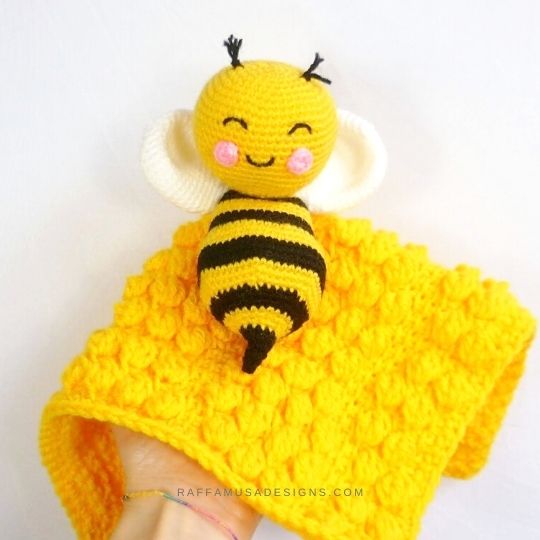
I first started looking into how to make bobbles in Tunisian crochet for my Beehive Lovey.
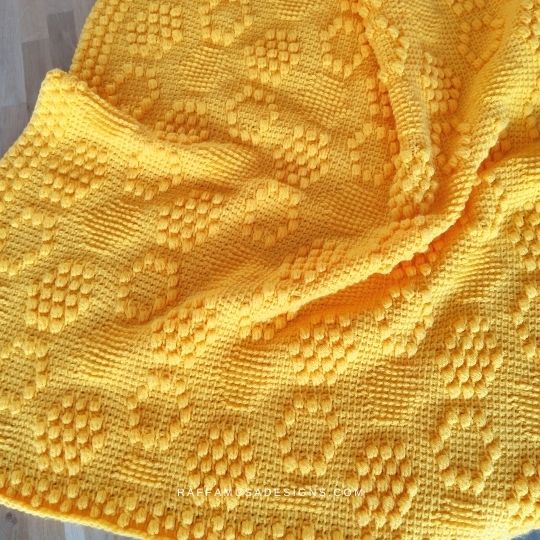
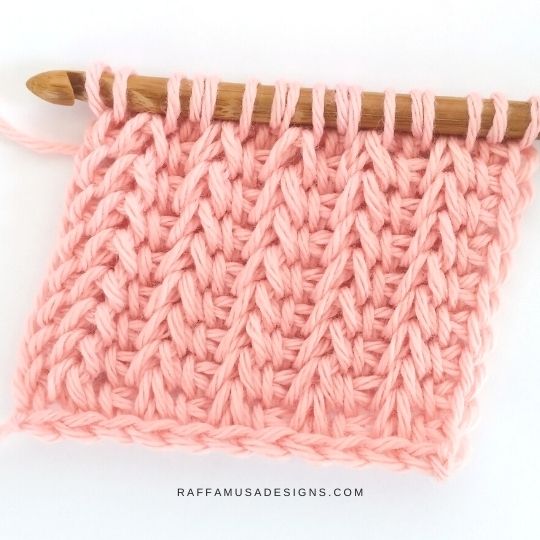
When I made the Beehive lovey, I realized that Tunisian crochet bobbles can be quite a yarn eater! That’s why when I made a matching Honeycomb blanket, I explored some less hungry stitches, such as the Tunisian crochet Puff stitch.
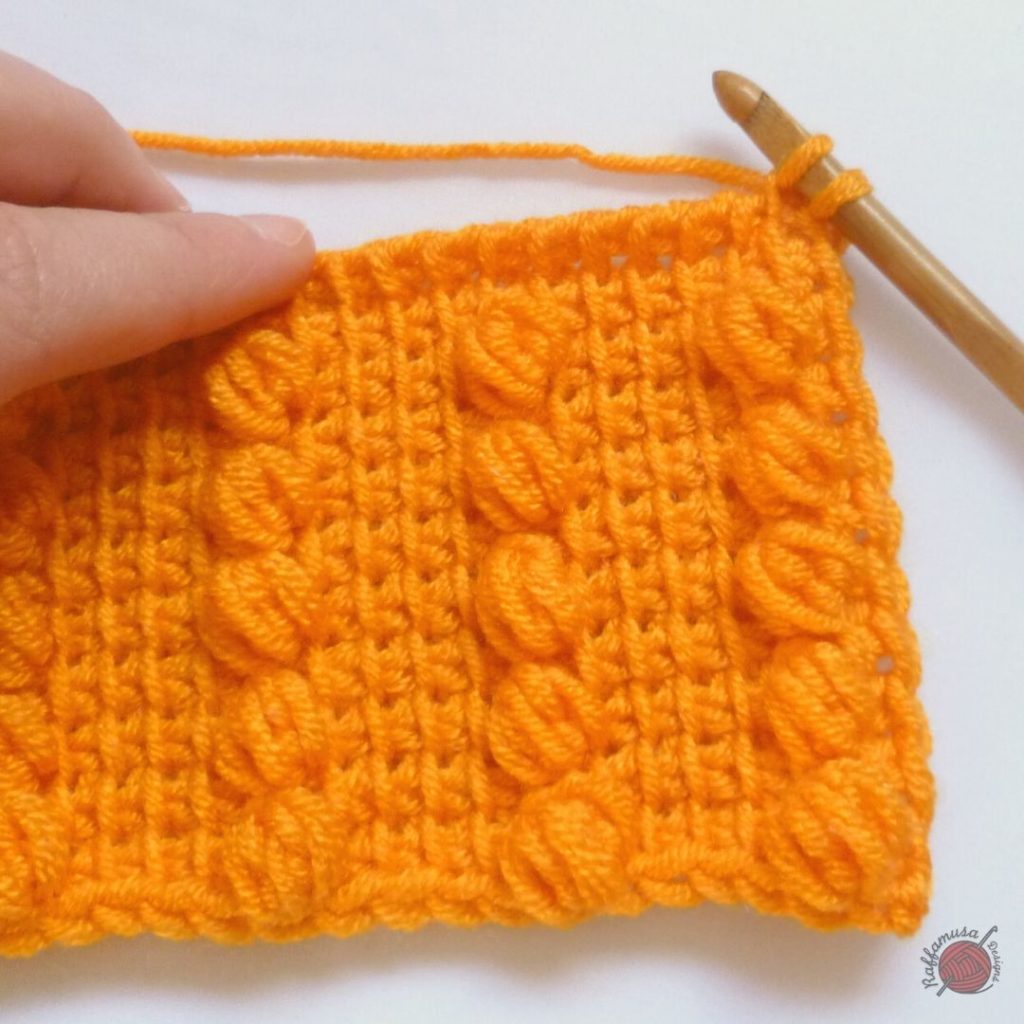
The Tunisian Bobble Stitch is also called Tunisian Popcorn Stitch and it basically consists of three (or more) Tunisian double stitches worked together.
Keep reading to learn how to crochet it with an easy step-by-step tutorial!
Related Tunisian crochet posts…
Pin this free Tunisian crochet tutorial for later. Feel free to save the pin below to your favorite Tunisian crochet board on Pinterest!
Crochet Abbreviations (US Terms)
Tbo – Tunisian Bobble Stitch
Tunisian Bobble Stitch – Step-by-Step Tutorial
Step 1
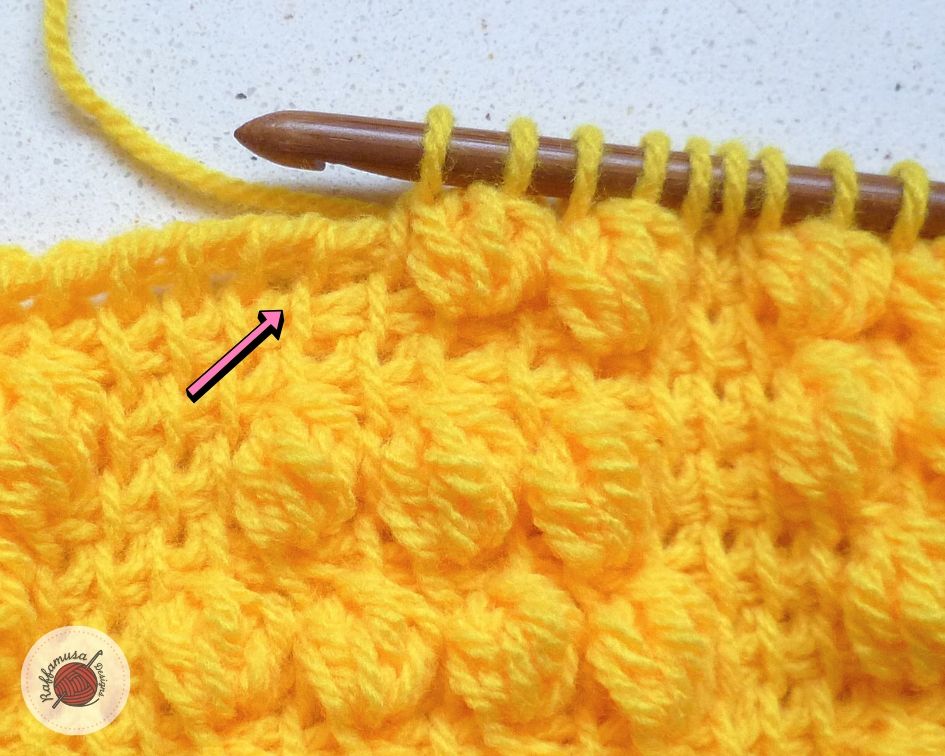
The first thing to do is to identify the correct stitch in which to crochet the bobble. In fact, we will not crochet the tbo in the next vertical bar, as we would normally do with other Tunisian crochet stitches. Instead, we will look for the vertical bar just below the one of the next stitch. What I just described is the corresponding stitch two rows below.
If you have trouble identifying the right stitch, you can help yourself with the picture below. In the picture, I already have some stitches on my hook and I am about to crochet my next bobble. The pink arrow points directly to the vertical bar where I am going to work my tbo.
Step 2
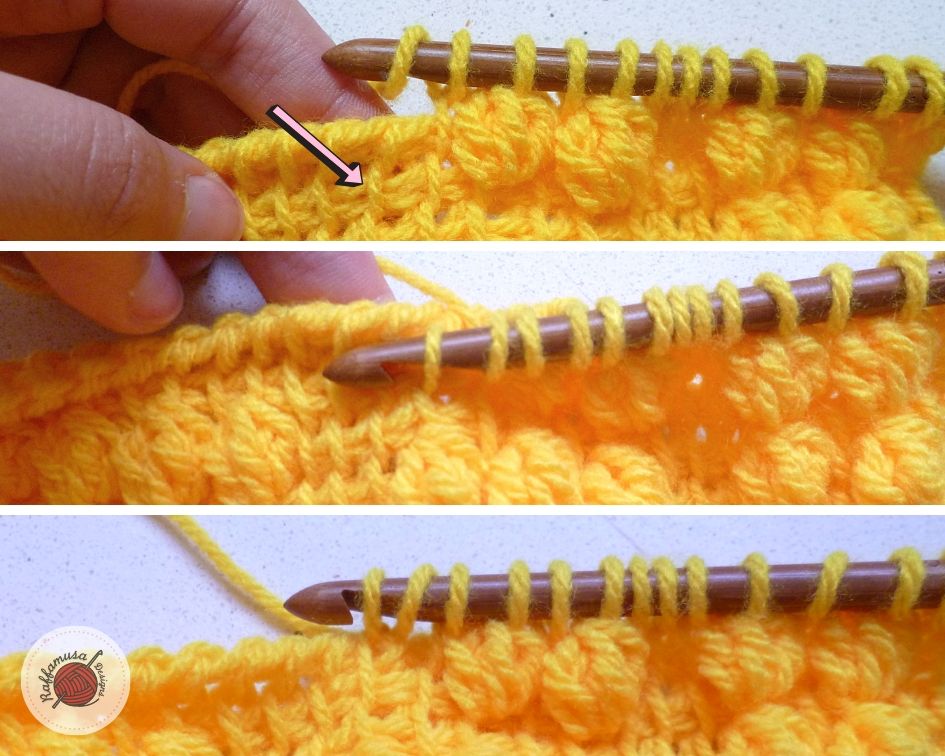
As explained in the previous paragraph, yarn over and insert your hook from right to left under the vertical bar of the stitch corresponding to the next stitch two rows below, yarn over and draw up a loop.
Step 3
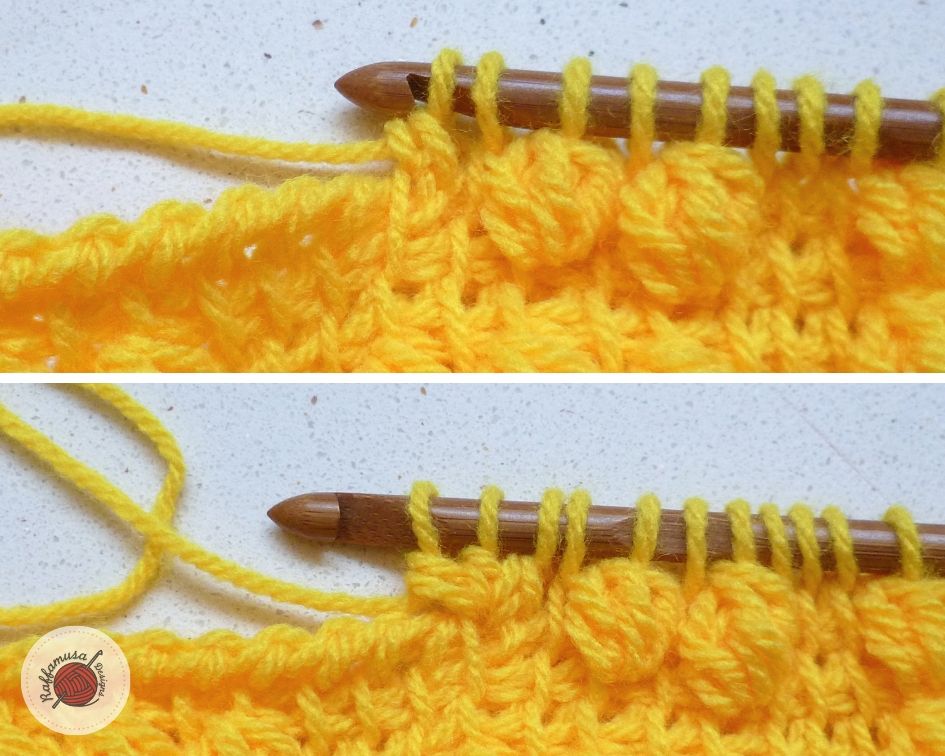
Here, we will finish working this first Tunisian double crochet and we will make two more in the same stitch.
First, yarn over and draw yarn through two loops on your hook (top panel in the picture below).
Then, (yarn over and insert your hook in the same vertical bar, yarn over and draw up a loop, yarn over and draw yarn through two loops) twice (bottom panel in the picture below).
Step 4
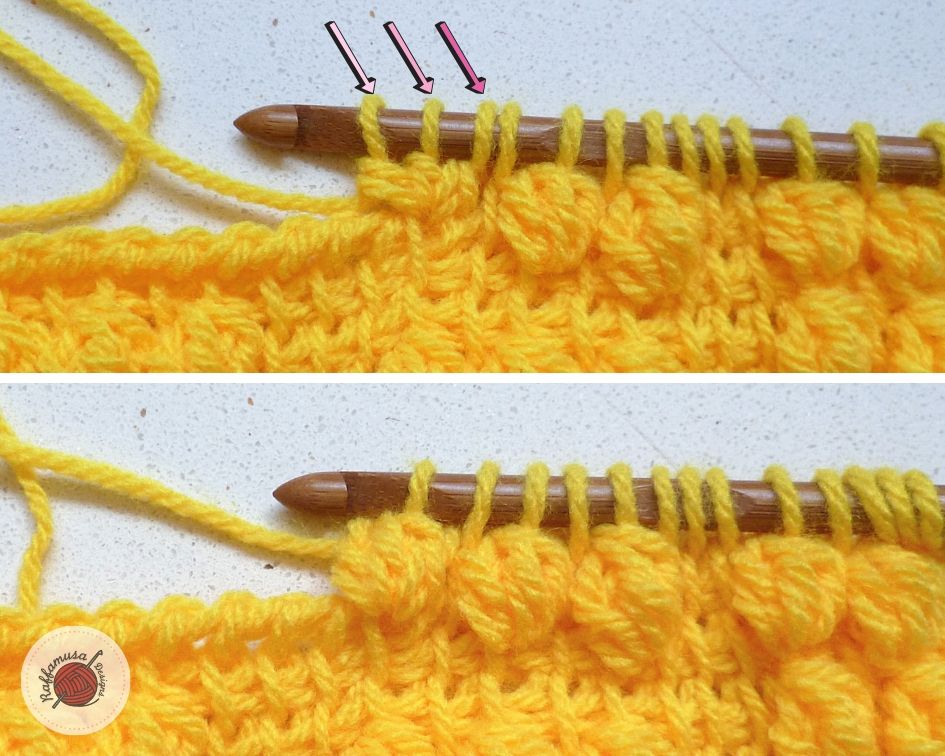
With this final step, we will close the tbo. In order to do so, yarn over and draw yarn through three loops on your hook.
Repeat steps 1-4 to add more bobbles to your project.
You just learned how to crochet the Tunisian Bobble Stitch!
I hope you enjoyed this stitch tutorial! Don’t forget to show me your swatches and creations using this stitch either on Facebook or Instagram using the hashtag #raffamusadesigns
Explore more Tunisian crochet stitches from my personal Tunisian Crochet Stitch Library!


The bobble stitch direitos don’t seem accurate – there are too many yarn overs I think. A video would be very helpful.
Hi Alison, I’ll try to make a video as soon as possible! 🙂