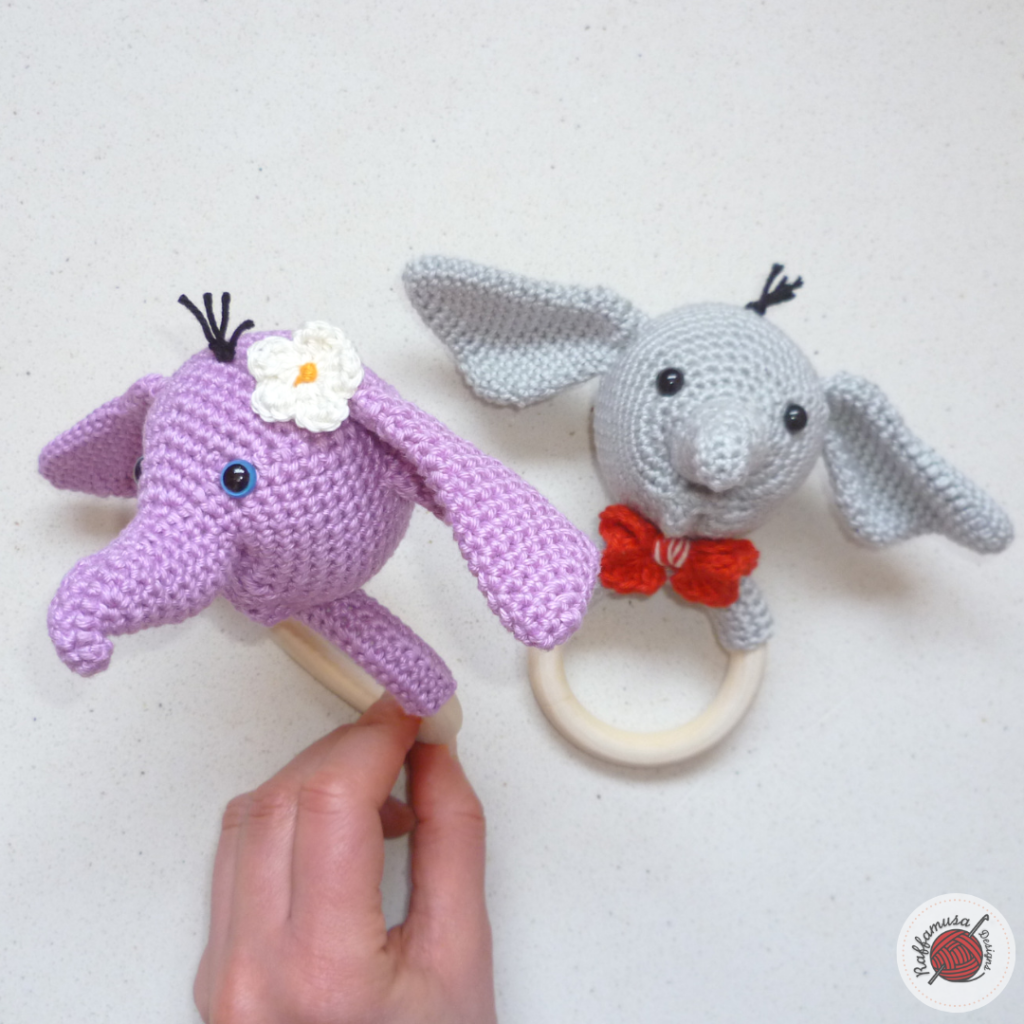
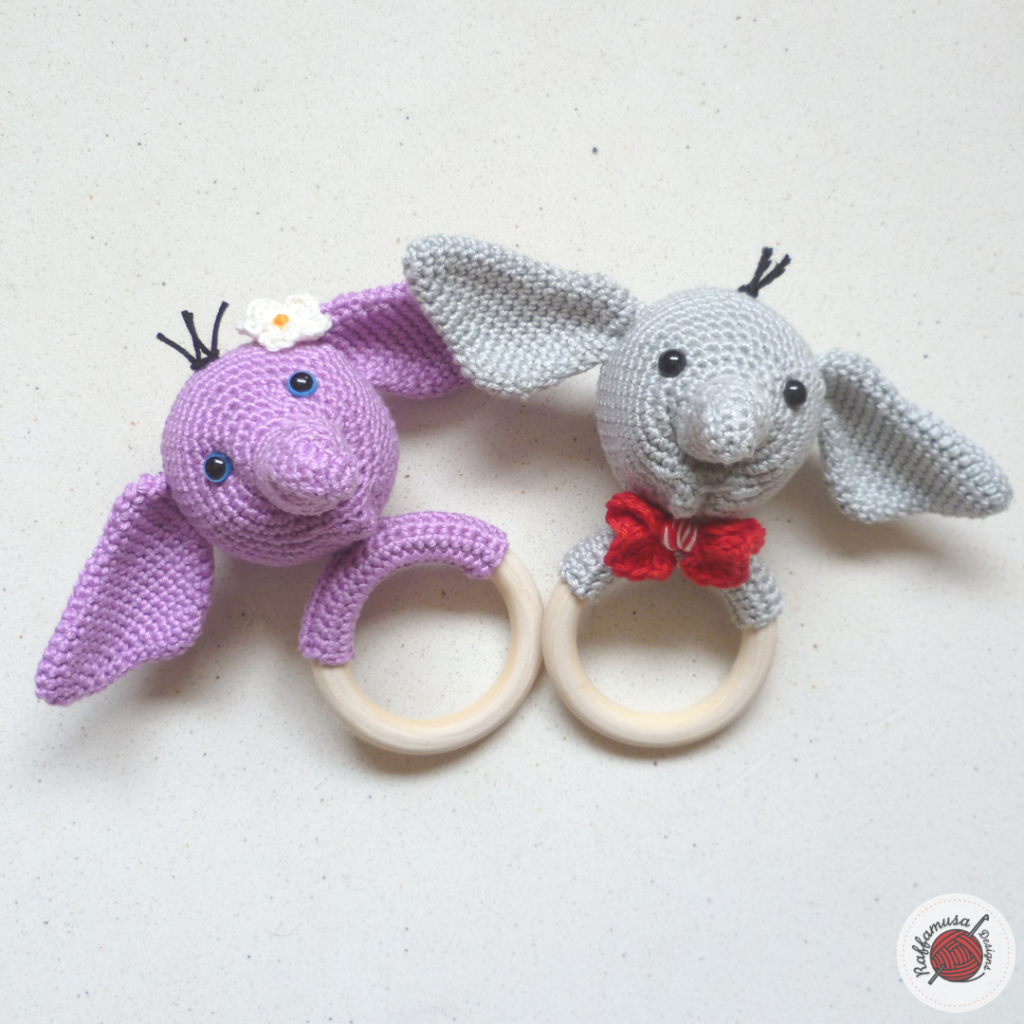
Today I would like to share with you my first pattern for a baby toy. Here is my Elephant Baby Rattle!
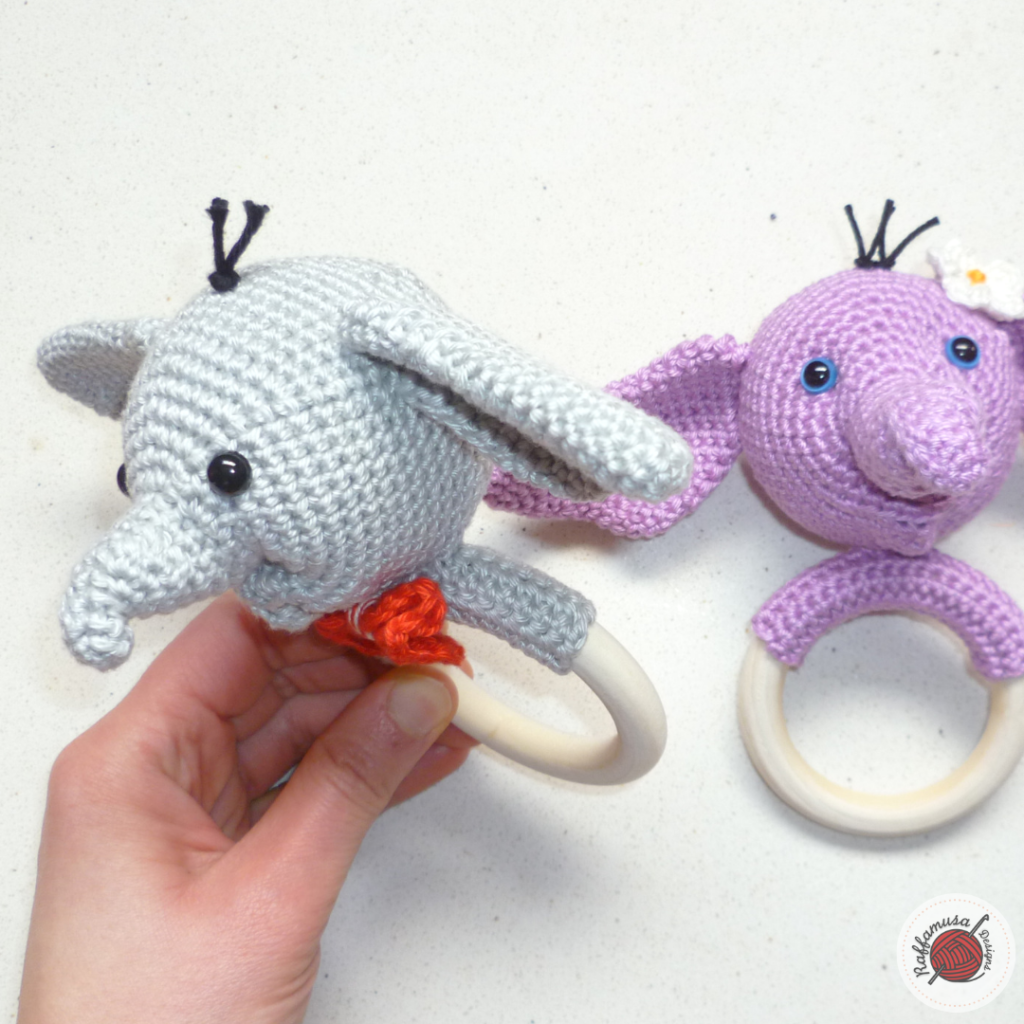
I had wanted to crochet a baby rattle for a while and in particular an elephant, but I had no idea how. So, I just took up the challenge and started crocheting one!
It took some time to figure out how to make the proboscis and the mouth of the elephant all together with the head. Because yes, the elephant head, proboscis, and mouth are one single piece. Only the ears are crocheted separately and then sewed on the elephant head.
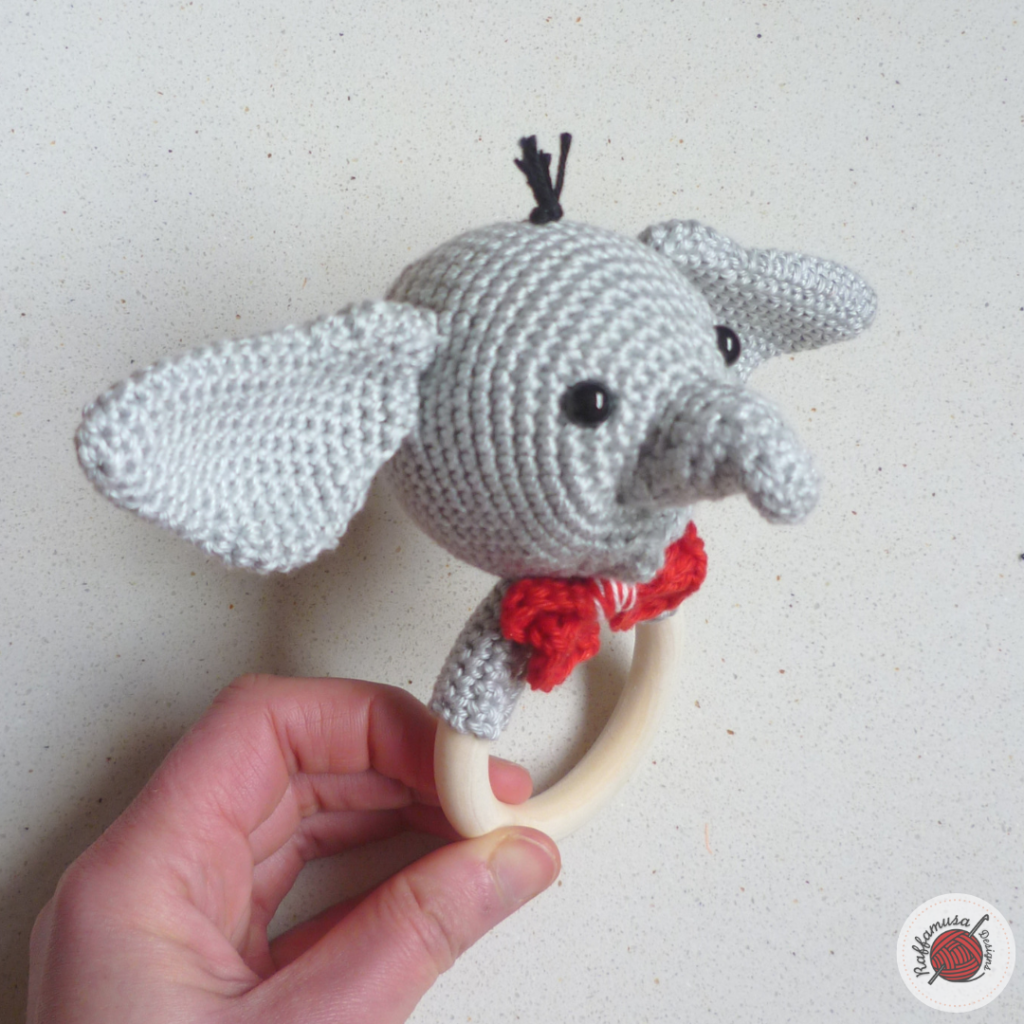
The result of much frogging was this sweet Elephant Baby Rattle, a perfect toy for both boys and girls.
Safety First
A crocheted baby rattle is the perfect gift for a baby, and parents will appreciate the beauty of handmade toys. However, make sure that the toy is completely safe for the little ones.
I suggest you do not use buttons for the eyes because they might fall off and can be swallowed by the kids. Also, crochet tight so that it is more unlikely that the fiberfill or the cotton stuffing will come out. Alternatively, you can line the head of the elephant with cotton, as suggested here.
Add this pattern to your Ravelry queue HERE and favorite it (– thank you!). or save it for later by pinning it to your best crochet board on Pinterest using this pin.
Note: this post contains affiliate links. This means that if you purchase something through the links on my blog, I might earn a commission. This will not have any effect on the price you pay. For more info, please, see my Privacy Policy.
Materials
- 3.0-mm (3 USA, 11 UK) Hook
- ~ 32 g of Sport (2, fine) Cotton Yarn. I used Rio from Lammy Yarns and Schachenmayr Catania.
- Natural Wood Teething Ring, 7 cm (2.8”) diameter
- Two Safety Eyes for Amigurumi
- Tapestry Needle
- Scissors
- Fiberfill or Cotton Stuffing
Crochet Abbreviations (US Terms)
Ch – Chain
Dc – Double Crochet
Hdc – Half Double Crochet
Inc – Increase
Inv Dec – Invisible Decrease
MC – Magic Circle
Sc – Single Crochet
Sl St – Slip Stitch
St – Stitch
Tr – Treble Crochet
How to Read the Pattern
- (…) – Repeat the instruction within brackets for the indicated number of times.
- If the pattern says “5 sc”, it means that you have to make one single crochet in each of the next 5 stitches.
Special Stitches
Increase (Inc)
Throughout the pattern, an increase consists of 2 sc in the same st.
Invisible Decrease (Inv Dec)
For more detailed instructions and a photo tutorial, check out this blog post.
Magic Circle (MC)
For a free photo tutorial on how to make a magic circle, check out this blog post.
Size
The head of the Elephant Baby Rattle excluding the ears and the wooden ring is approximately 7 cm (2.76”) tall, 6.5 cm (2.56”) large, and 10 cm (3.94”) deep. The ears are about 7.5 cm (2.95”) wide and 4 cm (1.57”) tall
Keep in mind that these measurements can change quite a bit if you use a different kind of yarn.
Gauge & Anchor to the Wooden Ring
For the gauge, we are going to make a part that we will actually need for our Elephant Baby Rattle. It is going to be a rectangle that we will then sew around the wooden ring to attach the head of the elephant.
Start 21 chains.
Row 1. Sc in the second chain from the hook, sc until the end. (20 sts)
Row 2-8. Ch1, turn your work and crochet 1 sc in each st until the end. (20 sts)
You should obtain a rectangle of 8 cm (3.15”) by 3 cm (1.18”).
Fasten off leaving a long tail for sewing the rectangle on the wooden ring.
Elephant Baby Rattle – Free Crochet Pattern
Head
Make a MC and ch 1.
Round 1. 6 sc in MC. (6 sts)
Round 2. Ch 1, 1 sc in each st from the previous row. (6 sts)
Round 3. Ch 1, (1 inc, 2 sc) twice. (8 sts)
Round 4. Ch 1, 1 inc, 2 inv dec, 3 inc. (10 sts)
Round 5. Ch 1, 1 inc, 2 inv dec, 2 inc, 2 sc, 1 inc. (12 sts)
Round 6. Ch 1, 1 inc, 2 inv dec, 3 inc, 2 sc, 2 inc. (16 sts)
Round 7. Ch 1, 1 inc, 2 inv dec, 1 inc, 10 sc. (16 sts)
Round 8. Ch 1, 1 sc, 2 inv dec, 5 sc, 2 inc, 4 sc. (16 sts)
If you would like a shorter proboscis, skip rows 9 and 10 and go directly to row 11.
Round 9. Ch 1, 2 sc, 1 inv dec, 4 sc, 2 inc, 4 sc, 1 inv dec. (16 sts)
Round 10. Ch 1, 1 sc in each st from the previous row. (16 sts)
Round 11. Ch 1, 1 inv dec, 14 sc. (15 sts)
Round 12-13. Ch 1, 1 sc in each st from the previous row. (15 sts)
Round 14. Ch 1, 4 inc, 10 sc, 1 inc. (20 sts)
Round 15. Ch 1, 11 sc, 2 inv dec, 5 sc. (18 sts)
Round 16. Ch 1, (1 inc, 3 sc) twice. 9 inc, 1sc. (29 sts)
17. Ch 1, (4 sc, 1 inc) twice. 6 sc, 1 hdc, 2 dc, 1 hdc, 8 sc, 1 inc. (32 sts)
18. Ch 1, (1 inc, 5 sc) twice. 7 sc, 2 inc, 11 sc. (36 sts)
Round 19. Ch 1, (6 sc, 1 inc) twice. 4 sc, 2 inc. Working only in the back loops, 2 sc, 2 inc, 2 sc. Working normal, 2 inc, 8 sc. (44 sts)
Round 20. Ch 1, (1 inc, 7 sc) twice. 6 sc, 1 inc, 10 sc, 1 inc, 10 sc. Join. (48 sts)
Round 21. Ch 1, 24 sc, 1 inc, 3 sc, 1 inv dec, 2 sc, 1 inv dec, 3 sc, 1 inc, 10 sc. (48 sts)
Round 22. Ch 1, 29 sc, 2 inv dec, 15 sc. (46 sts)
Round 23-26. Ch 1, 1 sc in each st all around. (46 sts)
Round 27. Ch 1, 4 sc, 1 inv dec, 8 sc, 1 inv dec, 30 sc. (44 sts)
Round 28. Ch 1, 1 sc in each st all around. (44 sts)
Eyes
Attach the safety eyes to your elephant head, or for extra safety, embroider the eyes of your elephant.
Round 29. Ch 1, 4 sc, 1 inv dec, 6 sc, 1 inv dec, 13 sc, 1 inv dec, 2 sc, 1 inv dec, 11 sc. (40 sts)
Round 30. Ch 1, 4 sc, 1 inv dec, 4 sc, 1 inv dec, 28 sc. (38 sts)
Round 31. Ch 1, 4 sc, 1 inv dec, 2 sc, 1 inv dec, 12 sc, 1 inv dec, 2 sc, 1 inv dec, 10 sc. (34 sts)
Round 32. Ch 1, 4 sc, 1 inv dec, 1 sc, 1 inv dec, 10 sc, 1 inv dec, 2 sc, 1 inv dec, 9 sc. (30 sts)
Stuffing
Start stuffing your elephant head with fiberfill or cotton stuffing. Make sure to push the stuffing all the way to the proboscis.
Round 33. Ch 1, (4 sc, 1 inv dec) 5 times. (25 sts)
Round 34. Ch 1, (3 sc, 1 inv dec) 5 times. (20 sts)
Round 35. Ch 1, 10 inv dec. (10 sts)
Round 36. Ch 1, 5 inv dec. (5 sts)
Fasten off. Close the hole on the back of the elephant head by sewing it tightly.
Do not cut the yarn but use it to model the mouth of the elephant.
Modeling the Head
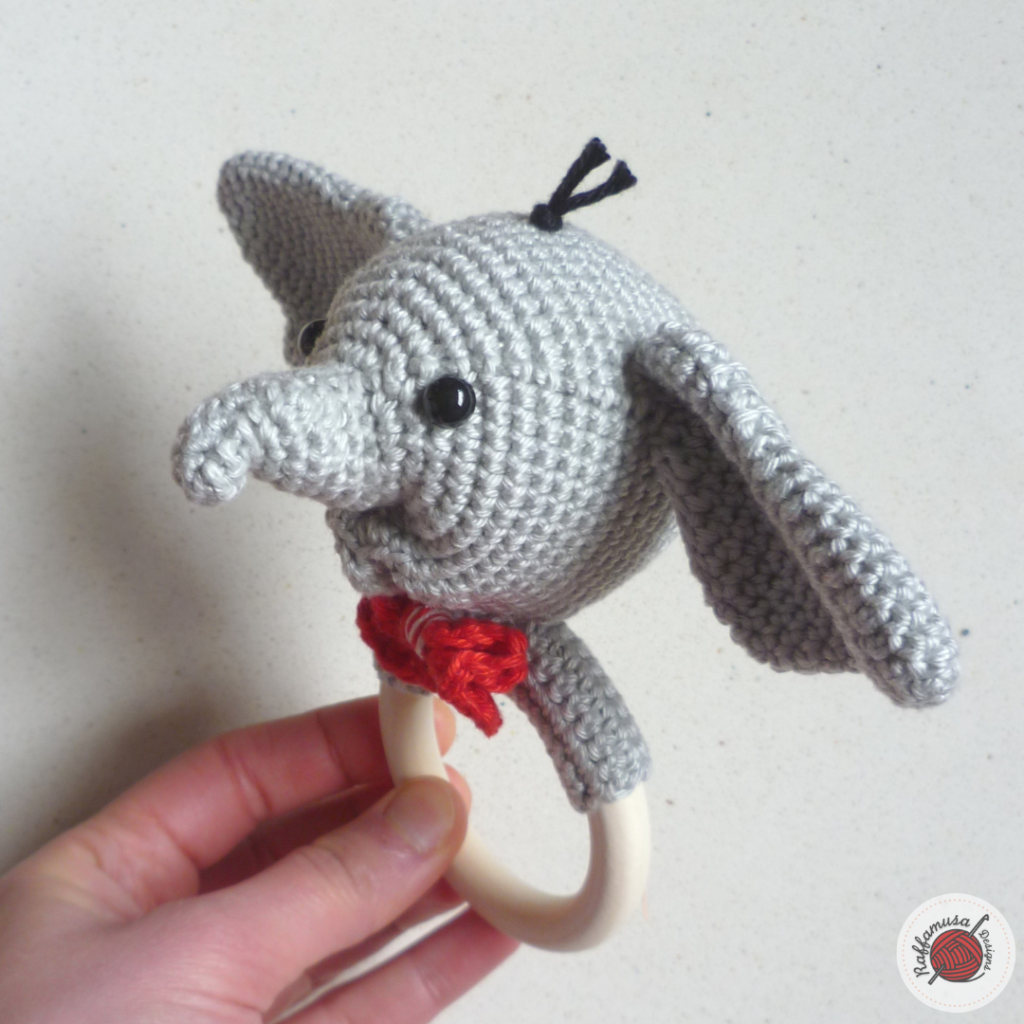
Model the Head of the elephant by shaping the mouth
To do so, insert your tapestry needle from the back of the head all the way to the front in between the proboscis and the mouth, as shown in the image below. Draw the yarn from one side of the mouth to the other, and pull the needle to the back of the head.
Repeat it a couple of times.
Fasten off and weave in all your ends.

Ears (make 2)
Make a MC, ch 1.
Round 1. Make 6 sc in the MC, join with a sl st in first sc. (6 sts)
Round 2. Ch 1, (1 sc, 1 inc) 3 times. (9 sts)
Round 3. Ch 1, 3 sc, 3 inc, 3 sc. (12 sts)
Round 4. Ch 1, (5 sc, 1 inc) twice. (14 sts)
Round 5. Ch 1, 1 sc in each st all around. (14 sts)
Round 6. Ch 1, (6 sc, 1 inc) twice. (16 sts)
Round 7. Ch 1, 1 sc in each st all around. (16 sts)
Round 8. Ch 1, 7 sc, 2 inc, 7 sc. (18 sts)
Round 9. Ch 1, 8 sc, 2 inc, 8 sc. (20 sts)
Round 10. Ch 1, 9 sc, 2 inc, 9 sc. (22 sts)
Round 11-13. Ch 1, 1 sc in each st all around. (22 sts)
Round 14. Ch 1, 1 inc, 8 sc, 2 inv dec, 8 sc, 1 inc. (22 sts)
Round 15. Ch 1, 1 sc in each st all around. (22 sts)
Round 16. Repeat row 14. (22 sts)
Round 17. Ch 1, 9 sc, 2 inv dec, 9 sc. (20 sts)
Round 18. Ch 1, 8 sc, 2 inv dec, 8 sc. (18 sts)
Round 19. Ch 1, 7 sc, 2 inv dec, 7 sc. (16 sts)
Fasten off leaving a long tail for sewing the ears on the head of the elephant.
Finishing the Elephant Baby Rattle
Start by sewing the ears of the elephant on the side of the head.
Sew the rectangular piece that we used as a gauge on the wooden ring.

Sew the head of the elephant very firmly in the middle of the rectangular piece that you just attached to the wooden ring.
With black yarn, make the hair of the elephant. You can just attach the yarn on top of the elephant head by making a knot. Cut the hair at your desired length.
You can decorate the elephant with a bow tie, a flower, or with your favorite accessory.
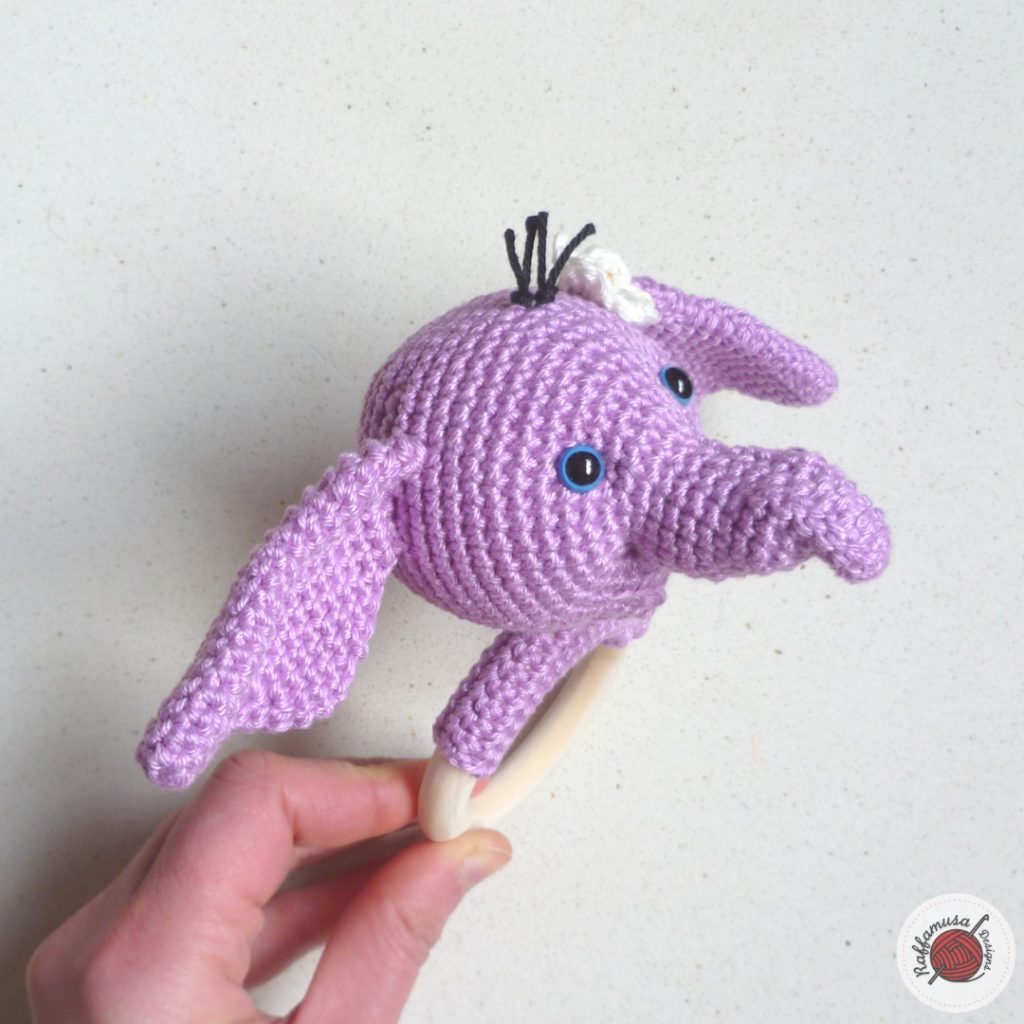
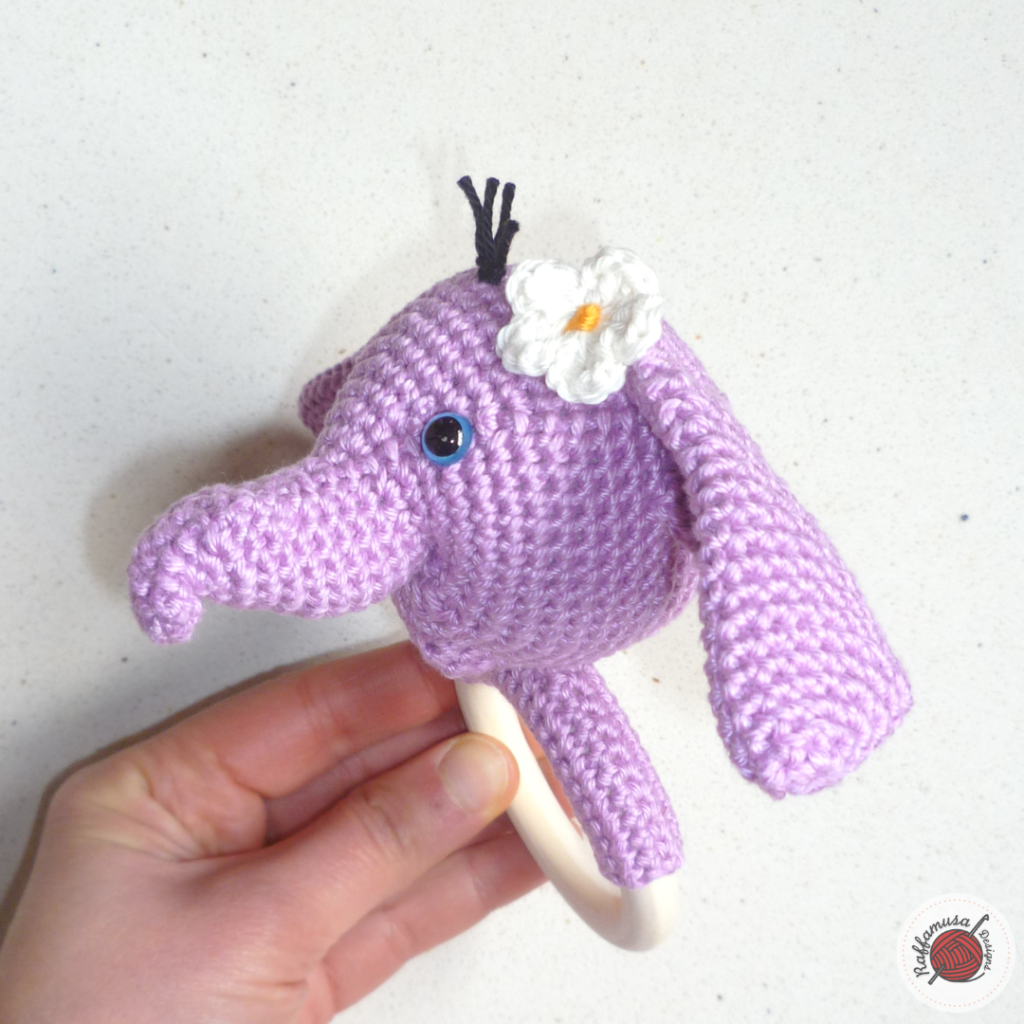
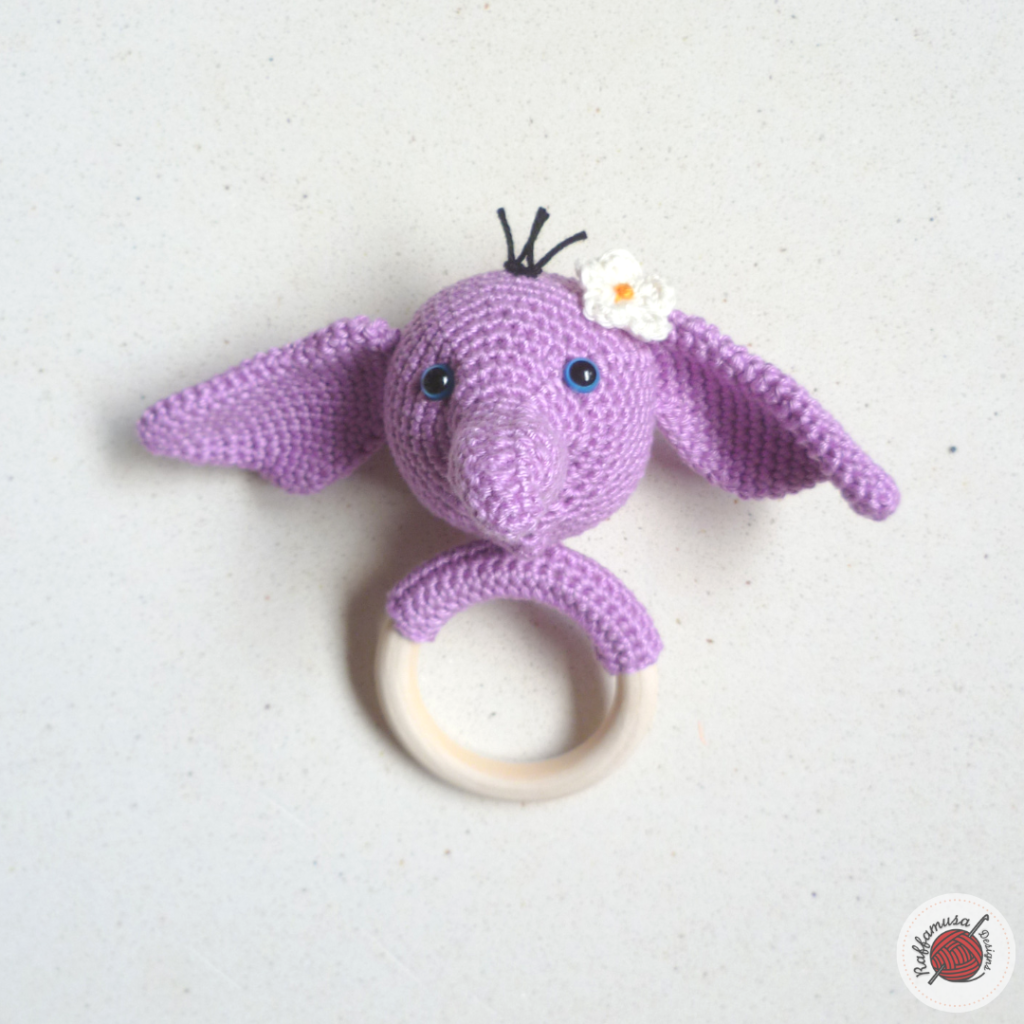
Your crochet Elephant Baby Rattle is ready!
I hope you enjoyed crocheting this crochet pattern. Please, do not hesitate to contact me if you need any help or support. I am looking forward to seeing all your beautiful makes on Facebook and Instagram!
Find more amigurumi and baby toys here on the blog…


1 thought on “Elephant Baby Rattle”