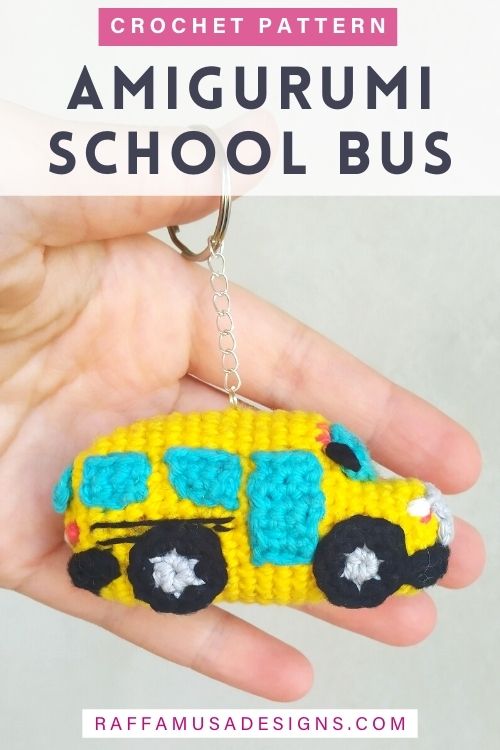
Crochet a mini School Bus Amigurumi and rock the first day back to school!
This fun and cute project is perfect for making a keychain or backpack decoration for your little one.
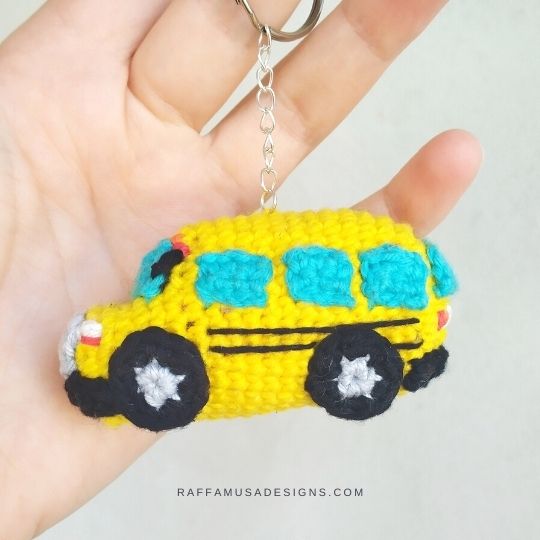
This school bus is so small that it will fit on the palm of one hand, even the hand of your kid!
But even though it is a small project, it will keep you quite busy with all the details, windows, lights, etc! So, it is definitely not a quick win… But I am sure that the child receiving it will just love it!
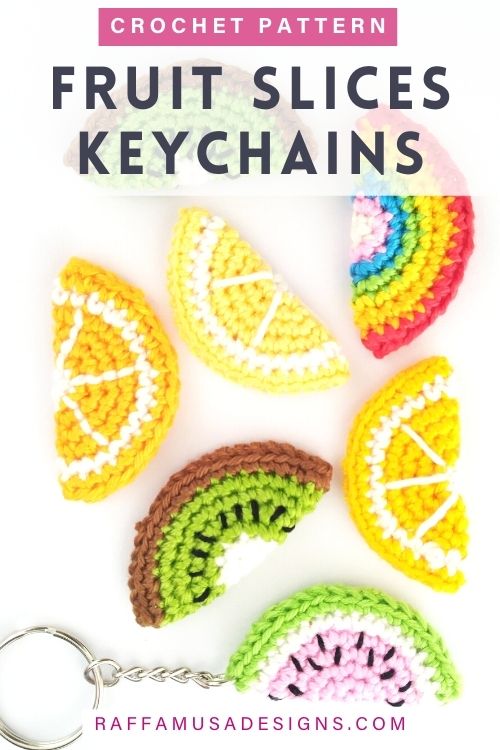
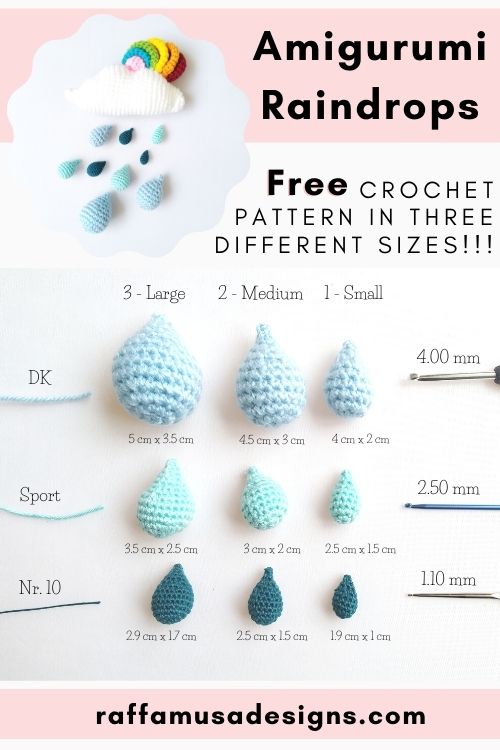
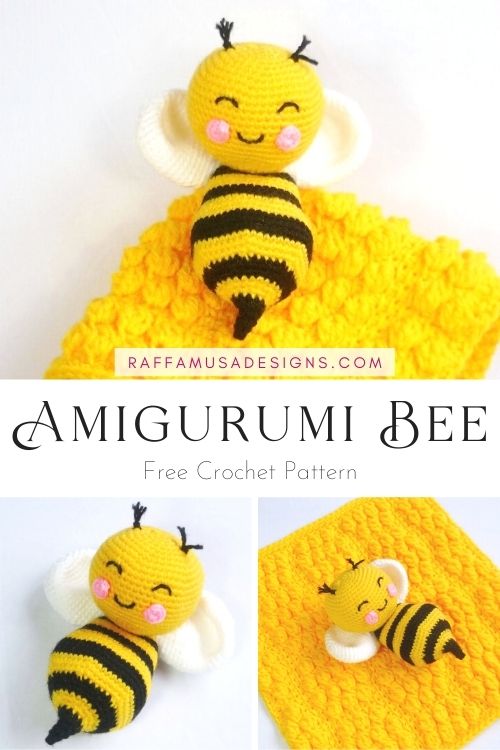
Find more inspiration with these other small Amigurumi keychains…


Favorite this pattern on Ravelry (thank you!) and add it to your queue HERE, or pin it for later to your favorite Amigurumi board on Pinterest!
Note: this post contains affiliate links. This means that if you purchase something through the links on my blog, I might earn a commission. This will not have any effect on the price you pay. For more info, please, see my Privacy Policy.
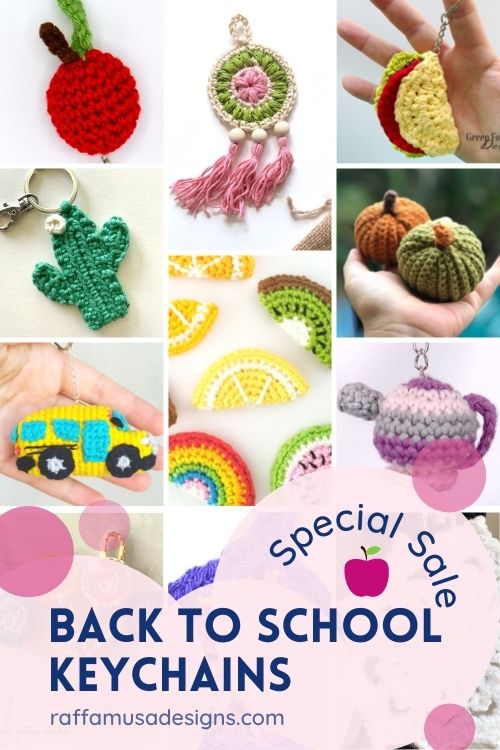
Back To School Keychain Bundle
The pattern of the School Bus Amigurumi is featured in the Back to School Keychain Bundle by Christina from Creative Snugglies.
This bundle is all about crochet keychains patterns for kids and their new school year! You’ll find anything from tiny coin purses to fruit and apples, to light bulbs to school buses.
Take a look at the bundle and all 19 patterns included HERE!
Printable PDF Pattern
The pattern of the crochet School Bus Amigurumi is available as a printable PDF file from my Ravelry, LoveCrafts, and Etsy shops!


Materials
- 3.0 mm (C USA, 11 UK) Crochet Hook
- DK (3, Light) Yarn
- One Stitch Marker (to work in the round)
- Poly-Fil or Cotton Stuffing
- Tapestry Needle
Yarn & Colors
For my Schoolbus Amigurumi, I used Paintbox Yarns Cotton DK in the following colors:
- A – Buttercup Yellow (423)
- B – Marine Blue (434)
- C – Stormy Grey (405)
- D – Pure Black (402)
- E – Rose Red (414)
- F – Blood Orange (420)
- G – Champagne White (403)
Abbreviations (US Terms)
- BLO – Back Loop Only
- Ch – Chain
- Dec – Decrease
- Inc – Increase
- Inv Dec – Invisible Decrease
- MC – Magic Circle
- Sc – Single Crochet
- Sl St – Slip Stitch
- St – Stitch
- Yo – Yarn over
Special Stitches
Back Loop Only (BLO)
Learn how to crochet in the back loop only HERE.
Increase (Inc)
One increase consists of two sts worked in the same indicated st.
Invisible Decrease (Inv Dec)
See a step-by-step tutorial on how to crochet an invisible decrease HERE.
Invisible Join
See HERE for a detailed tutorial.
Magic Circle (MC)
Find a tutorial on how to crochet the magic circle HERE.
Size
3” (7 cm) in length, 1.5″ (4 cm) in width, 1.5″ (4 cm) tall.
Gauge
This pattern is too small to accurately determine the gauge.
Pattern Notes
- If the pattern says “sc 2”, it means that you have to crochet 1 sc into each of the next 2 sts.
- (…) – Repeat the instruction within brackets for the indicated number of times.
- […] – Repeat the instruction within brackets all in the same indicated st.
- The stitch count is indicated within brackets at the end of each line of instructions.
School Bus Amigurumi – Free Crochet Pattern
Rear Window
With B, ch 6.
Row 1. Sc 1 in the second ch from hook, sc 4. (5 sts)
Row 2. Ch 1, turn. Sc 5. (5 sts)
Fasten off leaving a long tail for sewing.
Side Windows
(Make 5)
With B, ch 4.
Row 1. Sc 1 in the second ch from hook, sc 2. (3 sts)
Row 2. Ch 1, turn. Sc 3. (3 sts)
Fasten off leaving a long tail for sewing.
Door
With B, ch 4.
Row 1. Sc 1 in the second ch from hook, sc 2. (3 sts)
Row 2-5. Ch 1, turn. Sc across. (3 sts)
Fasten off leaving a long tail for sewing.
Windshield
With B, ch 7.
Row 1. Sc 1 in the second ch from hook, sc 5. (6 sts)
Row 2. Ch 1, turn. Sc dec 1, sc 2, sc dec 1. (4 sts)
Row 3. Ch 1, turn. Sc dec 2. (2 sts)
Fasten off leaving a long tail for sewing.
Mirrors
(Make 2)
With D, ch 2.
Fasten off leaving a long tail for sewing.
Grill
With C, ch 4.
Row 1. Sc 1 in the second ch from hook, sc 2. (3 sts)
Row 2. Ch 1, turn. Sc 3. (3 sts)
Fasten off leaving a long tail for sewing.
Front Bumper
With D, ch 9.
Row 1. Sc 1 in the second ch from hook, sc 7. (8 sts)
Fasten off leaving a long tail for sewing.
Rear Bumper
With D, ch 10.
Row 1. Sc 1 in the second ch from hook, sc 8. (9 sts)
Fasten off leaving a long tail for sewing.
Wheels
(Make 4)
With C, make a MC.
Round 1. Sc 6 in MC. (6 sts)
Close the round with an invisible join.
Join D in any st from round 1.
Round 2. Sc inc 6. (12 sts)
Join with an invisible join.
Fasten off leaving a long tail for sewing.
School Bus
(Work in the round)
With A, make a MC.
Round 1. Sc 6 in MC. (6 sts)
Round 2. Sc inc 6. (12 sts)
Round 3. ([Sc 3], sc 2) 4 times. (20 sts)
Round 4. Sc 1, ([sc 3], sc 4) 3 times, [sc 3], sc 3. (28 sts)
Round 5-17. Sc around. (28 sts)
Round 18. Sc 18, (BLO inv dec 1, BLO sc 1) 3 times, sc 1. (25 sts)
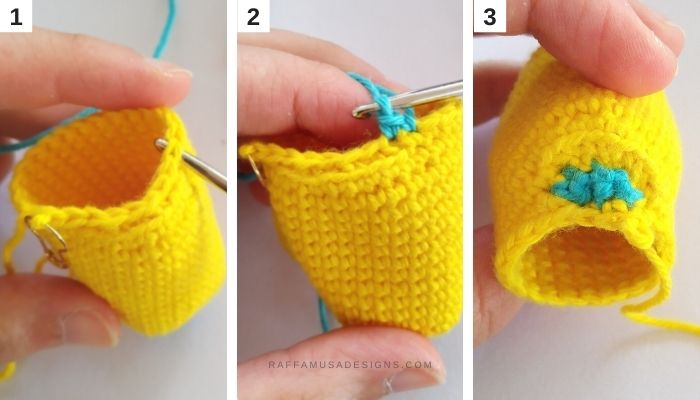
Round 19. Sc 1. Remove your hook and keep the st with a st marker (photo 1).
Windshield Decreases
Join new yarn in the 8th st from the end of round 18.
Row 1. Sc dec 4 (photo 2 shows the first dec. For clarity, this step is shown with yarn B).
Row 2. Ch 1, turn. Sc dec 2. Sl st into the same st where you joined.
Fasten off.
Start working again from the st you placed on the st marker at the beginning of the round.
Sc 17 (the last st goes into the same st where you joined the yarn for the decreases), sc 2 (over the last 2 decreases), sc 1 into the last st where you made a dec (photo 3). (21 sts)
Round 20-21. Sc around. (21 sts)
Start stuffing your school bus.
Round 22. (Inv dec 1, sc 5) 3 times. (18 sts)
Round 23. Sc all around. (18 sts)
Add more stuffing if needed.
Round 24. (Inv dec 1, sc 1) 6 times. (12 sts)
Round 25. Inv dec 6. (6 sts)
Fasten off and sew the opening by threading the yarn tail through the BLO of the sts from round 25.
Assembly
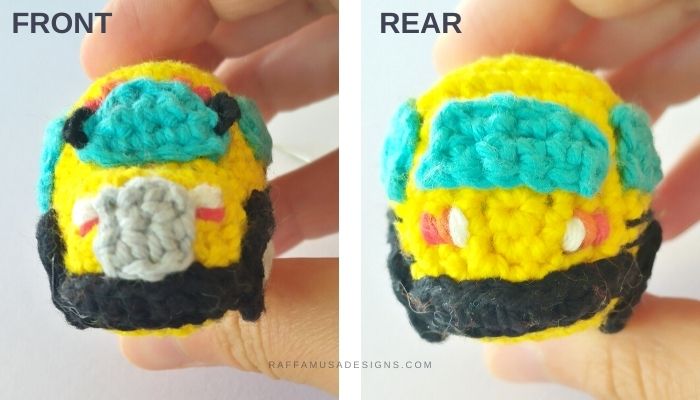
Front
Sew the windshield onto the windshield decreases of rounds 18-19.
Attach the grill on the top half of the front of the bus (rounds 23-24), and the front bumper around the bottom half.
Sew one mirror on each side of the windshield.
Using yarn E, F, and G, embroider the headlights on the sides of the grill, and warning lights just above the windshield.
Rear
On the back of the bus (rounds 1-4), sew the rear window and the rear bumper. Then, with short lengths of E, F, and G, embroider the rear lamps.
Sides
Sew 3 side windows on one side of the bus, and 2 windows and the door on the other side.
Attach the wheels by only sewing their top halves onto the bus.
Cut approximately 9″ (23 cm) of yarn D, and split the plys of the yarn in half in order to obtain a thinner thread and embroider two horizontal lines between the wheel and the windows.
Fasten off and weave in all your ends.
Your crochet School Bus Amigurumi is ready!
I hope you enjoyed crocheting this pattern. Please, do not hesitate to contact me if you need any help or support. I am looking forward to seeing all your beautiful makes on Facebook and Instagram!
Find more free Amigurumi patterns here on the blog…

Thank you so much for this awesome project! It was easy to follow and helped me out in a pinch when our school bus drivers gave our kids something for Christmas and I needed something for them. Literally finished two in one night!!