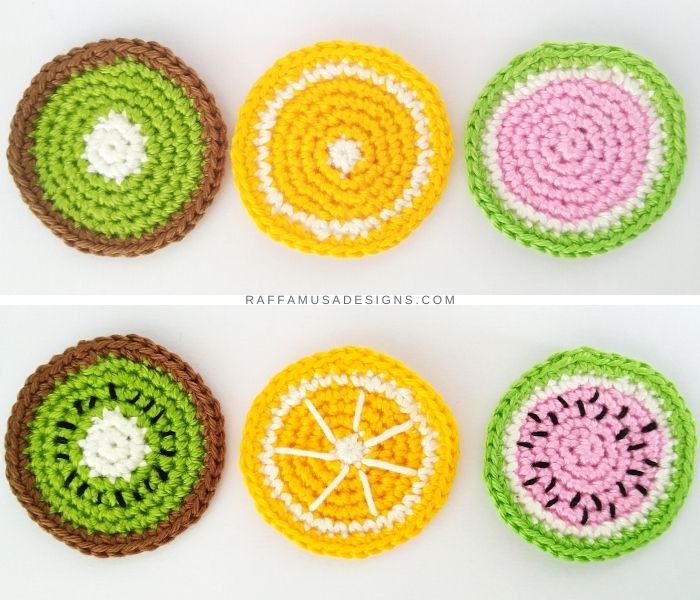
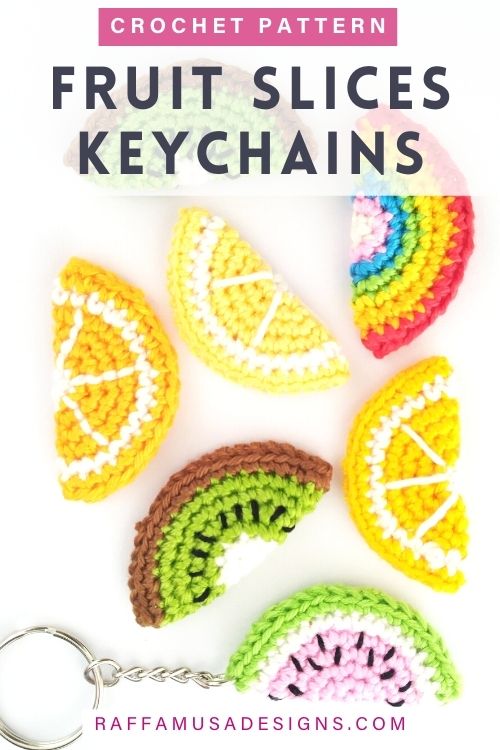
In between huge and never-ending projects, it’s so rewarding to relax with a few quick wins. And that’s what I did yesterday. I grabbed some scrap yarn and made these quick and easy crochet fruit slice keychains!
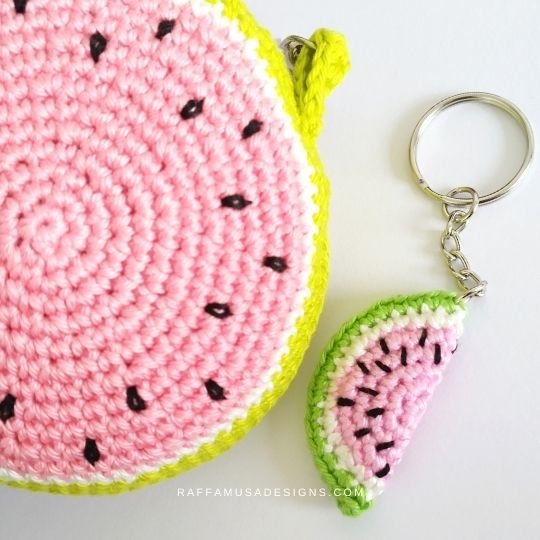
While making my keychains, I realized that to crochet neat fruit slices that look professional, you need a few techniques that might scare off a crochet beginner:
- For example, how to crochet in the round;
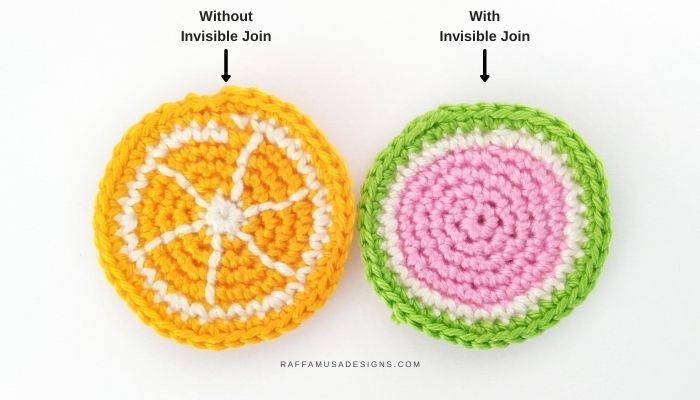
- And how to make a crochet invisible join so that there is no step in between two rounds;
- Join new yarn into your project without stress!
So, I thought that it would be useful to share this free tutorial, in which I really wanted to guide crochet beginners through all the steps to crochet some cute and fun fruit slice keychains.
Learning these techniques will also help you improve your Amigurumi making, as these are all skills required for making a professional-looking toy, animal, or doll.
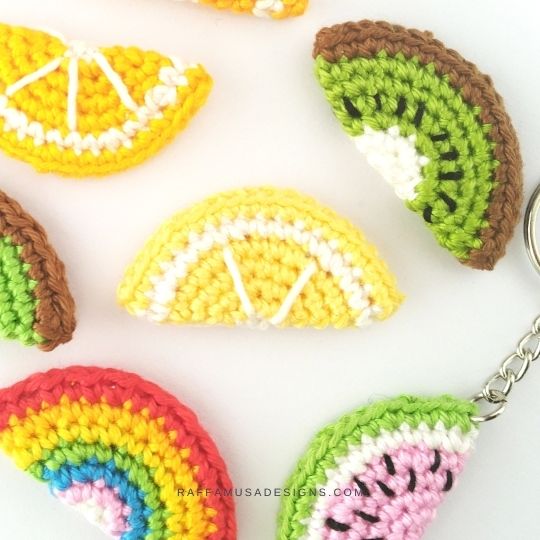
Find more small Amigurumi keychains here on the blog…
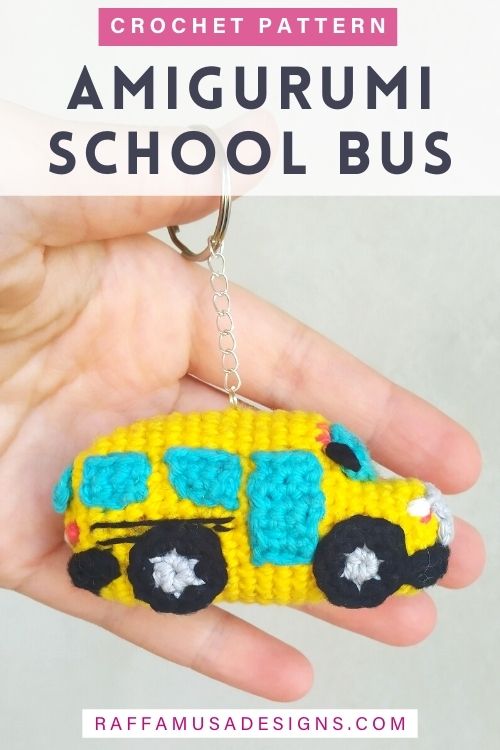
Pin this free tutorial to your favorite crochet board on Pinterest!
Note: this post contains affiliate links. This means that if you purchase something through the links on my blog, I might earn a commission. This will not have any effect on the price you pay. For more info, please, see my Privacy Policy.
Back To School Keychain Bundle
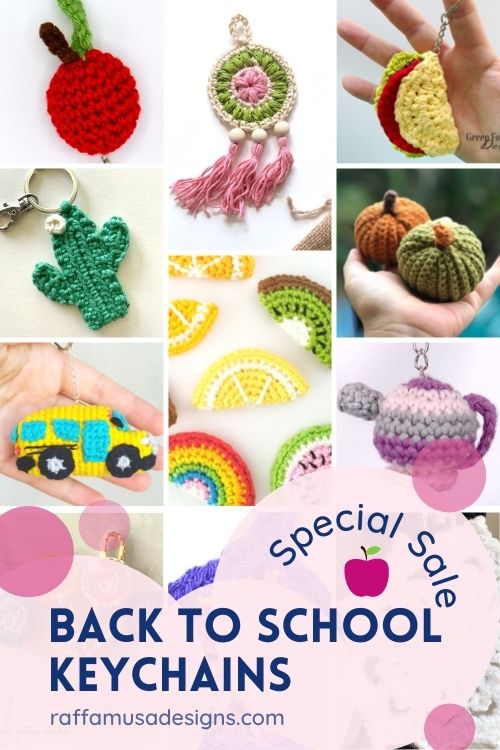
The pattern of the Fruit Slices Keychains is featured in the Back to School Keychain Bundle organized by Christina from Creative Snugglies.
This bundle is all about crochet keychain patterns for kids and their new school year! You’ll find anything from tiny coin purses to fruit and apples, to light bulbs to school buses.
Take a look at all 19 patterns included HERE!
AD-FREE DOWNLOADABLE PATTERN
Grab the ad-free, printable PDF pattern and tutorial of the Fruit Slices Keychains in my Ravelry, LoveCrafts, or Etsy stores!
MATERIALS
- 2.5 mm (C USA, 12 UK) Crochet Hook
- Sport (2, Fine) Weight Yarn
- Black Embroidery Floss
- One Stitch Marker (to work in the round)
- Embroidery Needle
- Tapestry Needle
- One Metal Split Keyring with a Short Chain
COLOR REFERENCE
For my keychains, I used Schachenmayr Catania in the following colors:
- White – Natur (00105)
- Orange – Orange (00281) or Mango (00411)
- Yellow – Vanille (00403)
- Pink – Pink (00225)
- Green – Greenery (00418)
- Brown – Marone (00157)
Yardage
6.3 yds, 5.8 m per keychain
Size
Each keychain measures 2” (5 cm) by 1″ (2.5 cm).
Gauge
This pattern is too small to accurately determine the gauge.
CROCHET ABBREVIATIONS (US TERMS)
Ch – Chain
Inc – Increase
MC – Magic Circle
Sc – Single Crochet
Sl St – Slip Stitch
St – Stitch
Yo – Yarn over
SPECIAL STITCHES
Increase (Inc)
One increase consists of two sts worked in the same indicated st.
Invisible Join
Find a step-by-step tutorial on how to make a crochet invisible join here.
Magic Circle (MC)
Learn how to crochet a magic circle or adjustable ring in this free tutorial.
Pattern Notes
- If the pattern says “sc 2”, it means that you have to crochet 1 sc into each of the next 2 sts.
- (…) – Repeat the instruction within brackets for the indicated number of times.
- The stitch count is indicated within brackets at the end of each round’s instructions.
- This pattern is worked in the round. This means that you do not join with a sl st. Instead, you start crocheting the next round directly in the first st of the previous round.
Crochet Fruit Slice Keychains – General Pattern
Below, you can find the general pattern used for all the Fruit Slice Keychains. Refer to the table below for the color scheme specific to each fruit.
Make a MC.
Round 1. Sc 6 in MC (6 sts)
Round 2. Sc inc 6. (12 sts)
Round 3. (Sc inc 1, sc 1) 6 times. (18 sts)
Round 4. Sc 1, sc inc 1, (sc 2, sc inc 1) 5 times, sc 1. (24 sts)
Round 5. (Sc inc 1, sc 3) 6 times. (30 sts)
Round 6. Sc 2, sc inc 1, (sc 4, sc inc 1) 5 times, sc 2. (36 sts)
Round 7. (Sc inc 1, sc 5) 6 times. (42 sts)
Fasten off leaving a long tail for sewing.
Weave in all your other ends.
Color Scheme for Each Crochet Fruit
| Round | Kiwi | Orange | Lemon | Watermelon |
| 1 | White | White | White | Pink |
| 2 | White | Orange | Yellow | Pink |
| 3 | Green | Orange | Yellow | Pink |
| 4 | Green | Orange | Yellow | Pink |
| 5 | Green | Orange | Yellow | Pink |
| 6 | Green | White | White | White |
| 7 | Brown | Orange | Yellow | Green |
Step-by-Step Tutorial
Here, we will take the kiwi slice keychain as an example to understand how to work in the round and join a new yarn color.
Kiwi Slice – Step-by-Step
With white yarn, make a MC.
Round 1. Sc 6 in MC. Pull the tail of the MC tightly to close the ring. (6 sts)
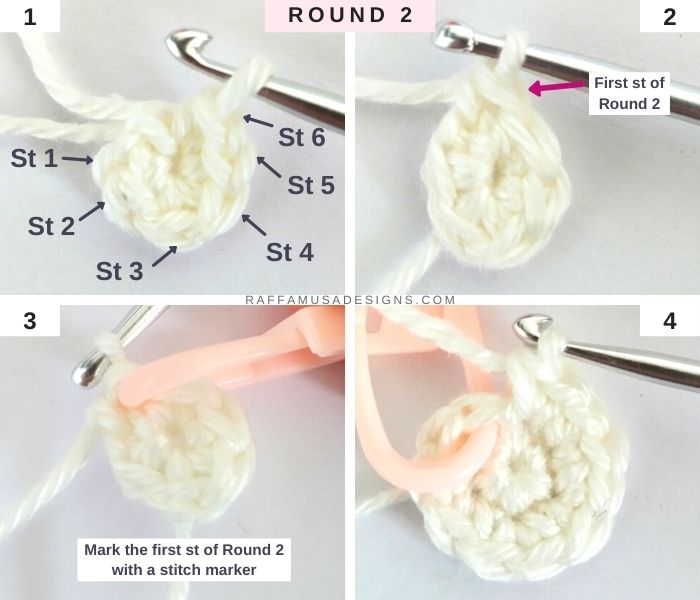
Round 2. Start crocheting Round 2 directly in the first sc of Round 1.
- 1. Identify the first st of Round 1.
- 2. Make the first sc of Round 2 in the first st of Round 1.
- 3. Mark the first st of Round 2 with a st marker. This way, you will always know where your round starts (and the next one should end!).
- 4. Make one more sc in the first st of Round 1, and complete round 2 by working 5 more sc inc.
Fasten off the white yarn and make an invisible join.
The reason why you need to make an invisible join is that it will avoid that unpleasant step between two rounds in different colors!
Join green yarn in any st from Round 2.
How to Join New Yarn
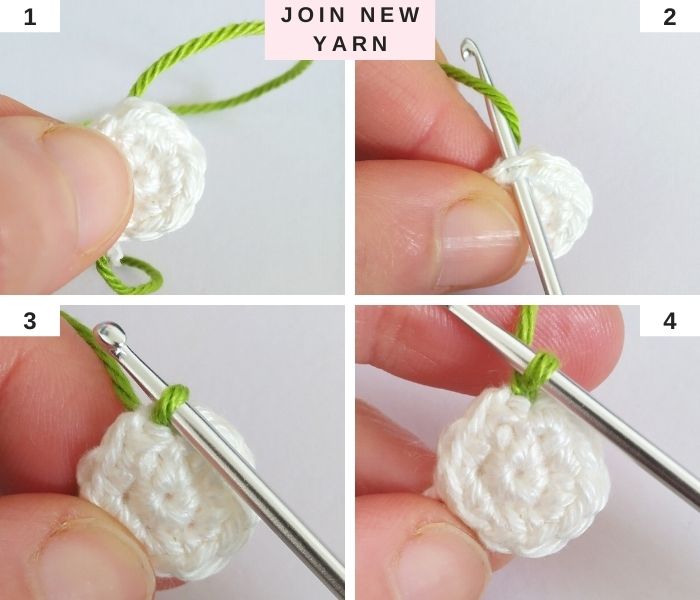
To join the new yarn:
- 1. Hold the new color behind your work.
- 2. Insert your hook in the st where you want to join the yarn with a movement from front to back, and yo with the new yarn.
- 3. Pull up a loop.
- 4. Ch 1.
Round 3. (Sc inc 1, sc 1) 6 times. (18 sts)
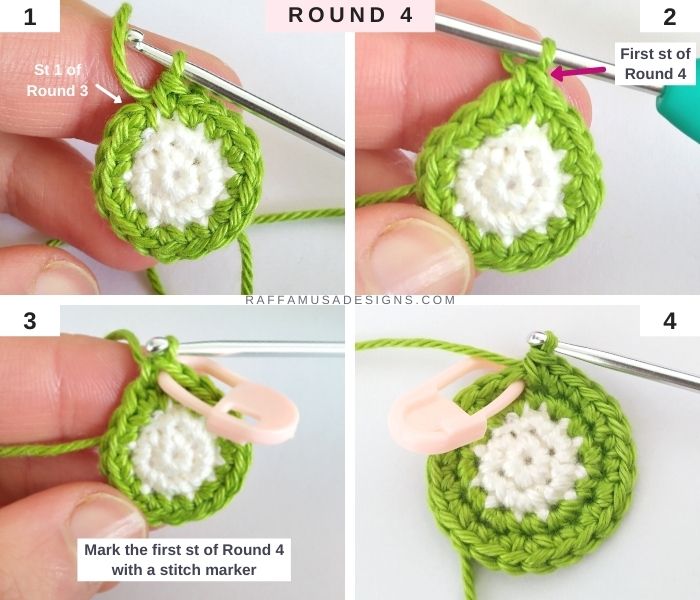
Round 4. Start crocheting Round 4 directly in the first sc of Round 3. Sc 1, sc inc 1, (sc 2, sc inc 1) 5 times, sc 1. (24 sts)
Round 5. (Sc inc 1, sc 3) 6 times. (30 sts)
Round 6. Sc 2, sc inc 1, (sc 4, sc inc 1) 5 times, sc 2. (36 sts)
Fasten off the green yarn and make an invisible join.
Join brown yarn in any st of Round 6.
Round 7. (Sc inc 1, sc 5) 6 times. (42 sts)
Fasten off leaving a long tail (approximately 8″, 20 cm) for sewing your keychain. Make an invisible join to finish the last round.
Weave in all your other ends with the exception of the last, long one.
Finishing
Kiwi & Watermelon
With a length of embroidery floss, embroider a few seeds between rounds 3 and 4 for the kiwi, and between rounds 4 and 5 for the watermelon.
Orange and Lemon
With some white yarn, make a few long sts between round 1 and round 6.
Assembling
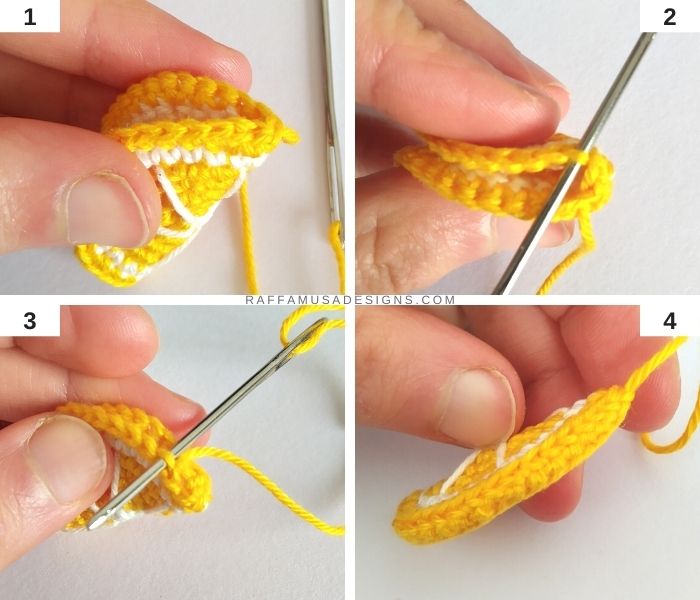
- 1. With the right side out, fold the fruit slice in half.
- 2. Using the long tail of yarn from Round 7, join the sts of Round 7. Insert your needle through the inner loop of the first st on one half of the fruit slice with a movement from the center of the fruit slice to the outside.
- 3. With a movement in the opposite direction, insert your needle through the inner loop of the first st on the other half of the fruit slice.
- 4. Keep repeating steps 2 and 3 until all the sts are joined.
Open up the metal loop at the base of your keychain holder, and attach it to one end of your fruit slice. Insert back the last ring of the metal chain of the keyholder, and tighten the metal ring.
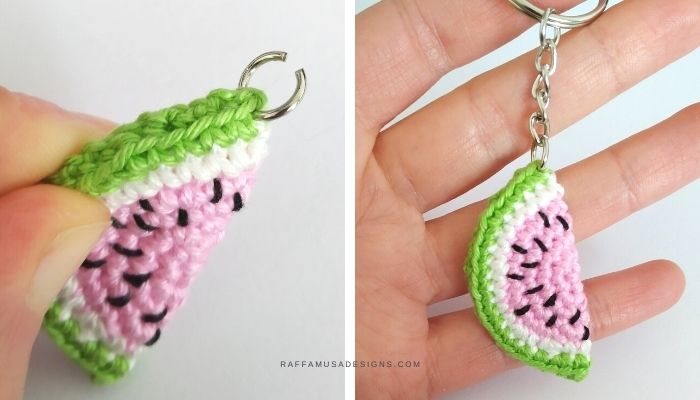
YOUR CROCHET Fruit Slice Keychains are READY!
I hope you liked this pattern and I’d love to see your version of it! Please, share your projects on Facebook or Instagram using the hashtag #raffamusadesigns
Find more Amigurumi inspiration here on the blog!



Great idea! I love it
Thank you for being so nice
I am 77 years young and still enjoy crocheting just takes a little longer now due to eye problems. Thank you for all your beautiful easy projects.
Jo Sealey